- Author Jason Gerald gerald@how-what-advice.com.
- Public 2023-12-16 10:50.
- Last modified 2025-01-23 12:04.
If you forget the passcode on your iPhone, you can delete the data and password through iTunes, then restore data to your phone from the backup file you previously created. During the deletion process, your phone's passcode will be deleted as well so you can create a new passcode. You can also use Siri to bypass your phone's lock page. However, keep in mind that the process is considered illegal if you do it on another phone. Also, keep in mind that Siri shortcuts are only available on iOS 9 and may change in the future. As with other methods that can be followed to bypass the passcode, errors like this are not something Apple created on purpose so they can fix them as soon as they are discovered.
Step
Method 1 of 2: Bypass Lock Page on iOS 9.2.1
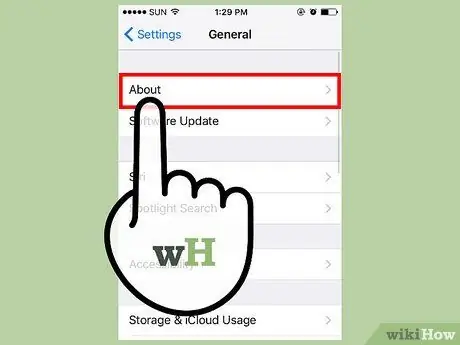
Step 1. Make sure your phone is running the right iOS version
This shortcut process cannot be performed on iPhones with iOS version 9.3 and later. If you want to jailbreak your iPhone, you can downgrade your iOS version to an earlier version (in this case, iOS 9.2.1). However, keep in mind that jailbreaking will void the device warranty provided by Apple.
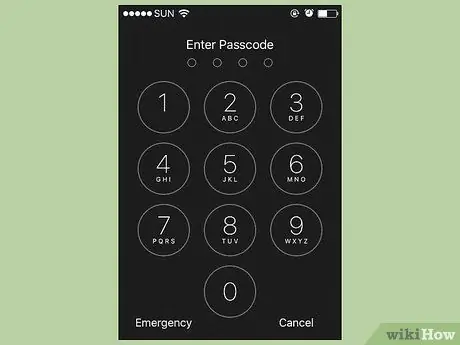
Step 2. Make sure the iPhone is locked and can't be unlocked
This method cannot disable the passcode applied to the phone so you will still need to restore the iPhone's default settings to permanently delete the passcode.

Step 3. Press and hold the Home button for two seconds
After that, Siri will be activated.
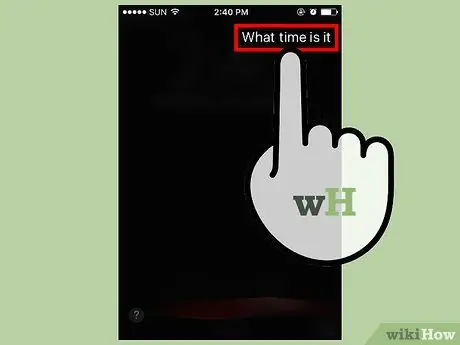
Step 4. Ask Siri to tell you the current time
After that, a clock icon with the current time in your area will be displayed.
Siri can provide a better response to the question “What time is it?” rather than another question or command (e.g. “Would you tell me the time?”, etc.)
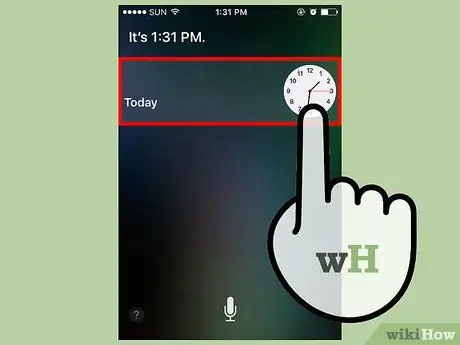
Step 5. Touch the clock icon
After that, you will be taken to the world clock menu (World Clock).
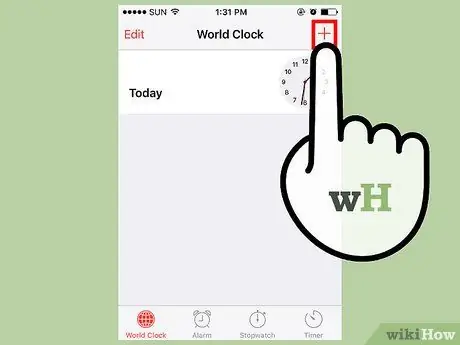
Step 6. Touch the "+" sign
It's in the upper-right corner of the screen.

Step 7. Enter some characters in the search bar
The search bar is at the top of the screen. The characters need not have meaning; You just need to select those characters to copy.

Step 8. Touch and hold the search bar, then release your finger
After that, the entire text will be marked.

Step 9. Touch the text again, then select "Copy"
After that, the selected text will be copied so that it can be pasted later.

Step 10. Touch the arrow next to the "Copy" option, then select "Share"
After that, a menu with various sharing options will appear on the screen.
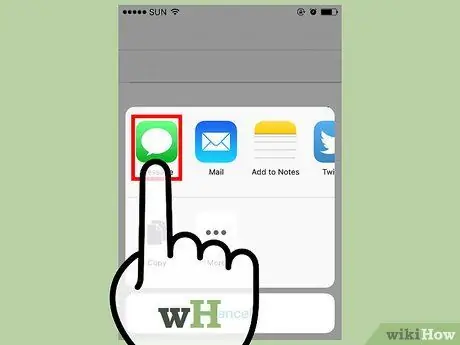
Step 11. Touch the "Message" option
After that, a new message menu will be displayed on the screen.
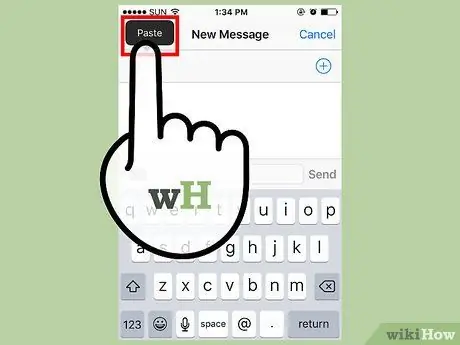
Step 12. Touch and hold the " To " field, then touch " Paste"
The “To field is at the top of the screen.
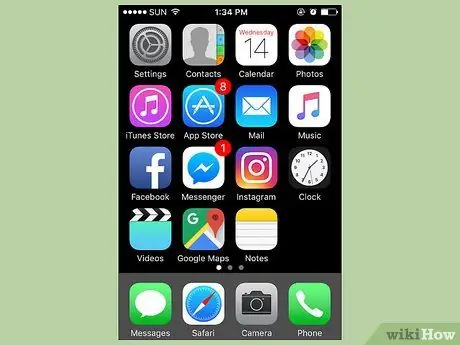
Step 13. Wait for two to three seconds, then press the Home button
After that, the iMessage window will close and you will be taken directly to the homescreen. Now, you have successfully bypassed or bypassed the lock page on iOS 9.2.1!
Method 2 of 2: Erase and Restore Data Through iTunes
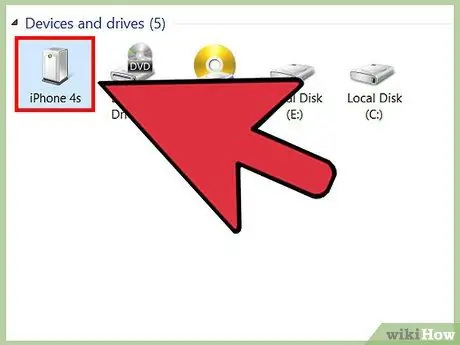
Step 1. Plug the USB cable into iPhone and computer
The larger end of the USB cable needs to be connected to the computer, while the smaller end needs to be connected to the charging port on the iPhone.
While you can use any USB-iPhone cable, try using the one that came with the package for best results

Step 2. Open iTunes on the computer if the program doesn't open automatically
You may need to confirm your choice to automatically open the program once your phone is connected to your computer, depending on the computer you're using.
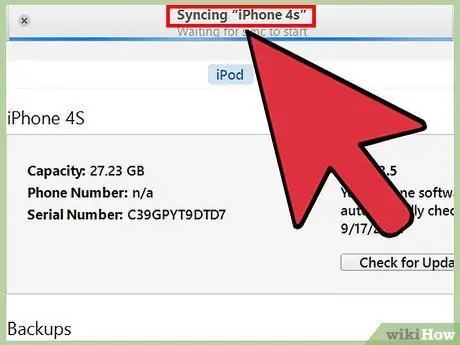
Step 3. Wait for the iPhone to sync to iTunes
The bar at the top of the iTunes window will display the message " Syncing [Your Name]'s iPhone (Step [X] of [Y])". After the sync process to iTunes is complete, you can start restoring the device's default settings.
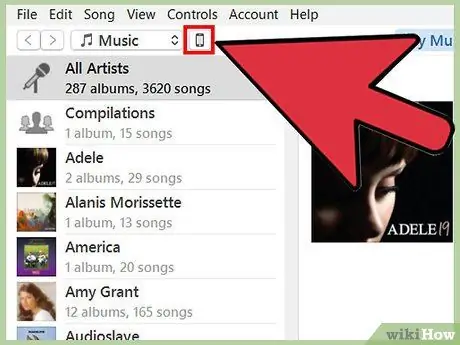
Step 4. Click the “Device” icon to open the device summary tab
The icon resembles the shape of an iPhone and is under the “Account” tab.
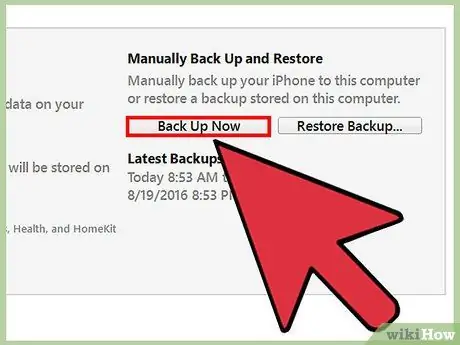
Step 5. Click the "Back Up Now" option in the "Backups" section
Although it is optional, with this option you can ensure that the data that will be restored/copied back is the latest data, according to the last data on the phone.
- If you enable automatic data backup, you do not need to back up data. Your phone will perform a backup when the phone is connected to the computer. Check the date of the last backup in the “Backups” section to make sure the data on your phone has been backed up.
- When backing up, you can choose where to save the backup data. Choose iCloud (iPhone backup data will be saved to iCloud account) or “This computer” (iPhone backup data will be saved to the computer used).
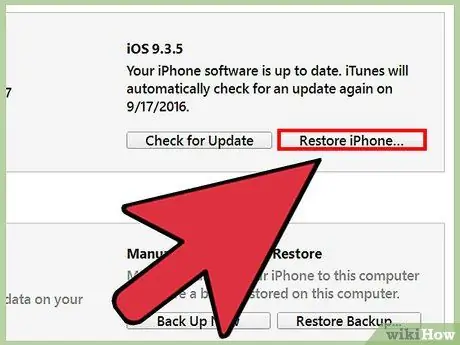
Step 6. Click "Restore iPhone"
It's in the iPhone-only menu box that's shown at the top of the iTunes page.
If you enable the "Find My iPhone" feature, iTunes will ask you to disable it before the restore process begins. To disable it, touch the Settings app to enter the phone's settings, swipe the screen and tap the "iCloud" option, then swipe back on the screen and select "Find My iPhone". Slide the switch next to the "Find My iPhone" option to the right to turn off the "Find My iPhone" feature. You will need to enter your iCloud password to complete this process
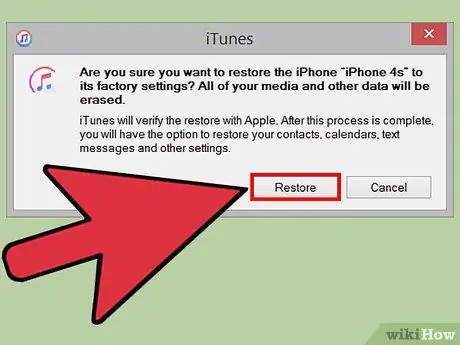
Step 7. Click "Restore and Update" to confirm selection
Make sure you read the information in the pop-up window that appears before continuing with the process so that you know what will happen after the initial settings of the phone are restored.
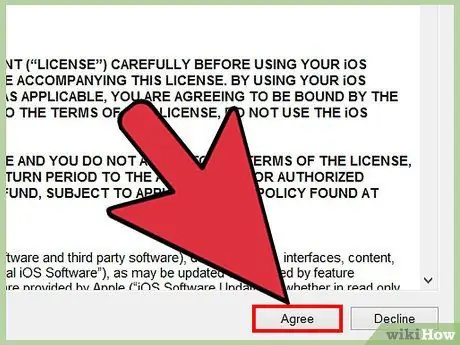
Step 8. Click "Next", then click "Agree" to start the process of restoring the phone's initial settings
This means that you have agreed to all of the Apple software terms and conditions of use.
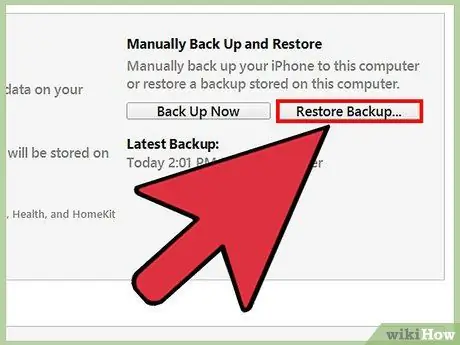
Step 9. Wait for the process to complete
This process takes a few minutes as iTunes will need to uninstall and reinstall iOS on the phone.
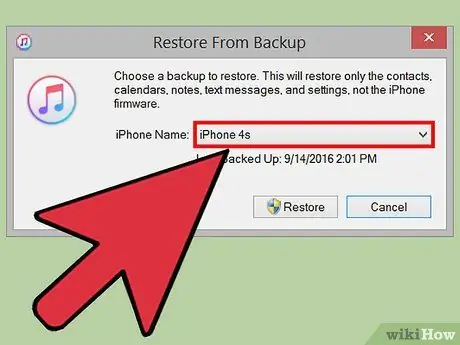
Step 10. Select the backup file you want to restore from the "Restore from this backup" option
Click the bar with your iPhone's name to do so. The date and location where the selected backup file was saved will be displayed below the bar. Choose the most recent backup file for best results.
Click the circle next to the "Restore from this backup" option to enable it if it's not already the default option
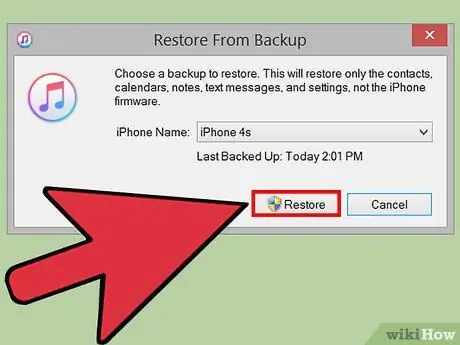
Step 11. Click " Continue " to start the backup file restore process
iTunes will begin to restore your phone's settings. In addition, you can view the remaining time information at the bottom of the displayed pop-up window.
Overall, this process can take a while (usually around 20-30 minutes), depending on the amount of data that needs to be restored to the phone
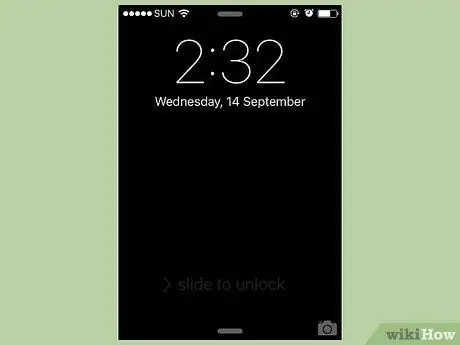
Step 12. Slide the "Slide to unlock" text on the phone lock page
After that, the phone can be unlocked. Please note that this time you do not need to enter a passcode.
You can also apply a new passcode on your phone, any time you want via the " Passcode " tab of the settings app
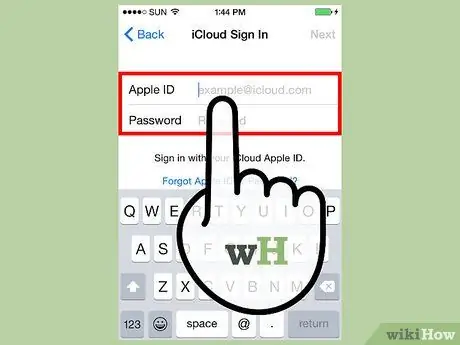
Step 13. Enter your Apple ID password when prompted
After that, your iPhone's files and settings will be restored. Keep in mind that you will have to wait a while longer for the apps on your phone to be updated and restored to their last state (before deletion).
Tips
- If you've forgotten your Apple ID password, you can reset it via the iCloud website by clicking the " Forgot your password? " link and following the next on-screen instructions.
- To prevent shortcuts via Siri, you can apply a passcode to Siri via the "Passcode" tab of the settings app.
Warning
- Since the release of iOS 9.3.3, you can no longer use Siri shortcuts to access your phone.
- If you don't have any backup files before you erased your phone's data and settings, you won't be able to restore all the existing data.


