- Author Jason Gerald gerald@how-what-advice.com.
- Public 2023-12-16 10:50.
- Last modified 2025-01-23 12:04.
When an iPhone or iPad is lost, an iCloud activation lock (iCloud Activation Lock) can be a safeguard that prevents theft of information on the device. However, this feature also prevents other people who want to return the device from accessing account information which can actually help with the return process. This wikiHow teaches you how to bypass iCloud activation lock on an iPhone or iPad.
Step
Method 1 of 2: Using Apple ID and Passcode
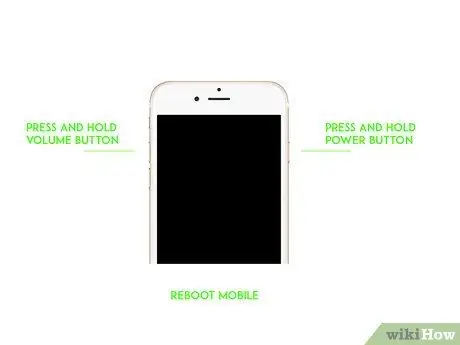
Step 1. Restart your iPhone or iPad
You will need to do this to access the initial setup menu in order to find the login menu.
If you purchased a phone or tablet that was locked by the previous owner's Apple ID, you'll need the owner's login information to follow this method. If you are not in the same room/place as the previous owner, he can follow these steps himself to unlock the device
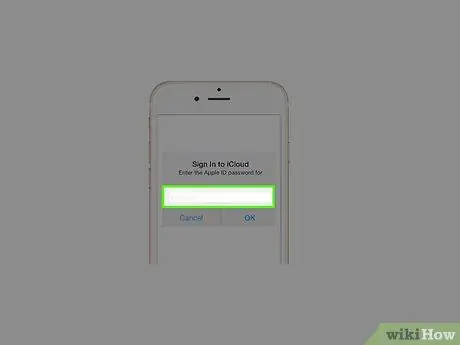
Step 2. Touch Unlock with Passcode
If you reset your iPhone or iPad (or locked it using the Find My iPhone feature), you can bypass activation lock by logging in with your own passcode.
If you bought a device from someone who forgot to sign out of their Apple ID on the device, the previous owner must sign in using their own Apple ID and password. If you are unable to meet him in person, continue the procedure with this method
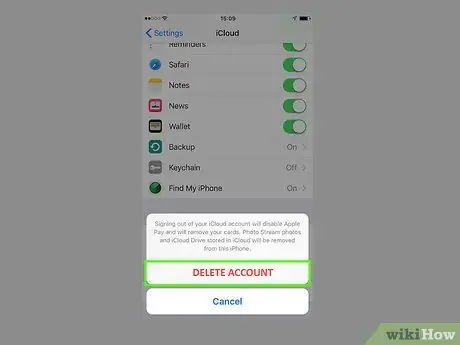
Step 3. Ask the previous owner to remove the iPhone or iPad in question from his account
After contacting him, ask him to help you by following these steps:
- Sign in to the iCloud account using his Apple ID.
- Open " Find My iPhone ”.
- Click " All Devices ” at the top of the screen.
- Choose your old iPhone or iPad (the one you bought).
- Click " Erase [device] ”.
- Click " Remove from Account ”.
- Once the device is removed from your account, your iPhone or iPad will no longer be locked.
Method 2 of 2: Using DNS Shortcuts
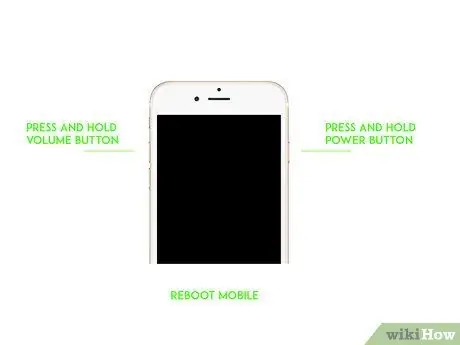
Step 1. Restart your iPhone or iPad
You will need to do this in order to access the initial setup menu and find the menu for entering a DNS shortcut.
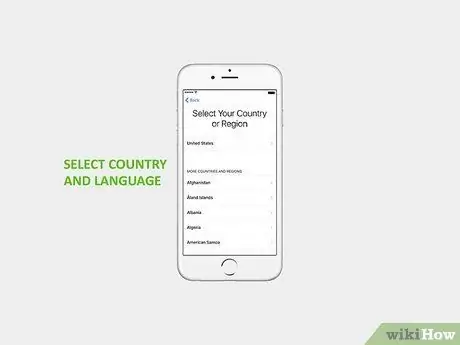
Step 2. Select the country and language
After that, you will be directed to the WiFi menu.
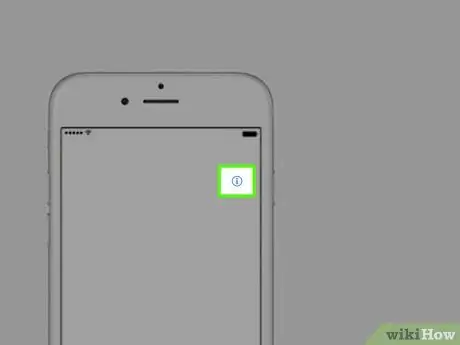
Step 3. Touch the i button next to the network you want to use
A new window with more information about the network will be displayed.
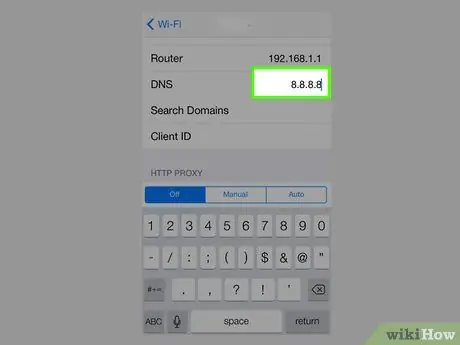
Step 4. Scroll to the “DNS” segment and enter the IP address
Once you find the segment, type the following IP addresses into the fields: 154.51.7 (North America), 155.28.90 (Europe), 155.220.58 (Asia), or 109.17.60 (other countries/regions).
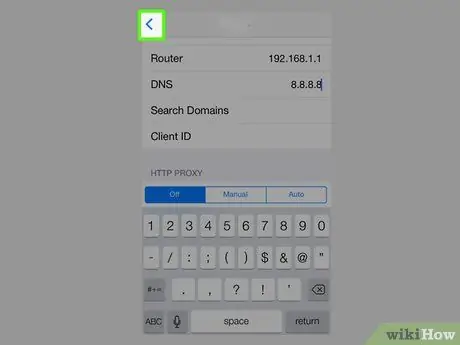
Step 5. Touch the Back button >
You will be taken back to the WiFi menu.
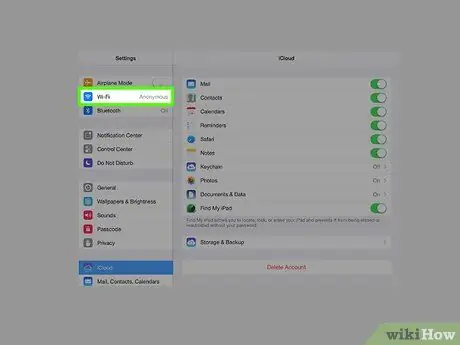
Step 6. Touch the WiFi network and enter the password
When finished, touch the button Join ” in the upper right corner of the screen.
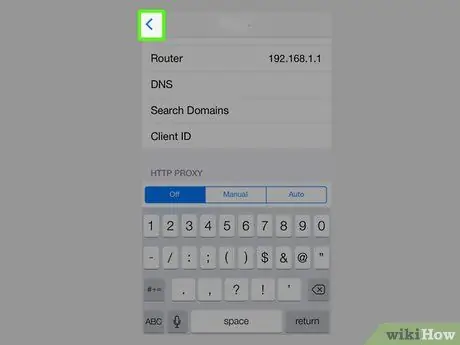
Step 7. Touch the Back button > in the top right corner of the screen
You will be redirected back to the WiFi page.
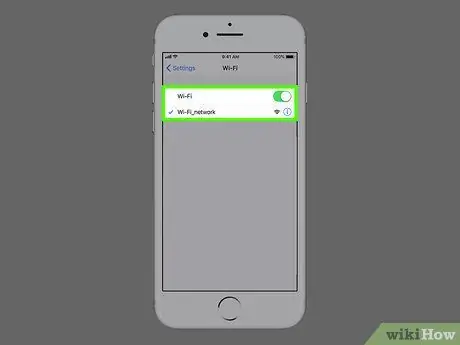
Step 8. Touch Back > button again
Once connected to a WiFi network, the device will be activated. You need to press the back button or “Back” to stop the activation. After that, you should see the words “iCloudDNSBypass.net” at the top of the page.
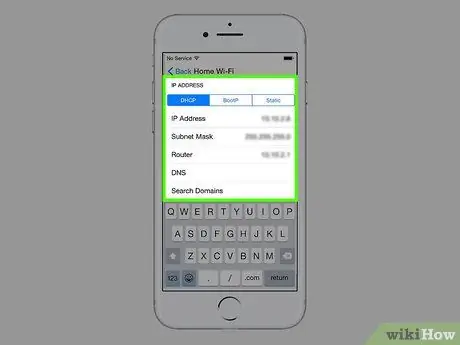
Step 9. Touch “iCloudDNSBypass” menu
From here, you can access apps that help identify old iPhone or iPad users, and find out how to restore or reconfigure the device.


