- Author Jason Gerald [email protected].
- Public 2023-12-16 10:50.
- Last modified 2025-01-23 12:04.
Are you having trouble connecting your Samsung Galaxy S3 to PC? There are several factors that cause it. However, most of the repair process takes only a few minutes. You can try several repair methods without losing data.
Step
Part 1 of 5: Basic Repair
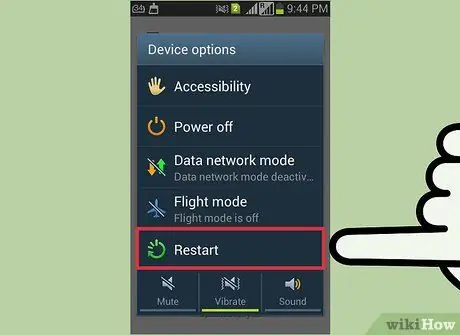
Step 1. Restart your phone and computer
Sometimes, phones and computers just need to be restarted to get them back to work. But reboot (reboot) the phone and computer, then try to reconnect.
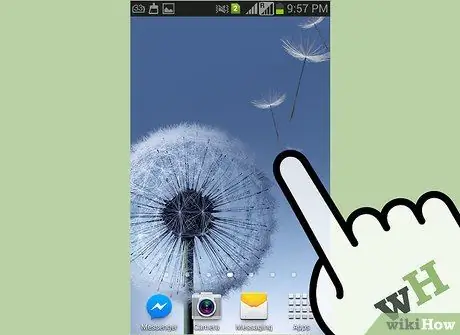
Step 2. Make sure your phone screen is unlocked
Your S3 phone cannot connect to the computer if the screen is locked. Unlock the screen of your phone after connecting it to the computer.
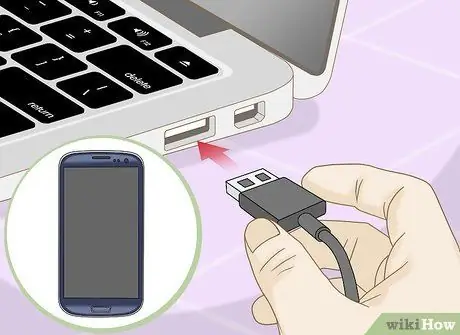
Step 3. Try a new USB cable and another USB port
The pins on the cable you are using may only be sufficient for charging, but not for transferring data. You will need a USB cable with five pins (you can see it on the cable plug). If the cable has only four pins, data cannot be transferred. If your cable is old, try buying a new Mini-USB cable.
Some users are having problems connecting their S3 to a USB 3.0 port. Try connecting your S3 to a USB 2.0 port if your phone doesn't show up on your computer
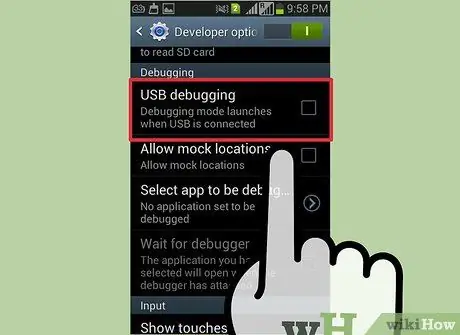
Step 4. Check the USB settings in the S3 notification panel
Your Samsung S3 must be connected as a “media device”, which can be set in the notification panel:
- Swipe down from the top of the screen while the S3 is connected to your computer.
- Tap "Connected as" and select "Media device (MTP)." Your device will be recognized by Windows.
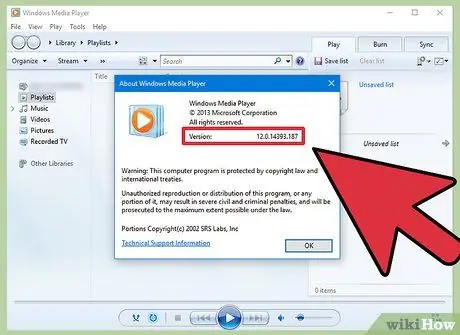
Step 5. Check your Windows Media Player version
The S3 phone cannot connect to the computer in MTP mode if the computer does not have Windows Media Player 10 or later. You can install the latest version of Windows Media Player using Windows Update.
You can check the version of Windows Media Player installed on your computer by clicking the Help menu and selecting " About."
Part 2 of 5: Reset SIM Card
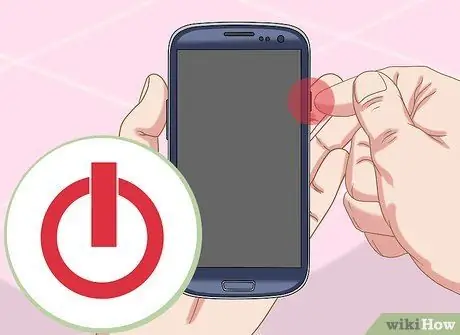
Step 1. Turn off the power of the S3 and disconnect it from the computer
Many users claim to be able to solve problems connecting to the computer by removing and reinserting the SIM card. This method does not cause data loss. Make sure your phone is completely turned off by holding down the Power button and selecting "Power Off."
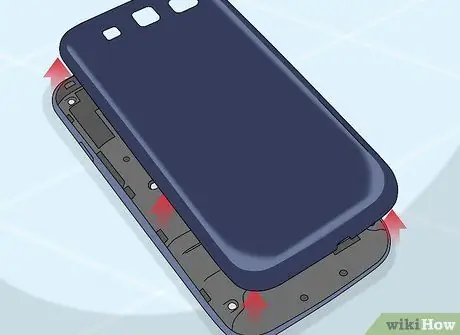
Step 2. Remove the back cover (case) of the phone
The phone battery will be visible.
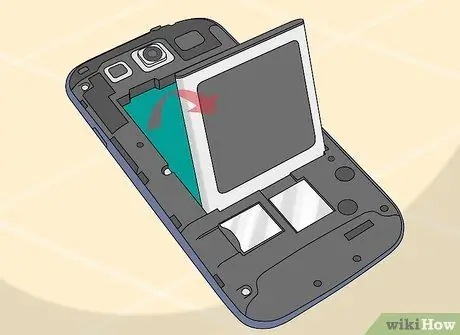
Step 3. Remove the battery from the S3
Gently push the battery towards the bottom of the phone and lift it up.
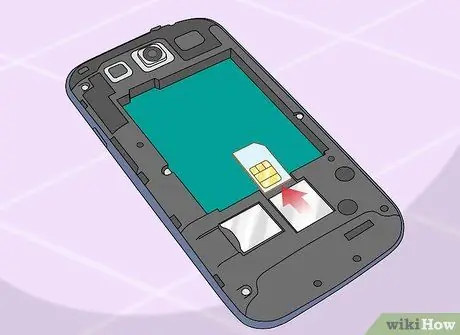
Step 4. Push the SIM card out of the slot and remove it
Your SIM card will pop out of its holder.
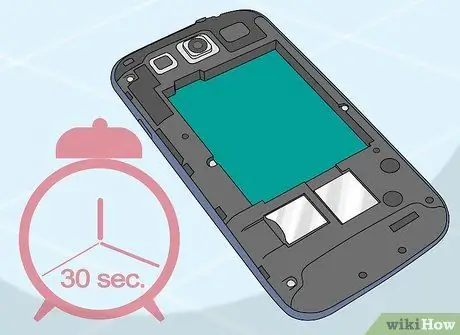
Step 5. Leave the phone on for 30 seconds
Make sure the battery is unplugged from the phone for 30 seconds before proceeding.
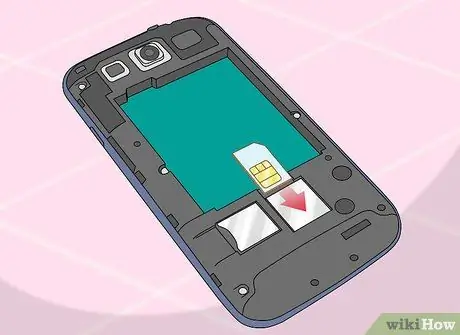
Step 6. Insert the SIM card back into its slot
Push until you hear a click and the card snaps into place.
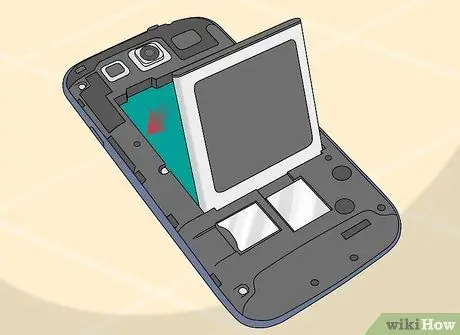
Step 7. Replace the battery and back case of the phone
Insert the battery in the same way as when removing the battery.
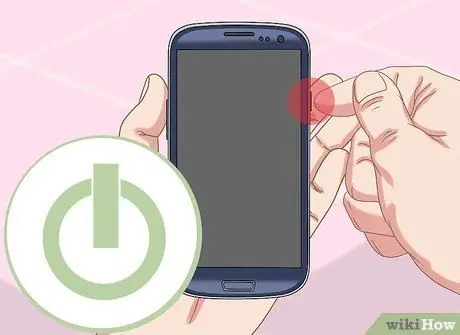
Step 8. Turn on the power of the phone and connect it to the computer
Wait for the phone to fully boot up before connecting it to the computer, and make sure the phone screen is unlocked.
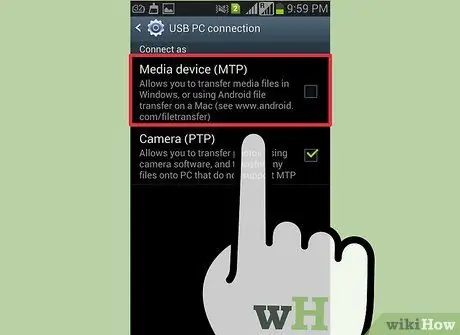
Step 9. Select "Media device (MTP)" from the notification panel
This will give you access to your Android files.
Part 3 of 5: Speeding into Download Mode
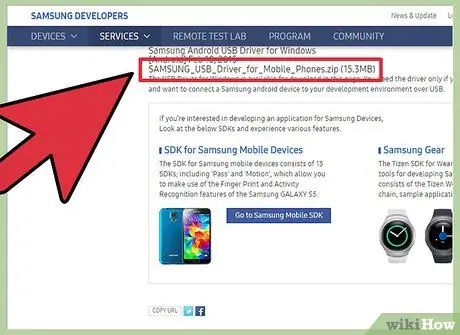
Step 1. Download and install the Samsung drive (driver)
Sometimes the drive for the phone connection process can be damaged. Download Mode will reset the connection between your device and your computer. You need a USB drive from Samsung for the phone to work.
You can download the USB drive on the Samsung S3 Help page. Click the "USB (ENGLISH)" button and run the installer once it's downloaded
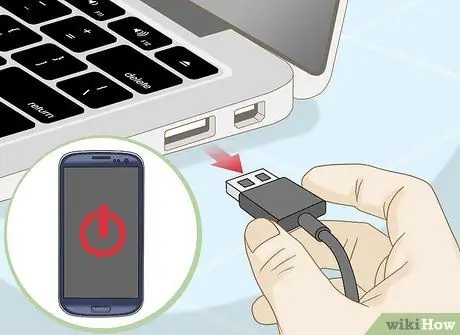
Step 2. Turn off your S3 completely and disconnect it from the computer
Press and hold the Power button and select "Power Off." Wait until the phone turns off completely before proceeding. You must disconnect your phone from the computer before continuing.
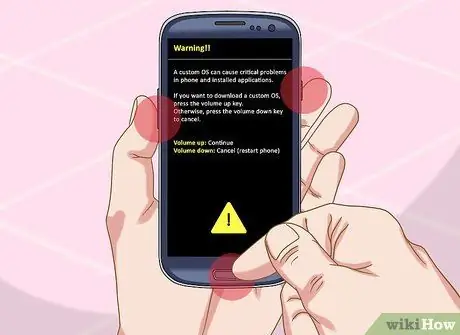
Step 3. Press and hold the Home, Volume Down, and Power buttons
Start by holding down the Home button, then press and hold the Volume Down button. Then, press and hold the Power button while still holding the previous two buttons. If done correctly, a warning screen with a yellow exclamation mark (“!”) will appear.
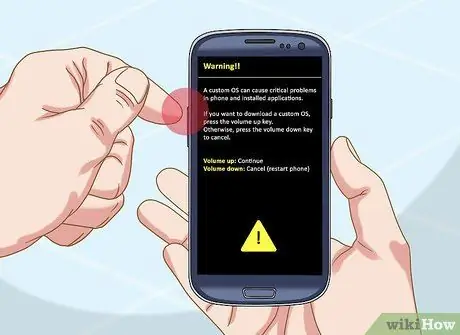
Step 4. Press Volume Up button to start Download Mode when prompted
Your S3 phone will turn on in Download Mode.
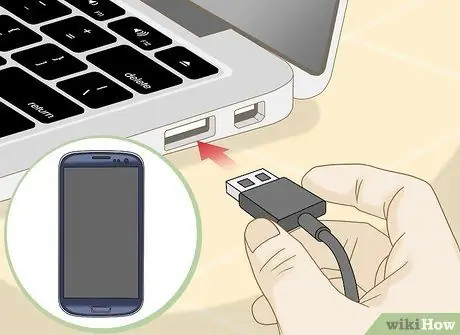
Step 5. Connect S3 to your computer
Windows will detect the phone automatically and install the necessary files.
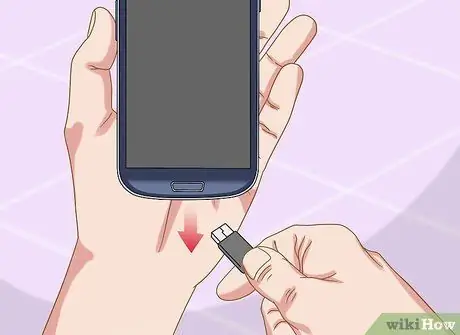
Step 6. Unplug your S3 once all the drives have finished loading
Windows only takes a few minutes to install. Check the System Tray (the bar at the bottom right of the screen) to see if the installation is complete.
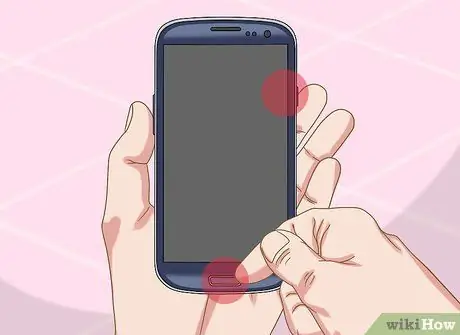
Step 7. Press and hold the Home and Power buttons
Hold down the Home button for 10 seconds and reboot the phone as usual.
If you can't get your S3 out of Download Mode, remove the phone battery and reinsert it
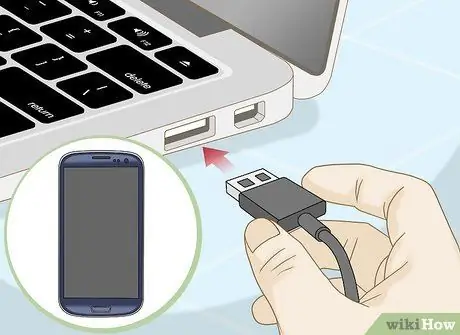
Step 8. Try connecting the S3 to your computer again
Once the phone boots up as usual, try to reconnect it to the computer. Usually the phone will show up after being booted into Download Mode.
Part 4 of 5: Forcing MTP Mode
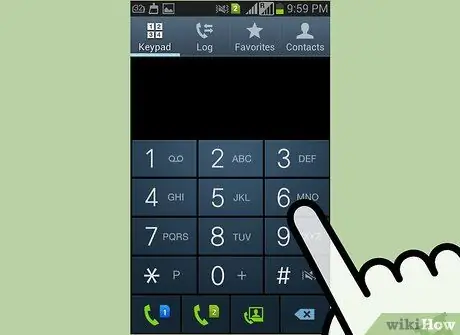
Step 1. Open your phone's call panel
Sometimes, forcing MTP (Media Transfer Protocol) using the phone's command system can restore the connection to the computer.
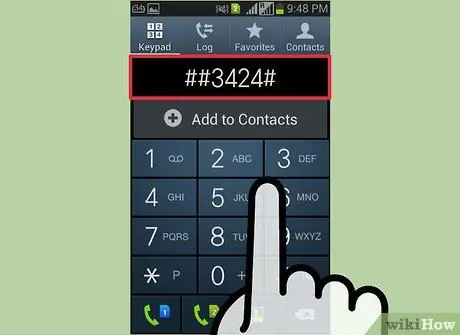
Step 2. Press the code to open the menu
Here are some codes for cell phone service providers in the US:
- Sprints - ##3424#
- Verizon, AT&T, T-Mobile - *#22745927, tap " Hidden Menu Disabled," then tap " Enable." Go to the call back panel and enter **87284
- US Cellular - *#22745927, tap " Hidden Menu Disabled," then tap " Enable." Open the call back panel and enter *#7284#
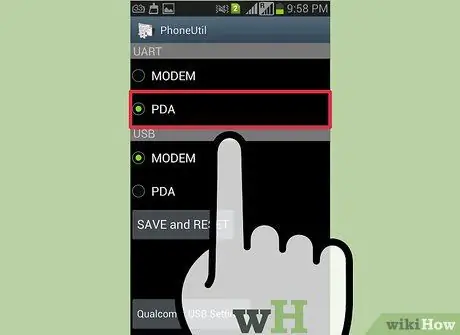
Step 3. Select the "PDA" option from the menu
Several additional options will open.
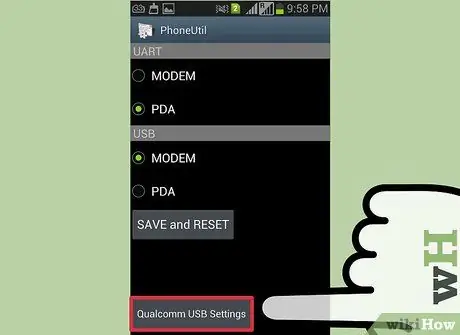
Step 4. Tap on “Qualcomm USB Setting” option
You will see several options to choose from.
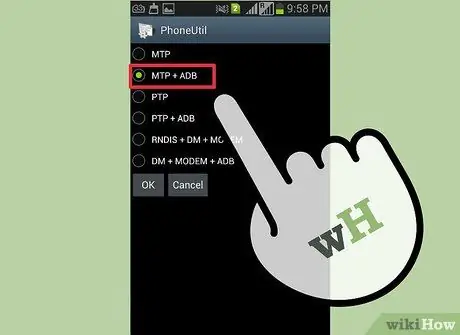
Step 5. Select "MTP+ADB" and tap OK
This option will force MTP mode on your phone.
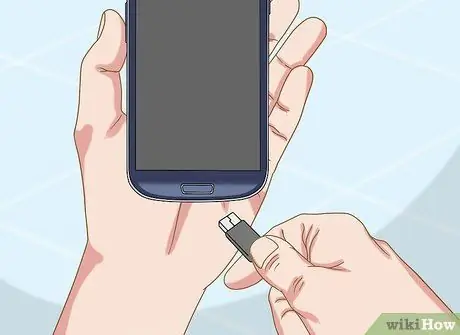
Step 6. Try reconnecting your phone
Many users are able to reconnect their phone to their computer this way.
Part 5 of 5: Backup and Reset Phone
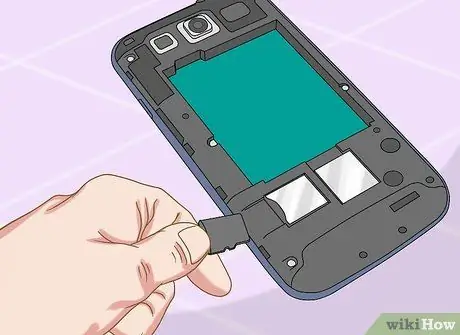
Step 1. Insert a blank SD card into the phone
If you can't connect your S3 after trying everything, your last option is to do a full factory reset. This reset will erase all data on the phone. So, it's best to do a backup first to a blank SD card.
You can insert the SD card by removing the battery on the back of the phone
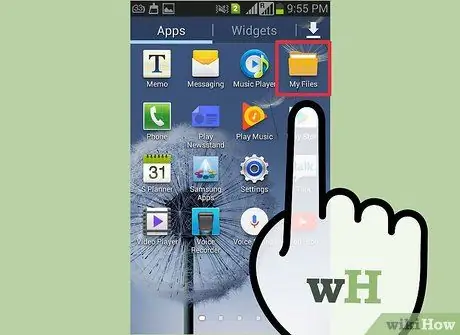
Step 2. Open the “My Files” app
This application will display the files in your S3.
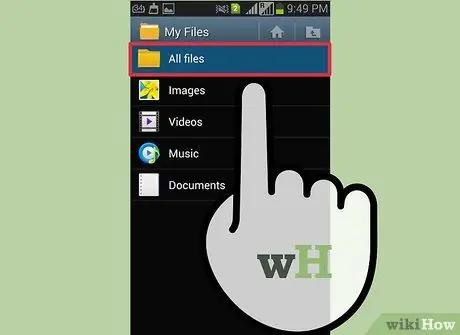
Step 3. Tap on “All files” button
This option will change the view of all folders on S3.
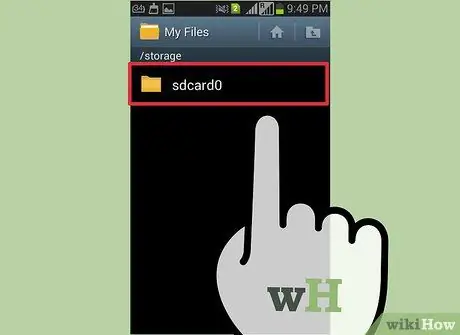
Step 4. Select the "sdcard0" folder
This is an SD card clone that stores all your files on your S3 hard drive.
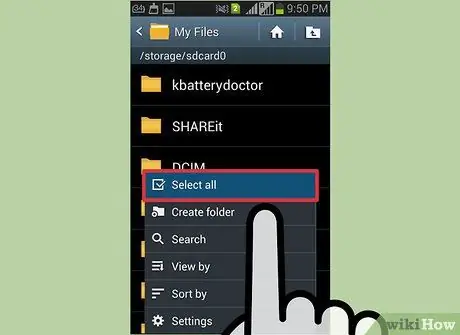
Step 5. Tap the “Menu” button and select “Select all
" This option will highlight all files and folders so you don't miss anything.
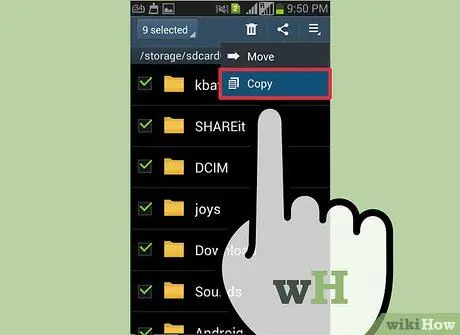
Step 6. Tap the "Menu" button and select "Copy"
" All selected files will be copied so that they can be moved to the SD card.
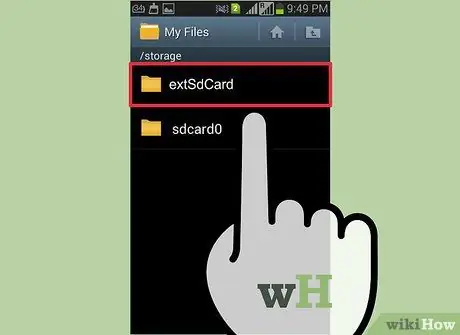
Step 7. Tap on " extSdCard
" This option will open the storage area for the inserted SD card.
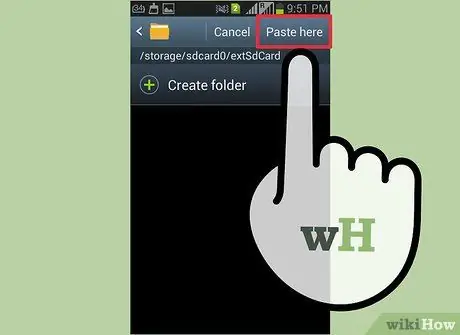
Step 8. Tap " Paste Here " and wait for the file to finish moving
You may need to wait a few minutes, if a large number of files are being moved.
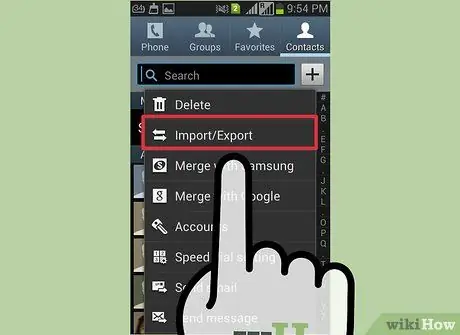
Step 9. Back up your contacts
Once all your files are backed up, you can also move your contacts list to the SD card:
- Open the Contacts app.
- Tap the "Menu" button and select "Import/Export."
- Select "Export to SD card" and tap "OK."
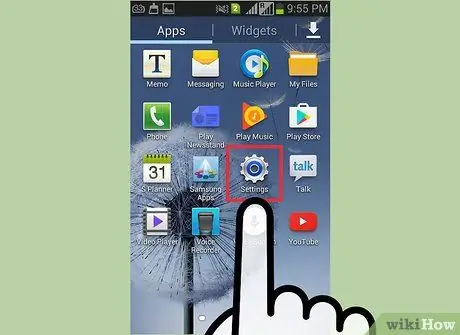
Step 10. Open the Settings app
Once you've finished backing up your files and contacts, your phone is safe to reset. To do this, go to the Settings app.
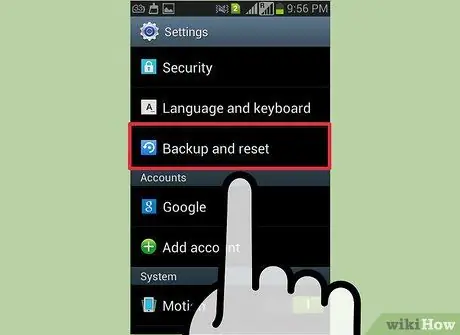
Step 11. Tap on the “Accounts” label and select “Back up and reset
" This option will open the factory reset menu.
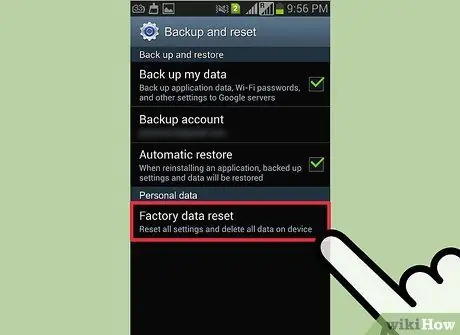
Step 12. Tap on “Factory data reset” and then “Reset device
" Once confirmed, all your phone data will be deleted and the phone's operating system will be restored. This process may take a few minutes.
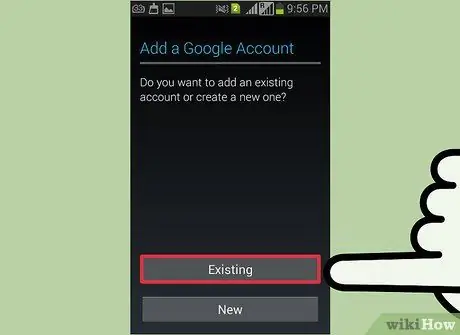
Step 13. Set up your phone
You will be taken through the phone's initial setup process. Sign in to your Google and Samsung accounts to start using your phone again.
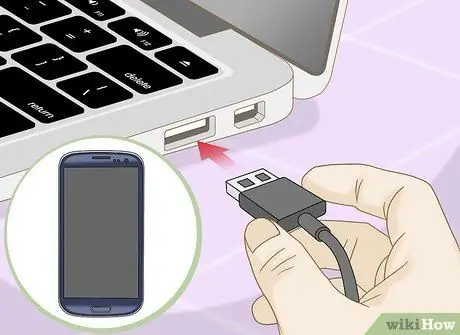
Step 14. Try connecting the phone to the computer
Once your phone is turned on and you're signed in to your account, try reconnecting with your computer. If your S3 still won't connect to your computer, it may need to be replaced


