- Author Jason Gerald gerald@how-what-advice.com.
- Public 2023-12-16 10:50.
- Last modified 2025-01-23 12:04.
Learn how to use sheet music, used maps, or paper bags to make book covers that fit well and protect your books well. Then, try decorating with accessories, such as pockets or name tags to give the book a personal touch and add to its usefulness. Finally, learn how to sew a fabric cover to protect your notebook.
Step
Method 1 of 3: Making a Paper Cover
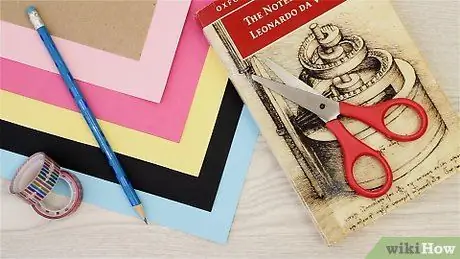
Step 1. Choose paper to cover the book
If you want to cover a book or protect your textbook, try making your own paper cover. You can cover books with old or foreign newspapers, used or new maps, sheet music, brown paper bags, etc. Unless you're covering a small book, you'll need a large sheet of paper to make the cover. At least, the length of the paper must be twice the width of the book and 6 cm higher than the length of the book when it is closed.
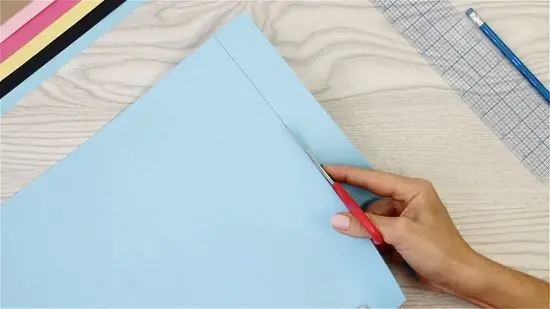
Step 2. Cut the paper to the size of the book
To find out how wide it is, open your book and spread it out on a table, then measure it with a tape measure or ruler. After that, add 15 cm (7.5 cm for both sides of the book). Next, measure the height of the book and add 6 cm (3 cm to cover the top and bottom of the book, respectively).
- Use a ruler, mark the cover paper with a pencil according to the size of the book, and cut it with sharp scissors.
- Do not spread the book so that the previous fold is in line with the edge of the cover. If it's worn, your paper will tear more easily if it's at the edge of the book.
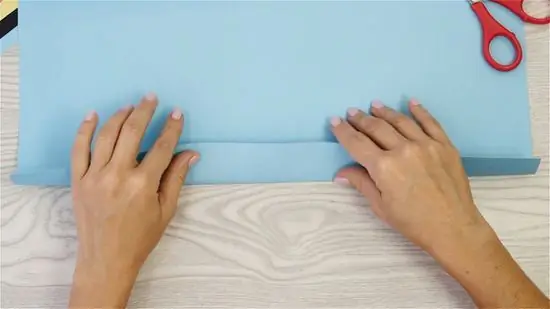
Step 3. Fold the cover paper by 0.5 cm at the top and bottom of the book
Close your book and place it in the center of the paper. Make faint marks on the top and bottom edges of the book and add 0.5 cm so that the book will fit inside the cover. Take the book out of the paper, and fold the underside of the paper cover up to the mark you made. Do the same at the top of the book; Fold the top side of the paper down to the marked area.
Repeat the folds on the paper, this time using a pen or ruler. The folds should be sharp and neat, especially if you are using thick paper
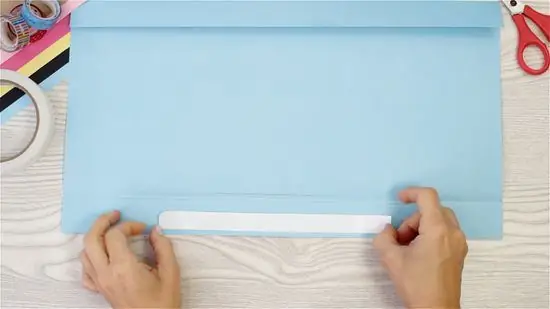
Step 4. Tape the top and bottom folds of the cover with masking tape
Use double-sided tape to glue the crease you just made so it doesn't move. Double-sided tape will help the paper stay in place once the book is covered. Attach the tape slightly to the center of the cover, leaving about 7.5 cm from the ends of both sides of the book.
Step 5. Fold the two sides of the book cover
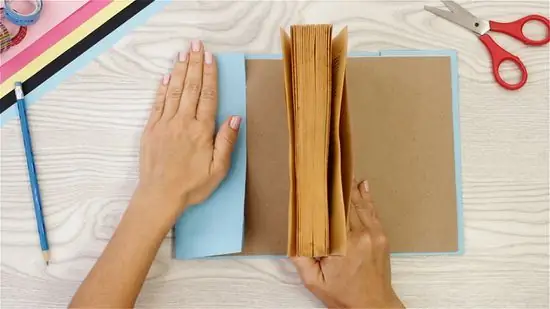
Spread the open book on the paper and place it in the center so that the cover paper on both sides is equal. Press the book down so it doesn't move, and fold the cover paper on the right side to the left. Repeat the fold again, this time lightly using the side of a pen or ruler. To maintain the thickness of the cover, do not make the folds too flat.
While the right side of the paper cover is still folded, close the book and keep the cover paper wrapped around the book, then mark where the last fold will be made. Take the book from the cover paper, and fold the left side of the paper cover to the right. Press the crease again with a pen or ruler, this time more lightly
Step 6. Insert the book into the paper cover
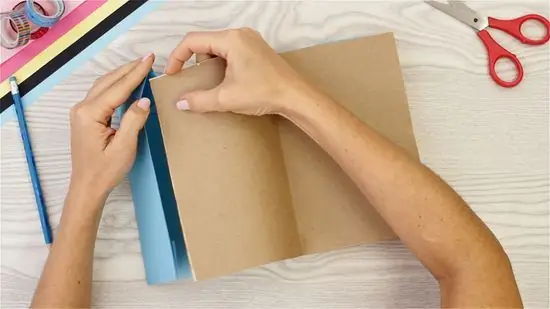
Carefully insert the back cover of the book into the fold of the back cover of your paper. After that, wrap the book with a paper cover and carefully tuck the front of the book cover into the front of the paper cover.
Method 2 of 3: Adding Accessories to the Cover
Step 1. Put a name tag on the cover
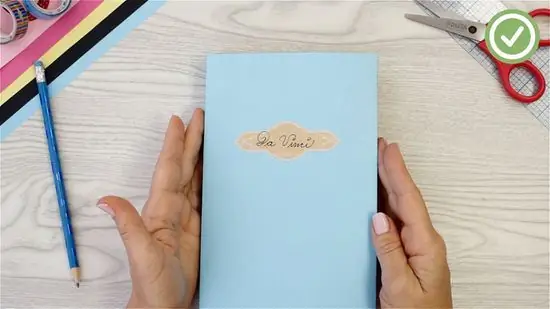
You can buy them at stationary or craft stores. Write your class and name on the label in attractive writing or font. Practice your writing first on old paper, until you find one you like. After that, write it on the name tag using a pen or marker. Use a ruler to help place the label exactly in the center of the top of the cover and glue the name tag.
Step 2. Use masking tape to create attractive horizontal stripes on the book cover
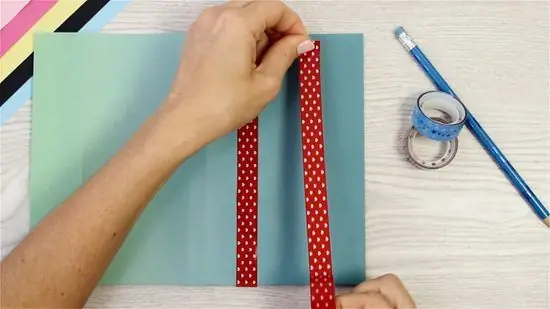
You can buy a variety of colored paper tape at a craft store. Remove the cover from your book first, or make a strip before you make the cover. Mark where the strips will be attached to the cover, approximately every 2.5-5 cm from the top of the book. Use a ruler to make sure the intervals of the stripes are evenly spaced. To keep it straight, draw faint lines on the cover with a pencil and ruler, then cover with paper tape.
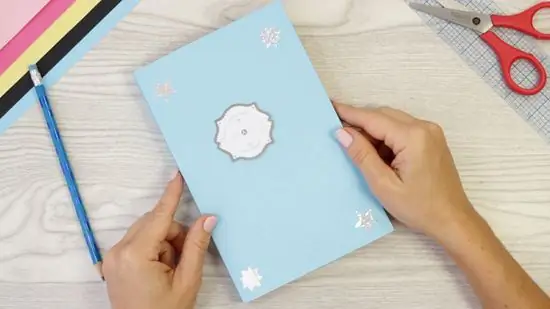
Step 3. Purchase attractive stickers to brighten up the book cover
For example, if your book cover is blue with white stripes, stick an anchor sticker on the bottom corner of the cover to create a ship-themed book cover. You can put stickers that match the color and pattern of your book cover.
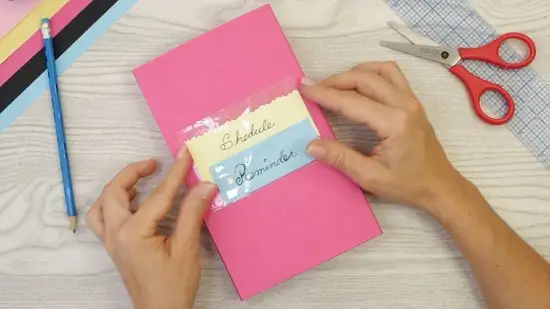
Step 4. Place the plastic bag in front of the book cover
You can create a class schedule or design a card to put in a document bag that is affixed to the front of the book cover to make it look more lively. You can purchase a self-adhesive business card or document pouch, and a label pouch that can be inserted for shipping at a stationary store. Simply tape one of these pockets to the front or back of your book cover.
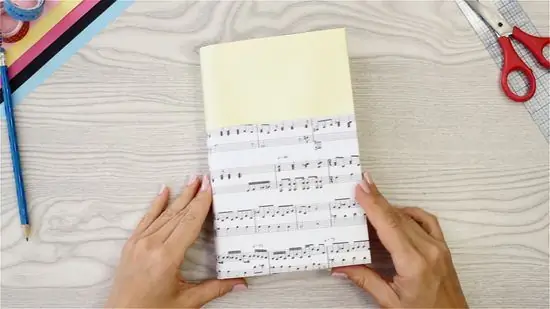
Step 5. Make a pocket on your book cover using paper
To create it, we will repeat the “Creating a Paper Cover” method, but we will use two sheets of paper (instead of one). The second paper will create a pocket on the cover of the book. You can use two different colored construction paper, one plain and one patterned paper, sheet music sheet, or other paper which are then stacked on top of each other to make pockets on book covers. This pouch will make a cool accessory on your book cover. Please keep documents or the like in the front pocket of your book cover.
- To make a pocketed cover, spread two pieces of paper stacked on top of each other on a table, but slide the paper at the base 5 cm down so that it is sticking out of the paper above.
- Tape the edges of the two stacks of paper together with double-sided tape so that they stick together firmly.
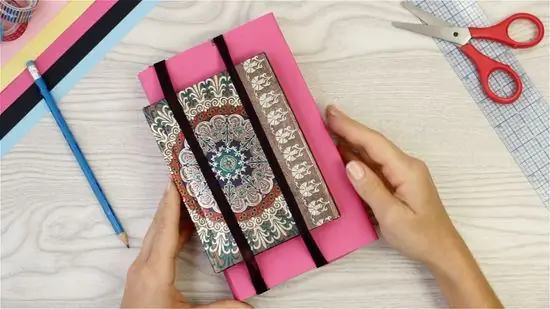
Step 6. Make a notebook pocket on the cover of the textbook using a rubber band
If you're using a mini notebook, make a pocket out of a rubber band so it can fit on the cover of the textbook. Thus, the notebook does not disappear from the bag. Simply take two large rubber bands and attach them around the long side of the front cover so that they are slightly wider than the notebook.
To prevent the notebook on the cover from falling off, clamp the lower rubber band near the opening of the book, then secure it on the upper rubber band near the spine
Method 3 of 3: Making a Cloth Book Cover
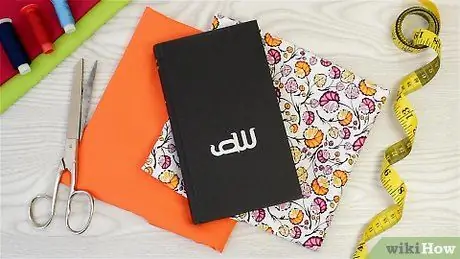
Step 1. Prepare one or two fabrics to make a book cover
If you have a sewing machine, the process of making covers can be much easier. Choose one fabric as the cover and the other as the “tongue” inside the cover. You can use a combination of plain and patterned fabrics, two different colored plain fabrics, or two different colored fabrics.
- Wash your covers first so they don't shrink. We recommend that the fabric is also ironed before use.
- The fabric used on the inside of the cover is smaller than the fabric for the outside.
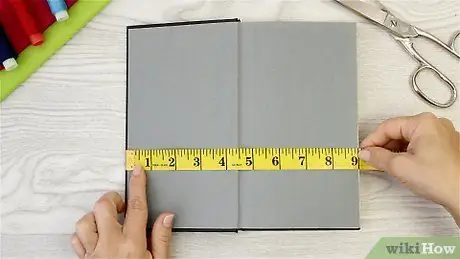
Step 2. Measure your book cover
Use a ruler or tape measure to find the width and height of your book. To get the height of the cover, measure the height of the notebook and increase the result by 2.5 cm. As for the length of the cover, multiply the width of the notebook by two, then add the result to the width of the spine, and finally add it back by 2.5 cm.
- For example, the height and width of a notebook, for example, are 8 x 6 cm. Multiply the width of the book by 2 so (6 x 2 cm = 12 cm), add it to the width of the spine (for example 0.5 cm) so (12 cm + 0.5 cm = 12.5 cm). Finally, add another 2.5 cm so that (12.5 cm + 2.5 cm = 15 cm). Thus, the size of your book cover is 8 x 15 cm.
- To measure the height of the inner cover tongue, use the same number as the outer cover height (eg 8 cm). As for the width, divide the length of the outer cover by 3 (in this example, 15 cm / 3 = 5 cm). So, the size of the inner cover is 8 x 5 cm.
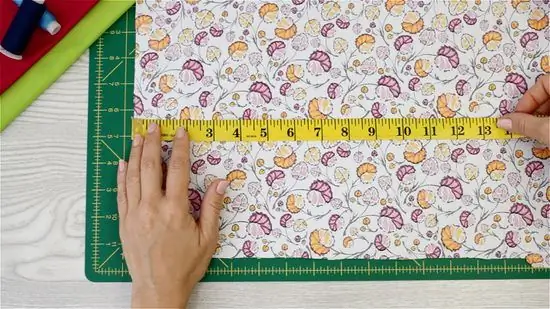
Step 3. Cut the fabric to the size obtained
Draw a faint straight line on the fabric with the help of a ruler according to the size previously found, and cut it using scissors. Cut two pieces of cloth for the outer cover, and another 2 pieces of fabric for the tongue on the inside.
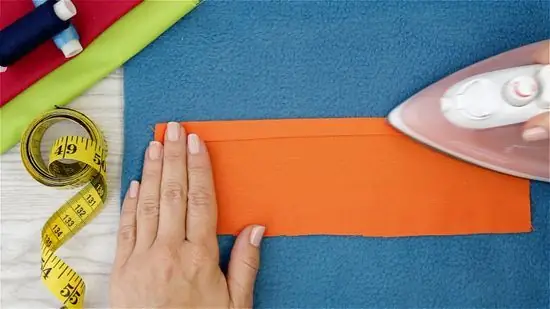
Step 4. Iron the folded fabric
Fold the fabric along one of the long sides of the fabric for the tongue on the inner cover by 0.5 cm, and iron so that the crease is flat. After that, fold the fold again by 0.5 cm so that it produces a double fold. Re-iron your folds so they are flat. Do this double fold on both sheets of fabric for the cover tongue.
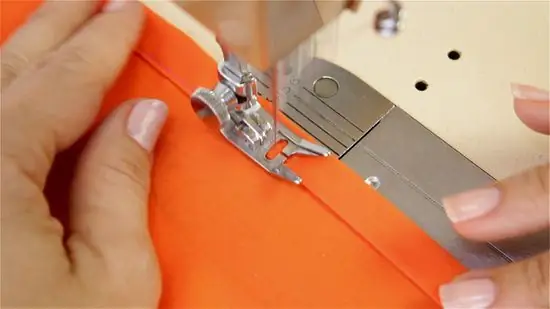
Step 5. Sew the double fold so that it closes tightly
Sew the inner side of the double fold so it doesn't open. Repeat the stitches on the top and bottom of the fabric, making sure the stitches don't open at the ends. Repeat this process with both covers
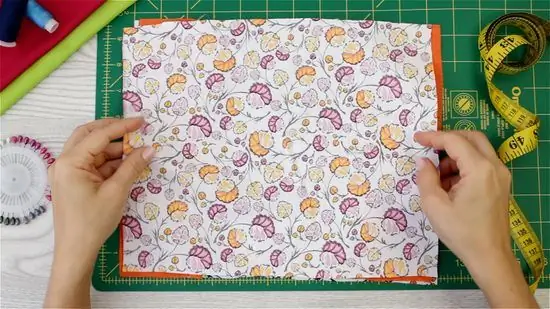
Step 6. Overlap your fabrics, and pinch them so they don't move
Spread the larger fabric on the table with the colored or patterned side facing up. Then, place the small cloth for the tongue cover on top of the large cover cloth so that each covers the left and right sides of the large cloth. The side of the small cloth that is sewn should be facing the center of the large cloth. After that, place the last sheet of large fabric on top of the previous three fabrics with the colored or patterned side facing down.
Clamp the four fabrics so they don't move. To prevent the fabric from shifting as you sew, place four safety pins on the top and bottom of the fabric, and three safety pins on either side of the fabric
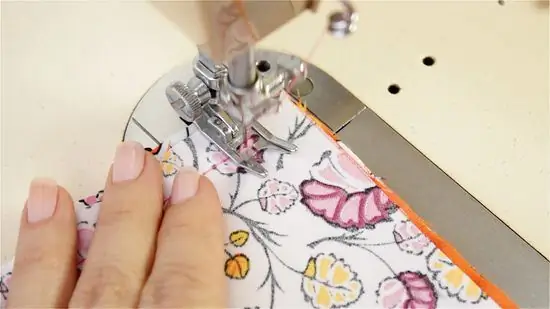
Step 7. Sew the edges of your cover using an inseam 1 cm apart
Leave a 2cm gap in the center of the top or bottom of the cover so you can turn the cover over when you're done sewing.
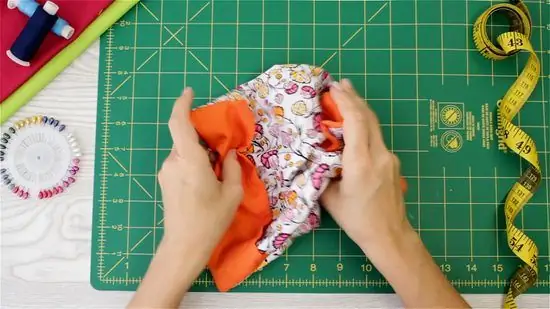
Step 8. Dump the corners of the fabric using scissors, then turn the cover over
Cut the four sharp corners of the fabric with scissors until they are blunt, then turn the book cover so that the inside is now outside. Make sure the four corners are also reversed.
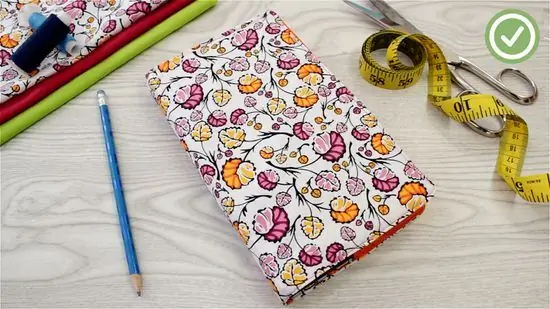
Step 9. Iron the book cover and sew the inner side of the cover
Flatten your cover with an iron, and sew all four sides of the cover. You can use a 1 cm seam. This stitch will close the 2cm gap left, and make the cover look clean and finished.


