- Author Jason Gerald [email protected].
- Public 2023-12-16 10:50.
- Last modified 2025-01-23 12:04.
While you've often heard that a book shouldn't be judged by its cover, the cover is actually a very important aspect when you want to market a book. If you want to create a book cover using Wattpad.com, the process isn't that difficult as long as you follow some general suggestions. With a few easy steps, you can get a professional-looking book cover to complete the story!
Note: You must have Microsoft Word on your computer to follow these instructions.
Step
Method 1 of 4: Following General Rules
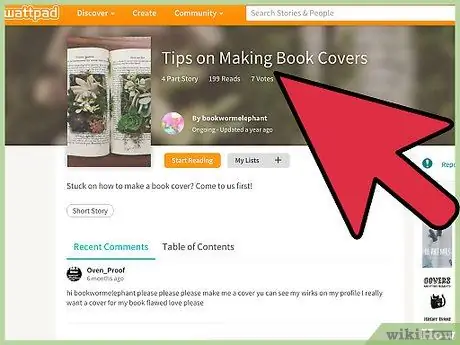
Step 1. Show a professional attitude
Your book cover is the first thing people notice when they see your book. The cover should not appear “stray”, distracting, overly comical, and weird. Even if the content of your book is very funny, the cover used should still look professional. Remember that there is a difference between professional and boring. Your book cover should be attractive and eye-catching, and also look neat and clean.
- For example, it's fine if you want to use an image of a man running around the soccer field completely naked. You just need to find a professional way to present the “scene”. You may need to use a photo taken from behind and far away so that the entire pitch and view of the empty stadium can be seen. A cover like this looks attractive, professional, and captivating.
- Make sure people can see the title of the book. Don't let the title "drown" into the background of the cover.
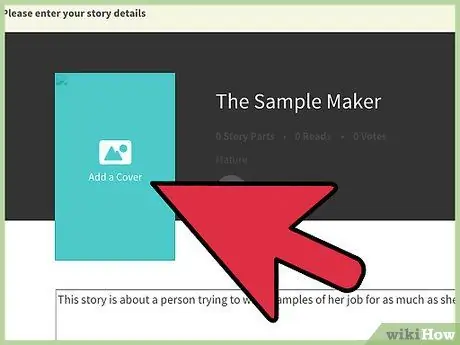
Step 2. Keep the cover look simple
You don't need to add a lot of elements to make your cover look appealing. Do not choose an image that is too complex or crowded. Remember that most people will only glance at books. Therefore, your cover should stand out, without looking too complicated. You also don't need to use Photoshop or other more complicated editing programs to create a good book cover. If you do, there's a good chance you'll only end up with badly edited photos.
Step 3. Complete your story with a cover
All aspects, from text, color schemes, to images will act as story extensions. These aspects don't necessarily reflect the scenes or characters of the story, but they must match the general atmosphere or atmosphere that the reader can feel when reading your book.
Method 2 of 4: Selecting an Image
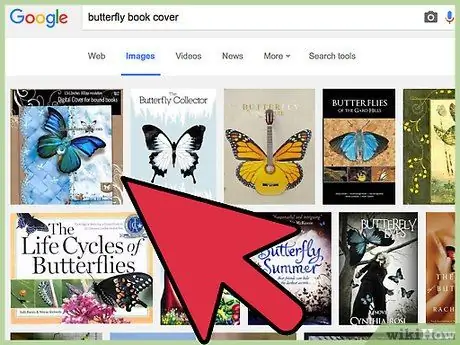
Step 1. Find an image you can use
Using images from Google may not be the right thing. You may use copyrighted images for commercial use. Try using the Creative Commons Flickr service to find photos you can use for free. You can also scan your photos and use them as book covers.
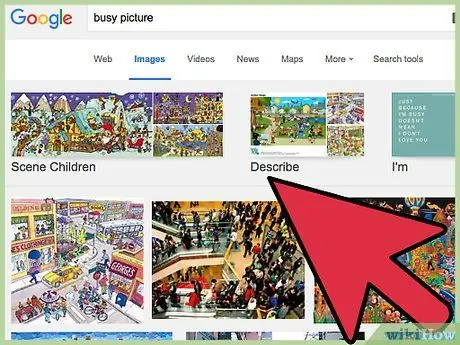
Step 2. Avoid using images that are too “crowded”
If there are too many elements in a photo, there's a good chance it won't catch the attention of others. You don't need too many elements in the photo. However, you need space to place the title and author's name.
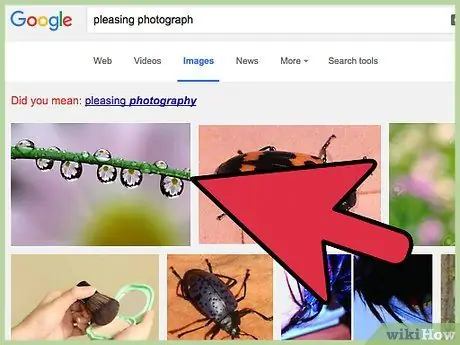
Step 3. Choose a visually appealing photo
Use photos that people want to see. Even if the story you write is horror-themed, the gut and blood images aren't particularly appealing when used as a book cover. Choose an image that looks scary, but is also pretty, such as a dark lake or a forest at night.

Step 4. Trust in your courage and show a willingness to wait
You can definitely feel it when you see the cover of the book that is made. Don't hold on to a book cover that you doubt. There are lots of other beautiful pictures so you shouldn't stick to just one picture until you can find another that is more captivating. The image used as the cover should make you proud and happy when you find it, and not make you feel the need to look for another image.
Method 3 of 4: Selecting a Font

Step 1. Choose a font that is easy to read
The image and title on the cover must be able to attract the attention of others. If no one understands the writing/text on the cover, there's a good chance that other people won't be interested in your book. By nature, we usually pass or ignore unreadable (or difficult to understand) writings.

Step 2. Use one font for the title, and another font for the author's name
Some writers recommend using one specific font to highlight certain words in the title, as well as another type of font for other words, including the author's name. This can also be a tactic to follow. Make sure the two fonts used are not too different from each other.

Step 3. Do not use more than two types of fonts
Using more than two types of fonts can make the cover look cluttered and crowded. Stick to two types of fonts that match and complement each other.
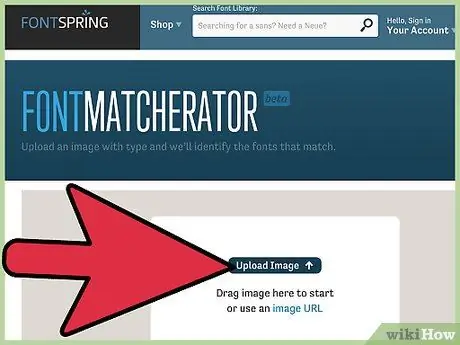
Step 4. Make sure the photos and fonts used look good
Don't choose fonts that are bloated or cheerful if you're using a beautiful landscape image. Choose a font that seems to match the image used.
Method 4 of 4: Making a Book Cover

Step 1. Open Microsoft Word and enter the image you want to use
Click the "Insert" tab, then select "Picture". Select the image you want to use from the window that appears, and resize it to the Microsoft Word document without stretching it or making it look broken.
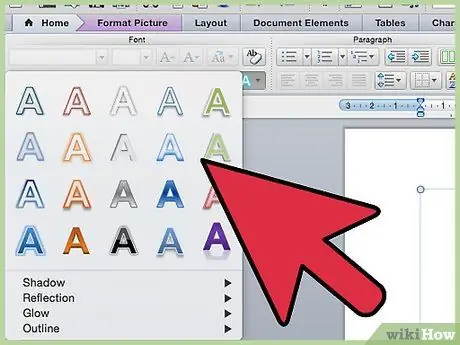
Step 2. Enter the cover text
On the "Insert" tab of the Microsoft Word document, click "WordArt". Select the desired design, then edit the text to serve as the title of the Wattpad story. Change fonts, colors and effects as desired. Adjust the size and place the text on top of the photo (make sure the text fits into the photo and that no words “hang” or extend over the sides of the photo). Do the same process for your Wattpad author name/username.
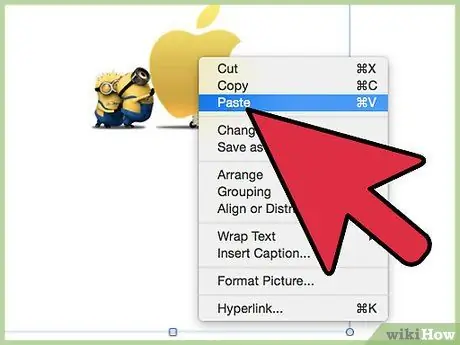
Step 3. Take a screenshot
Press “ctrl” and “prt sc” (“control” and “print screen”) keys simultaneously, then right-click the Microsoft Word document. Select "Paste". The screenshot will be displayed in the document. You can also follow these steps through the Paint program.
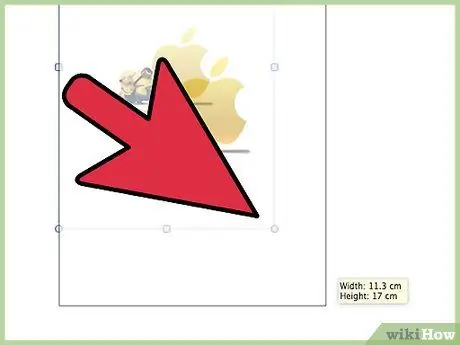
Step 4. Crop the image to the right size
Once the screenshot is displayed, click on the snapshot and select the “Picture Tools” tab > “Format“. Select " Crop " which is on the right side of the menu. Crop the image to serve as a book cover by moving the black indicators on each side of the image, then clicking the " Crop " button again. Now, your book cover is finished.
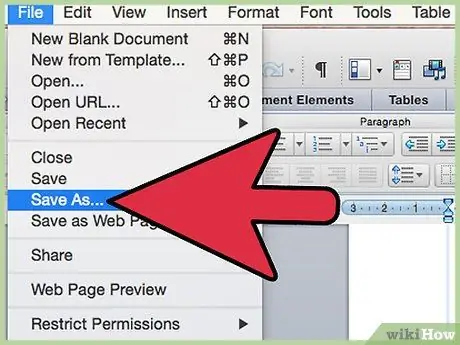
Step 5. Save the created book cover
Right-click the cropped photo, then click "Save as Picture". Save the file to a photos folder or other directory that you can easily find.
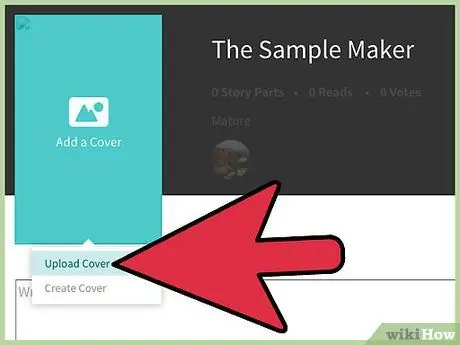
Step 6. Upload the photo to Wattpad
You will need to create an account, but once the account is created, you will see a button on the main page of the website to upload a book cover. Easy isn't it? Now you have a beautiful book cover to complete the created story!
Tips
- Make sure you can see the images and text clearly when the book cover is uploaded (because the cover on Wattpad looks smaller than it looks on the screen).
- Do not use images from the internet without permission to use them.
- Make sure the book cover is the right size. Otherwise, the cover will be automatically cropped to the correct size.
- Make sure you don't use black or dark colors in front of a black background. Use bright colors in the text.
- Make sure your name is displayed on the cover of the book so that no one else can steal it and use it as their cover.
- Choose a cover text font that matches the story. For a sad story, don't use block letters that look cheerful. Concatenated letters will appear more effective for the theme of such a story.


