- Author Jason Gerald gerald@how-what-advice.com.
- Public 2023-12-16 10:50.
- Last modified 2025-01-23 12:04.
If you want to save an image from an email to your iPhone, there are a few simple steps you should follow. Saving pictures from email to iPhone is an easy task and only takes a few minutes. Whether you want to save an image to the photos app or iCloud, all you need is a few taps on the email screen.
Step
Method 1 of 3: Saving Images Attached to Photo Gallery
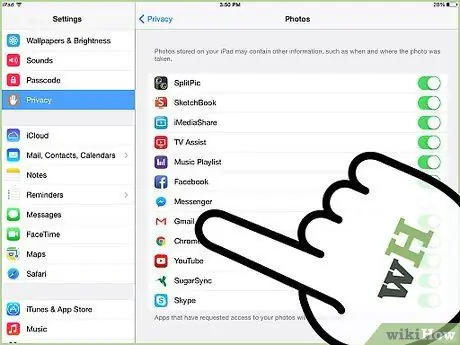
Step 1. Grant access to the photos in your phone for your mail server (usually Gmail)
Be aware that if this is your first time downloading photo attachments, you will need to grant access, for your email server, to the photos you have taken from your device. Here are the steps:
- Visit Settings on your iPhone.
- Scroll down and select Privacy.
- Next, select Photos.
- Turn on your mail server (usually Gmail).
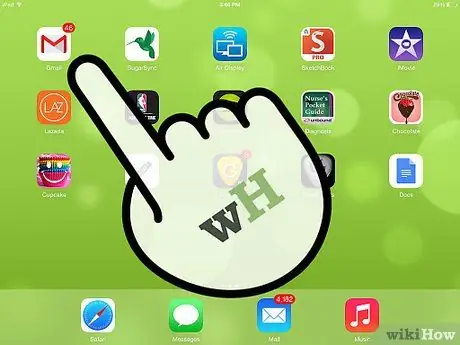
Step 2. Open the email on your iPhone
Find the email with the image you want to save. Open the email and scroll down until you see the attached image. Attachments are actually separate additions to an email, and can usually be found at the bottom of the email.
If the image you want to save is part of a conversation across multiple emails between the same people, you probably won't see it until the bottom of the email. Just scroll down your phone screen until you see the attachment
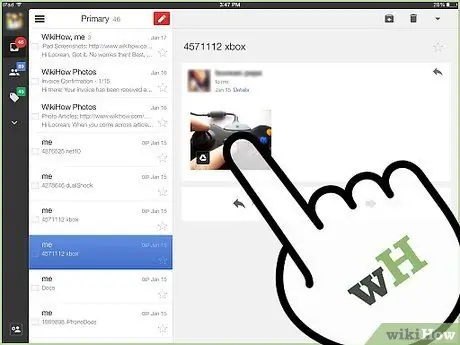
Step 3. Touch the attached photo
A Share button will appear on the top right side of your iPhone screen. Usually, all attachments will be downloaded automatically when you open the email. If the download is not finished when you select your attachment, all you have to do is tap and hold on the photo to start the saving process.

Step 4. Tap the Share button
Clicking this button will provide several sharing options. Select the Save To Photos (or Save Image) option. After you click the Save To Photos (or Save Image) option, the image you selected will be placed in the Photo Gallery.
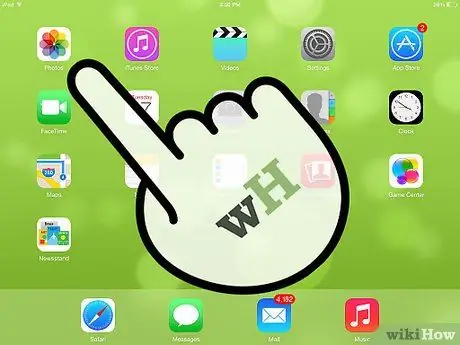
Step 5. Visit your Photo Gallery
To make sure your image has downloaded successfully, visit the Photo Gallery on your iPhone and search for the image. It should be the first image you see when you open Photo Gallery.
Method 2 of 3: Saving Images Attached to a Cloud Drive
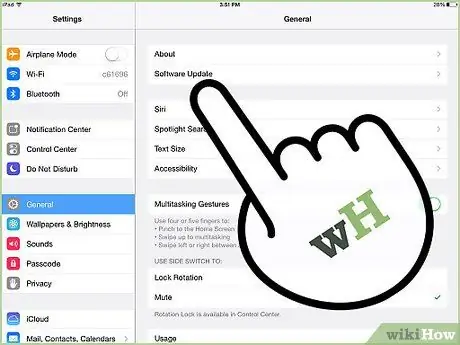
Step 1. Make sure your phone is running the latest iOS version
If you want your pictures to be accessible anytime and anywhere, the solution is to save them to iCloud. However, you should first make sure that your iOS is on the latest version.:
- Go to the Settings menu.
- Click General.
- Tap Software Update to find out if a new version is available. If so, you'll see a Download and Install button at the bottom of the update screen.
- Click Download and Install, and wait for the update to complete.
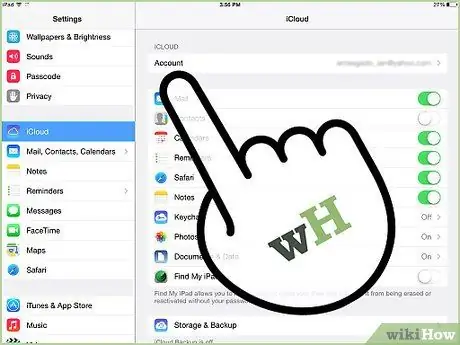
Step 2. Set up and set up iCloud
If you recently installed an update, or turned on a new iOS device, follow the setup instructions Apple provided for your device. These instructions will walk you through the process of setting up iPhone with the features you want, like iCloud. If you didn't install an update or turn on a new device by bypassing iCloud settings, follow the steps below to enable iCloud on your phone:
- Click the Settings button on the Home screen.
- Select iCloud.
- Enter your Apple ID (this is the same ID you use to purchase and download media on iTunes).
- Turn on iCloud.
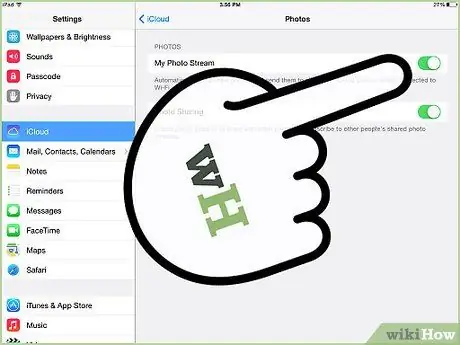
Step 3. Turn on My Photo Stream so that your image attachments download automatically
This can be a good option if you want to sync most of your pictures to iCloud and other devices. Follow the steps below to enable automatic downloads:
- Visit the Home screen.
- Tap the Settings icon.
- Select iCloud.
- Click Photos.
- Turn on My Photo Stream.
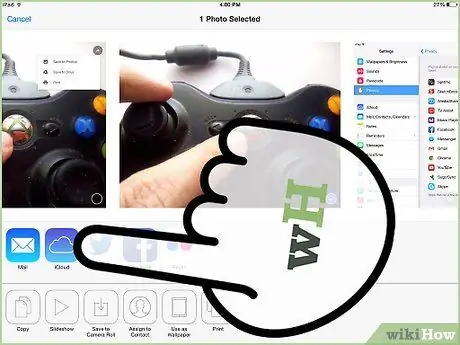
Step 4. Remember to always make copies of your photos
Pictures in My Photo Stream are stored on iCloud for 30 days. If you wish to save and/or copy these images, you must save them from My Photo Stream to your device. Follow these steps:
- Select the pictures you want to save.
- Select Shares.
- Select Save Image.
- Now you can copy photos with iCloud or iTunes.
Method 3 of 3: Saving Images Embedded in Emails to Your iPhone
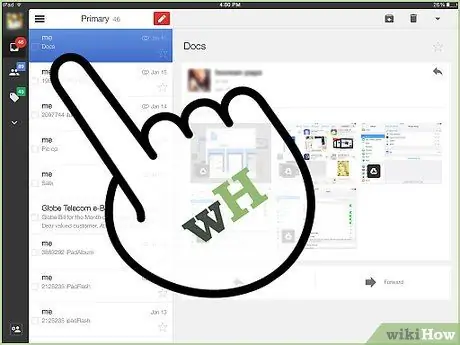
Step 1. Open the email with the image attached to its body
In this case, the image is not sent as an attachment, but is placed directly in the body of the email. Open the email.
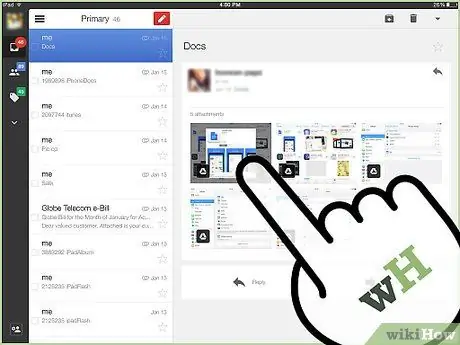
Step 2. Find the image in the email
If there are multiple photos you want to keep, save them one at a time.
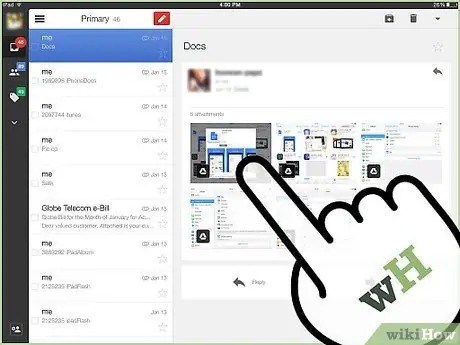
Step 3. Tap and hold on the image of your choice
After you've done this for 1 to 2 seconds, you'll see two options for the photo:
- Save Image
- Copy
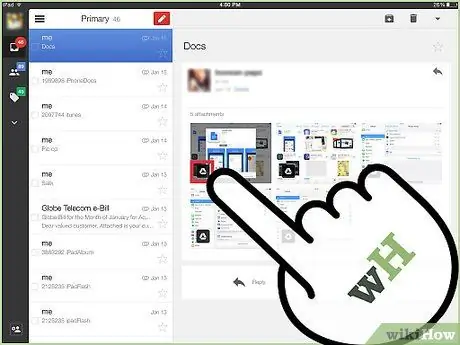
Step 4. Click Save Image
After these two options appear, select Save Image. This step will save the image to the camera roll (Photo Gallery) on your iPhone.


