- Author Jason Gerald [email protected].
- Public 2024-01-19 22:11.
- Last modified 2025-01-23 12:04.
Partitioning a drive means dividing the drive into two smaller, separate drives. The larger the drive, the longer it will take for the computer to read data from it, therefore partitioning a large drive will speed up access times. By partitioning the drive, you can also separate the operating system from other files, making the process of backing up important data faster and easier. In addition, partitioning the drive allows you to install a second operating system on the computer. Before partitioning a drive, take into account the remaining space on the drive, and the reason you are partitioning the drive, so that you can calculate the space to be allocated to the new partition.
Step
Method 1 of 2: Freeing Space to Partition
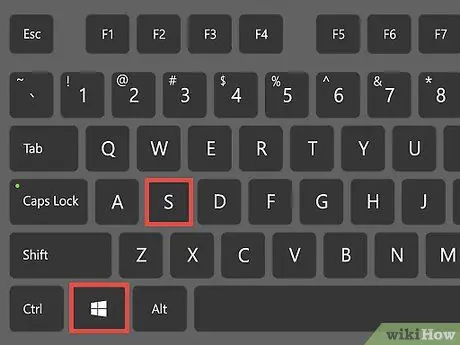
Step 1. Open the Windows search menu by pressing Windows + S
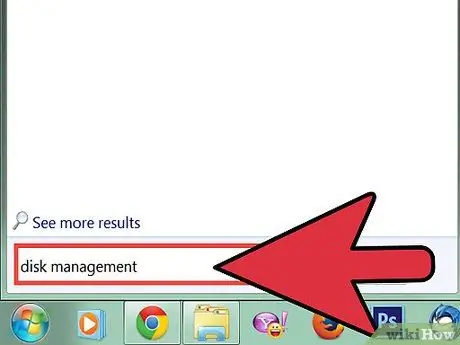
Step 2. In the search field, enter disk management, then press Enter
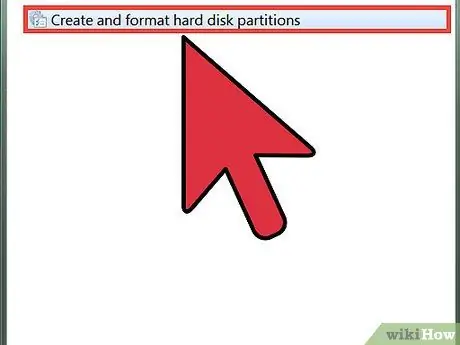
Step 3. Click Disk Management
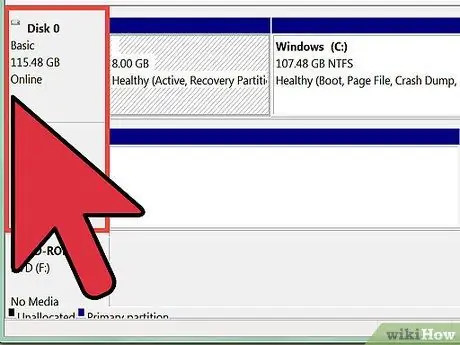
Step 4. Look at the drive in the Volume column in the Disk Management window
Drive (C:) is usually the Windows system drive, containing the files needed to run Windows. The Capacity column shows the free space on the drive.
If your drive is more than 90 percent full, you shouldn't partition the drive, because your drive is practically full
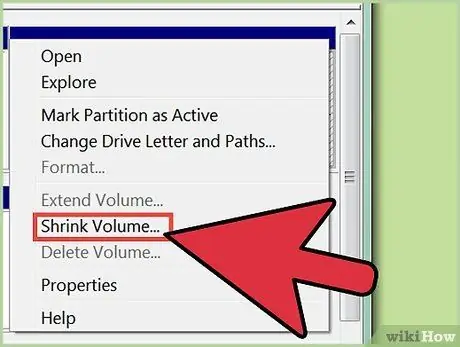
Step 5. Minimize the drive before partitioning
This process will free up space on the drive, so the drive can be partitioned. Right-click the drive you want to partition, and then click Shrink Volume.
- The computer will take into account the remaining storage space that can be made available for the partition. When calculating, the message Querying Shrink Space will appear.
- When finished, the computer will display the Shrink dialog box.
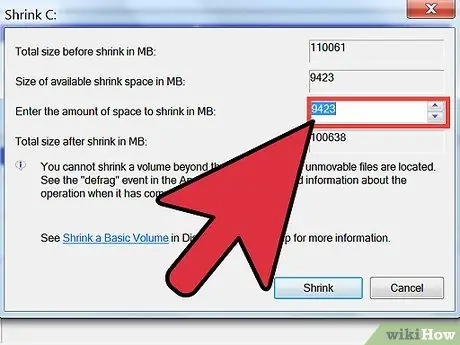
Step 6. Specify the amount of storage space you want to partition in megabytes in the Enter the amount of space to shrink in MB field
- If you want to use the entire remaining drive for a new partition, copy the number in the Size of available shrink space in MB field to the Enter the amount of space to shrink in MB field.
- The size used in the columns above is megabytes. 1000 megabytes equals 1 gigabyte.
- It is recommended that you set aside more storage space than you need for the new partition, as the megabyte count may differ, and more space is better than smaller space.
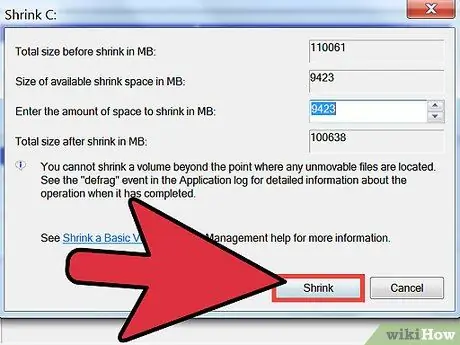
Step 7. Click Shrink
The space you allocated for the new partition will now appear as Unallocated in Disk Management.
Method 2 of 2: Partitioning the Drive
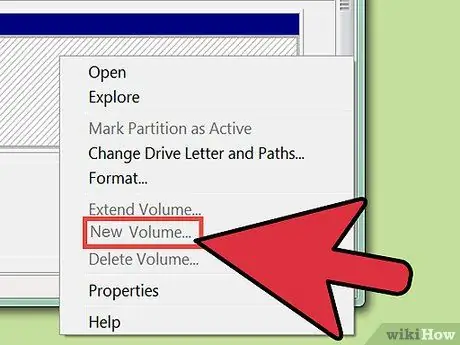
Step 1. Create a new partition on the drive by clicking the Unallocated area, then selecting New Simple Volume.
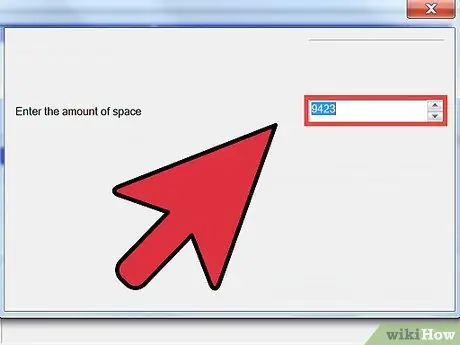
Step 2. Determine the size of the new drive by filling in the Simple volume size in MB field in the Simple Volume Wizard wizard
When finished, click Next.
If you want to use all of the unallocated storage space, enter a number in the Maximum disk space in MB field
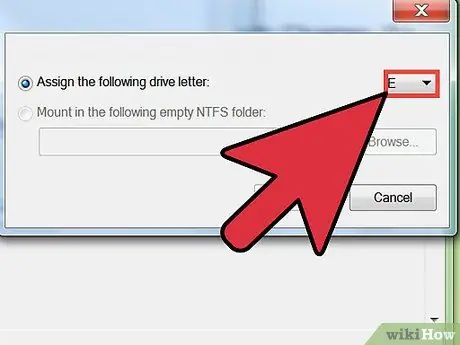
Step 3. Provide a drive letter by clicking the Assign the following drive letter button, then selecting a drive letter from the available menus
After selecting the drive letter, click Next.
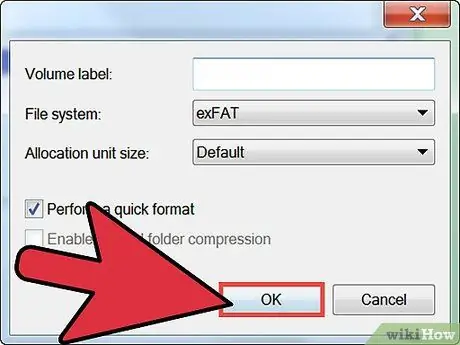
Step 4. Select the file system for the new partition
Click the Format this volume with the following settings button, then click Next.
- You can use the default options.
- The file system is the structure of the drive. NTFS, or New Technology File System, is a Microsoft file system. Choose this option, unless you have a specific reason. Other file systems you can use are FAT32 and FAT. If you want to use Windows 95, 98, or ME, choose FAT32 or FAT.
- Allocation unit size (AUS) is the block size of the drive's memory. A smaller AUS will allow the drive to store data more effectively. Choose the Default option, unless you have a specific reason. If your drive is used as media storage, you may want to use the largest AUS size.
- The volume label is the name of your partition. Use the partition name according to taste or need.
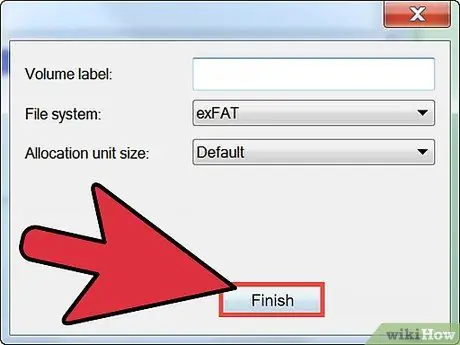
Step 5. Click Finish on the final screen that displays all of your selected options
After clicking Finish, the process of formatting the new partition will begin.
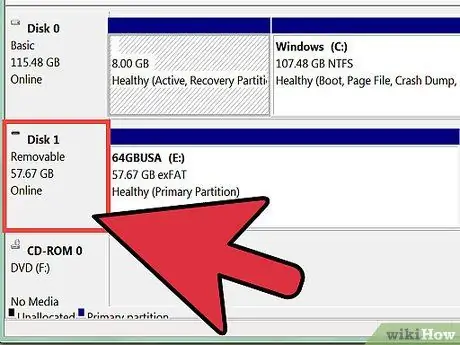
Step 6. Check the new partition
In the Disk Management window, make sure Unallocated Space has changed to a new drive letter.


