- Author Jason Gerald [email protected].
- Public 2023-12-16 10:50.
- Last modified 2025-01-23 12:04.
This wikiHow teaches you several ways to reset the adapter and WiFi connection on a Windows computer. Problems with wireless networks can usually be resolved by disabling and re-enabling the adapter, but sometimes you need to take a more serious step by reinstalling the driver or resetting all of your computer's network adapters and settings.
Step
Method 1 of 4: Turning Off and Restarting the WiFi Adapter
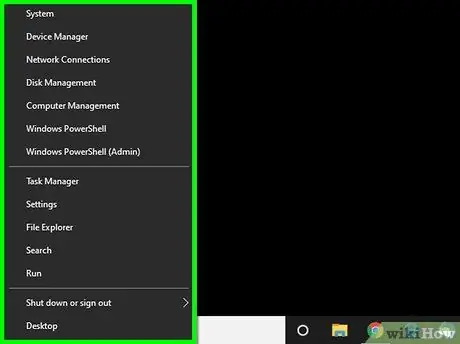
Step 1. Right-click the “Start” menu button
If you are using Windows 10, a right-click menu will appear.
-
If you are using Windows 8, 7, or Vista, follow these steps:
- Click the "Start" menu and select " control panel ”.
- Click " Network and Sharing Center " If you don't see it, click " Network and Internet " You can find the “Network and Sharing Center” option on the new page.
- Click " Change adapter settings ” in the left pane.
- Move on to step four.
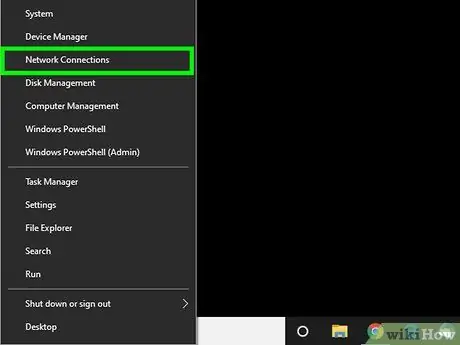
Step 2. Click Network Connections
It's in the middle of the menu.
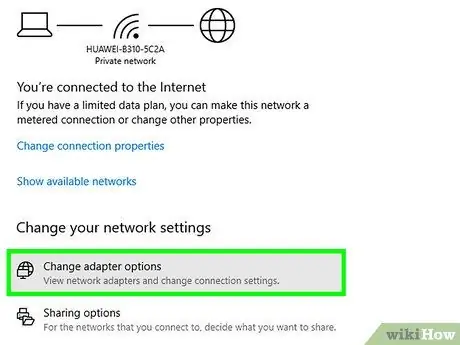
Step 3. Click Change adapter options
This option is under the "Change your network settings" section in the right pane. A list of all connections will be displayed.
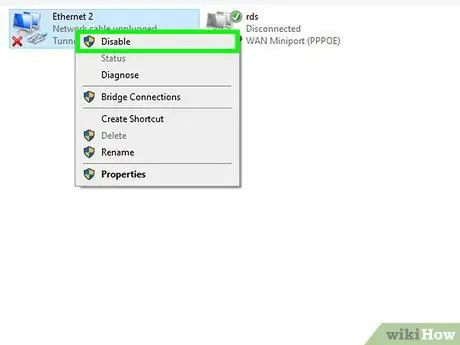
Step 4. Right-click the WiFi connection and select Disable
The computer's wireless adapter will turn off.
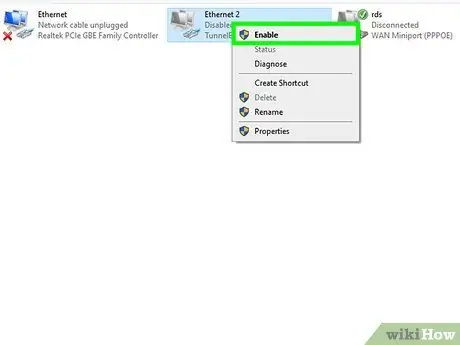
Step 5. Right-click the WiFi connection and select Enable
The adapter will restart and connect to the main WiFi network.
- If you are still having problems with the connection, try connecting your computer to a different wireless access point. If the connection is working, the problem may be on the part of the internet service provider.
- If you're still having trouble, try resetting all network adapters via Command Prompt.
Method 2 of 4: Resetting All Adapters on Windows 10
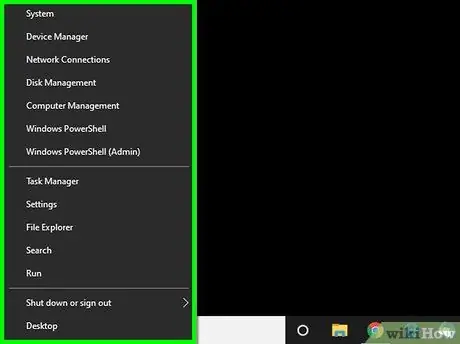
Step 1. Right click the “Start” button
The menu will be displayed afterwards. This method will erase all computer network connections and settings, including the wireless adapter. If you have disabled and re-enabled the adapter, and the issue is not resolved, follow this method.
- This method outlines the easiest way to reset network adapters in Windows 10. If you are using an older version of Windows or prefer to use the Command Prompt, you can reset all network adapters from the program.
- Since this method will restart the computer, save any open work.
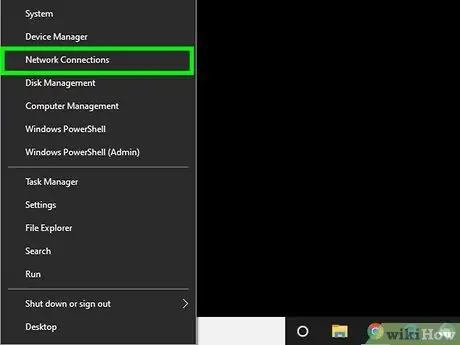
Step 2. Click Network Connections
It's in the middle of the menu.
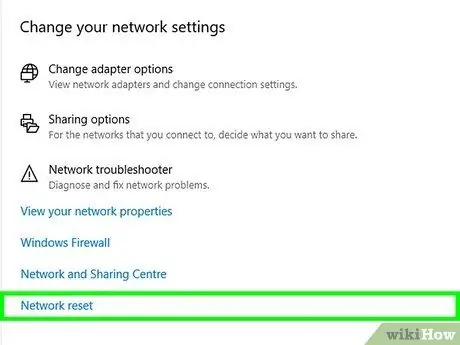
Step 3. Scroll down and click on Network reset
This option is one of the links above the “Have a question?” segment. You will see a message telling you that all network adapters will be removed and reinstalled, and that you will need to reconnect your computer to the internet afterwards.
You may need to reinstall the currently running VPN program after the reset is complete
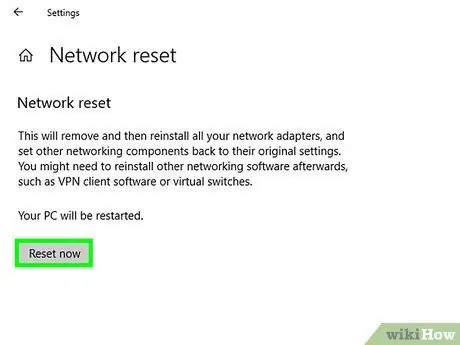
Step 4. Click Reset now
The complete network adapter reset process will begin. After all adapters are removed, the computer will restart and the adapters will be reinstalled automatically.
Method 3 of 4: Resetting All Network Adapters Via Command Prompt
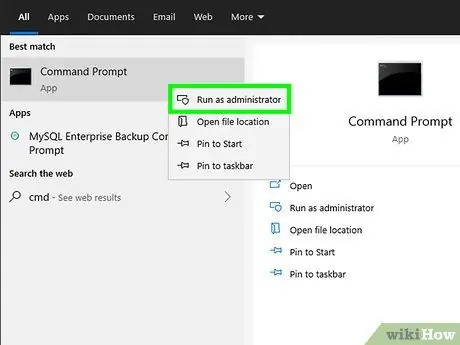
Step 1. Open Command Prompt with administrator rights
This method will delete all computer network connections and settings (including the wireless adapter) and reinstall them. If you've tried disabling and re-enabling the wireless adapter, and the network outage isn't resolved, follow this method on any version of Windows. Here's how to open Command Prompt at administrator level (or with administrator rights):
- Press Win+S to open the search bar.
- Type cmd into the bar.
- Right click " Command prompt ” in the search results to open the menu.
- Click " Run as administrator ”.
- Enter the password if prompted.
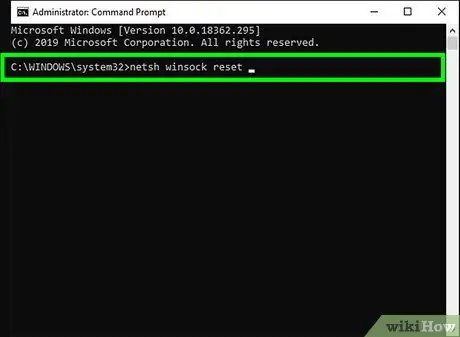
Step 2. Type netsh winsock reset and press Enter
Once the command is executed, you will be returned to the Command Prompt window. You need to run some additional commands in a certain order.
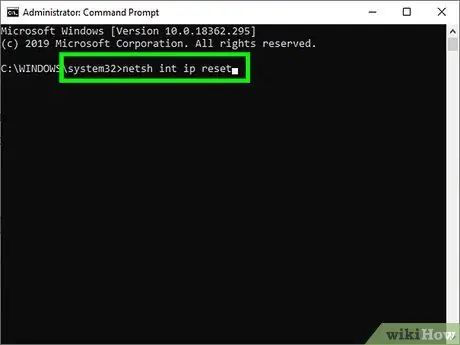
Step 3. Type netsh int ip reset and press Enter
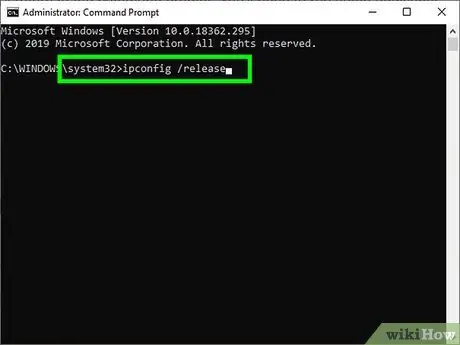
Step 4. Type ipconfig /release and press Enter
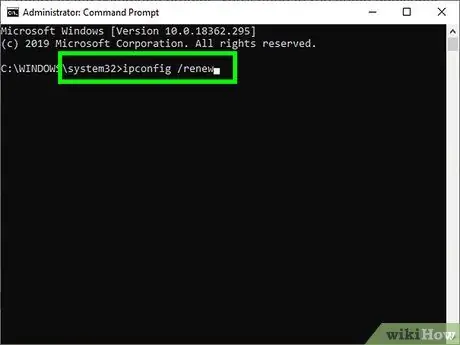
Step 5. Type ipconfig /renew and press Enter
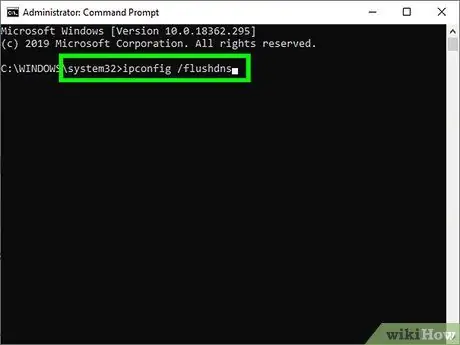
Step 6. Type ipconfig /flushdns and press Enter
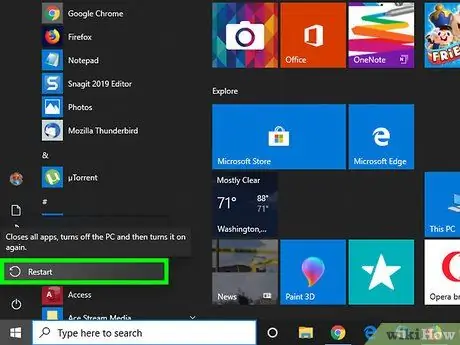
Step 7. Restart the computer
After the computer restarts, you will need to reconnect the computer to the WiFi network, including re-entering the network password (if applicable).
- If you're still having trouble with your connection, try connecting your computer to a different wireless access point. If the connection is smooth, the problem may be with the internet service provider you are subscribed to.
- Proceed to the "Removing and Reinstalling Wireless Driver" method if you are still having problems.
Method 4 of 4: Removing and Reinstalling the Wireless Driver
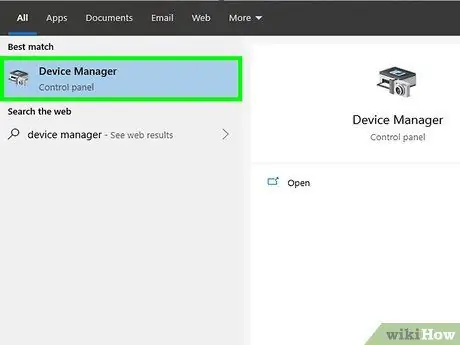
Step 1. Open Device Manager
If you are unable to fix the wireless network problem by disabling and re-enabling the adapter, there may be a problem with the driver. Follow these steps according to the version of Windows you are using to access the Device Manager program:
- Windows 10 and 8: Type device into the Windows search bar and click “ Device Manager ” when the option appears.
- Windows 7 and Vista: Open the “Start” menu and select “ Control Panel " Click " Device Manager ” which is displayed under the “System” segment.
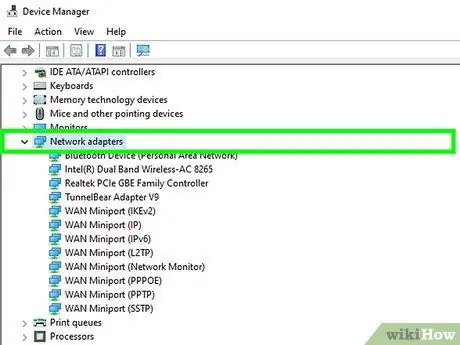
Step 2. Click the arrow next to "Network adapters"
The list of network hardware will be expanded.
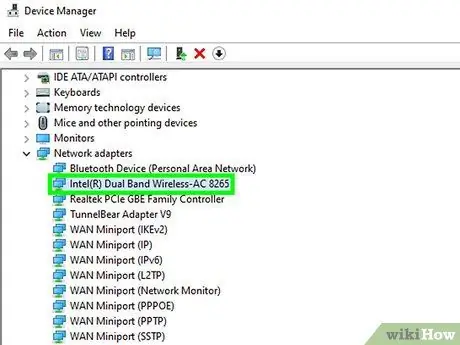
Step 3. Double-click the wireless adapter
Adapter is an option that includes " wireless " or " Wi-Fi ".
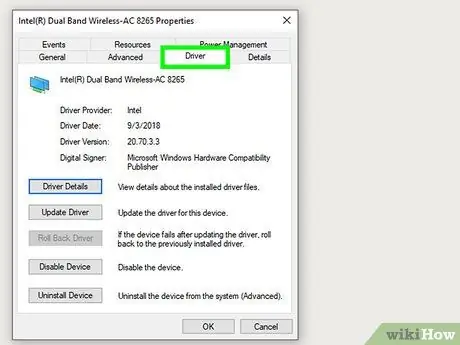
Step 4. Click the Drivers tab
It's a tab at the top of the window.
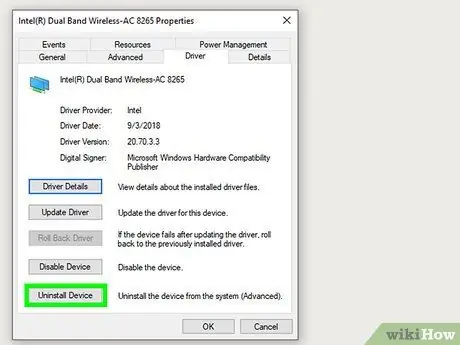
Step 5. Click Uninstall Device
It's at the bottom of the window. A confirmation message will be displayed after that.
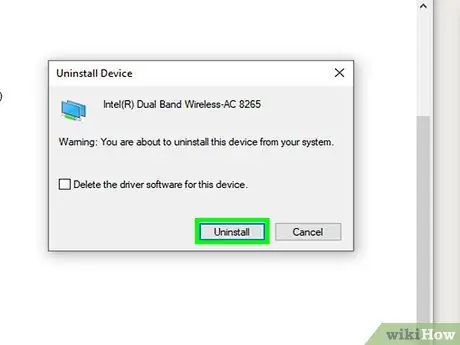
Step 6. Click Uninstall to confirm
The WiFi driver will be removed from the computer.
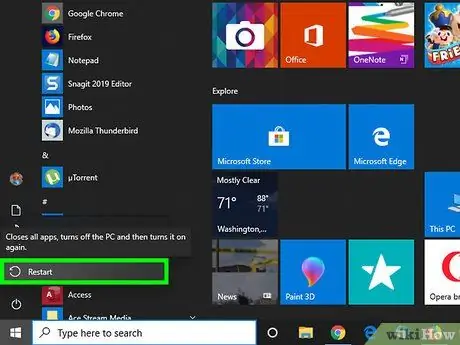
Step 7. Restart the computer
When the computer restarts, Windows will automatically reset the WiFi adapter and reinstall the main driver.


