- Author Jason Gerald [email protected].
- Public 2024-01-19 22:11.
- Last modified 2025-01-23 12:04.
Knowing how to add a printer to your computer is useful when you have a new printer or computer, or want to print on a friend's printer. These steps will teach you how.
Step
Method 1 of 5: USB Way
Step 1. Try the USB way first
New computers, whether Mac or PC, come with software and drivers for dozens of printers. When you connect the printer with a USB cable, your computer will automatically install the drivers for the device. This is the easiest and fastest way to add a printer.
Step 2. Set up your printer
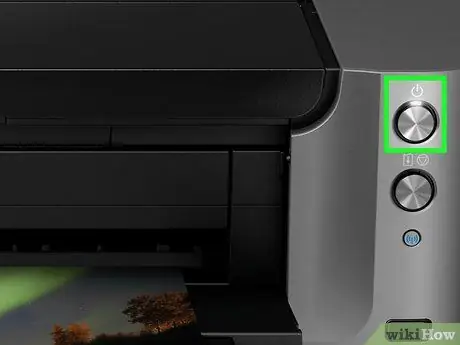
Before you connect the printer to the computer, make sure the printer is ready. Plug the printer into a power source. Install new ink cartridges, toner and paper if necessary.
Step 3. Connect your printer
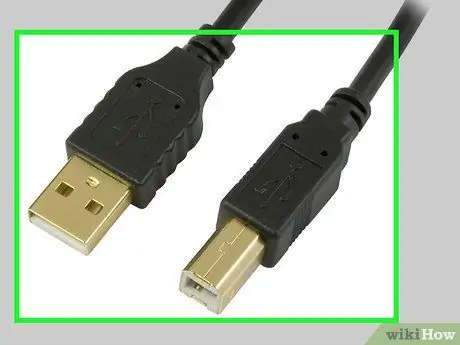
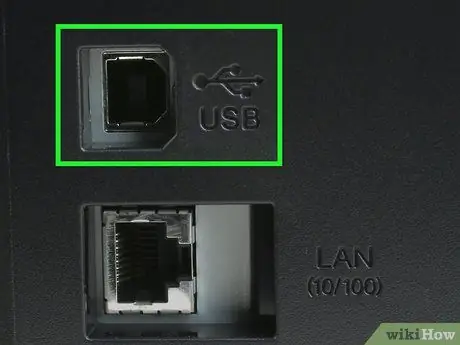
You must use a USB printer cable to connect the computer to the printer. Locate the printer cable port on your printer. You can usually find them on the back of the printer, although some models have ports on the front. Plug the small rectangular connector into the port on the printer. The other end of the cable has a standard USB connector. Plug the end into a USB port on your computer.
Step 4. Wait while your computer installs the correct printer driver
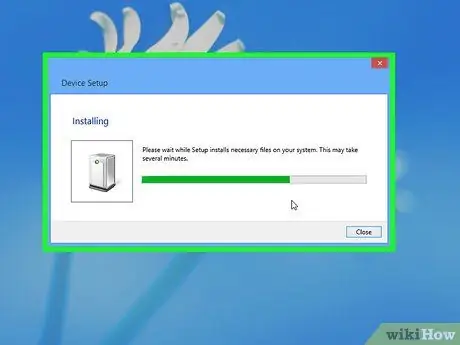
If your computer can find and install the right drivers, it will do so automatically.
- On a Mac, a dialog box will appear asking you to confirm whether you want to download and install the software or not. Click Install to start the installation process.
- On a Windows computer, a pop-up will appear indicating the installation status. When the installation is complete, another pop-up will appear. Click "Next" or "Close" if prompted.
Method 2 of 5: Mac OS X v.10.8 (Mountain Lion) and 10.7 (Lion)
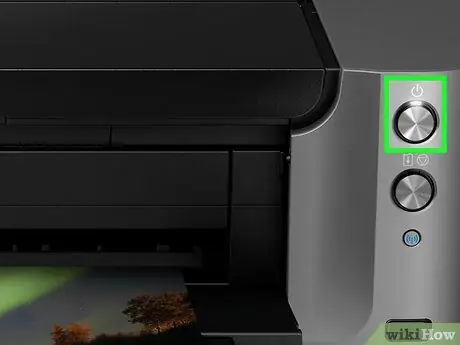
Step 1. Set up your printer
Before connecting your printer software, make sure the printer is ready. Plug the printer into a power source. Install new ink cartridges, toner and paper if necessary. Make sure your printer is connected to the computer.
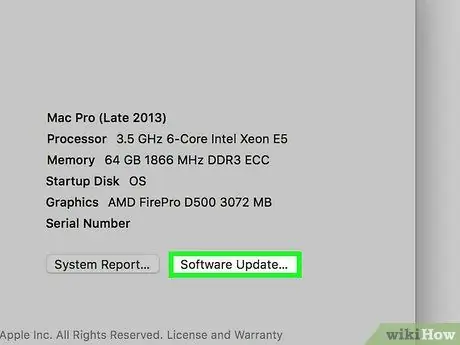
Step 2. Run Software Update (Mountain Lion)
Software Update will search for the latest OS updates, including new printer software. Updating the software before adding the printer will make it easier for your computer to find the correct software.
- Open the Apple Menu and select Software Update. Enter your login and password if necessary.
- The App Store will open. A list of available updates will appear. Any OS X updates will appear at the top of the list.
- Click Update All to download all updates, or select the update of your choice.
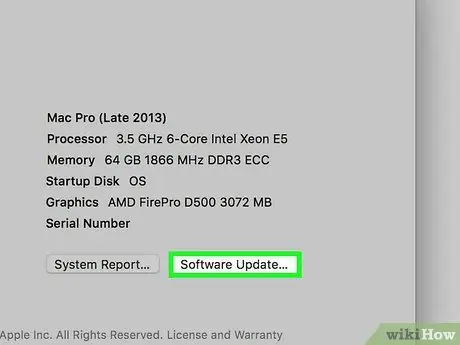
Step 3. Run Software Update (Lion)
Updating software in Lion is easy. From the Apple Menu, select Software Update. The Software Update window will open. Select the things you want to install. Click Install.
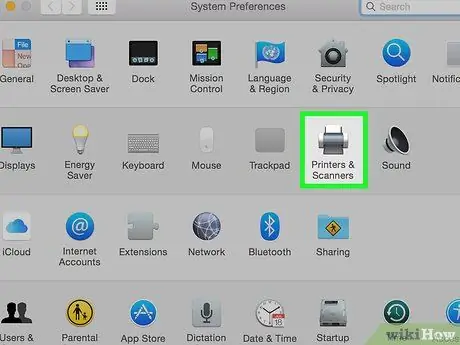
Step 4. Add printer manually
In this step, you will manually install the printer driver. Follow these steps:
- From the Apple Menu, click System Preferences.
- Select View, then Print & Scan. If you are prompted to do so, enter your login and password.
- Click and hold the + button (plus sign). From the menu that appears, select Add Other Printer or Scanner. The Add Printer window will open.
- In the Add Printer window, click the icon that says Default. A list of printers will appear. Find your new printer in the list and select the printer. Click Add, and your printer will be added.
Method 3 of 5: Windows 7
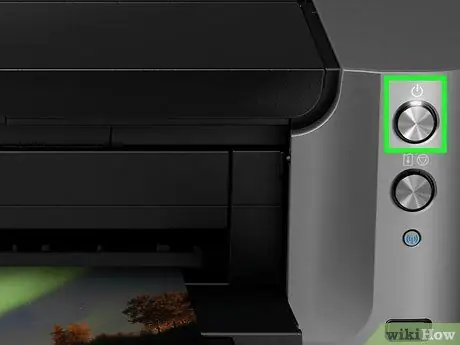
Step 1. Set up your printer
Before installing your printer driver, make sure the printer is ready. Plug the printer into a power source. Install new ink cartridges, toner and paper if necessary. Make sure your printer is connected to the computer.
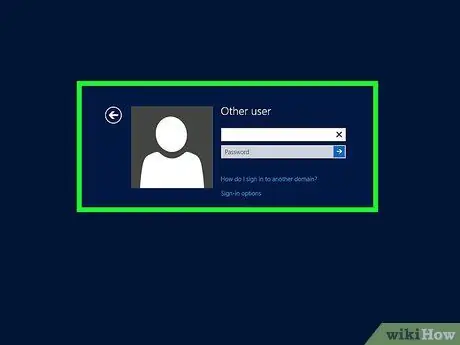
Step 2. Log in with the administrator profile
An administrator profile can change computer settings, install hardware and software, and make other changes that affect other people who use the computer. If you are not logged in as an administrator, follow these steps:
- Click the Windows button in the lower-left corner of the screen.
- In the menu that appears, look for the Shut Down button.
- Point your mouse at the arrow to the right of the Shut Down button.
- Select Switch User from the menu that appears.
- You will now be on the Welcome screen, which you can use to select one of all the profiles on your computer.
- Select an administrator profile and log in.
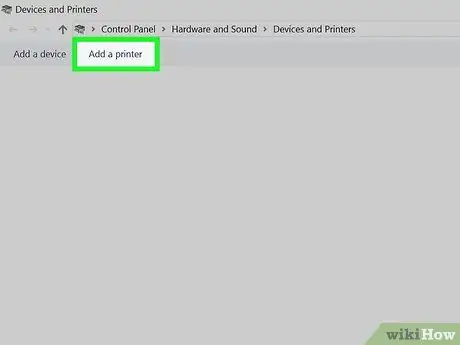
Step 3. Add printer manually (optional)
In this step, you will instruct Windows to add the printer you want to add. Follow these steps.
- Click the Start Menu (Windows Key) in the lower-left corner of the screen.
- Select Devices and Printers from the menu.
- At the top of the window, select Add A Local Printer.
- Select Choose a Printer Port, and select Use An Existing Port.
- From the drop-down menu, select the appropriate port. USB001 (Virtual Printer Port for USB). For older printers connected with a serial cable, select … and click Next.
- From the menu, select the manufacturer and model number of your printer.
- If it doesn't appear, select the closest model number. Click Windows Updates. Windows will search the driver database for the printer from the manufacturer. When you're done, your model number will appear in the list. Select the model number.
- Your printer will appear in the printer name box, click Next again to install the printer.
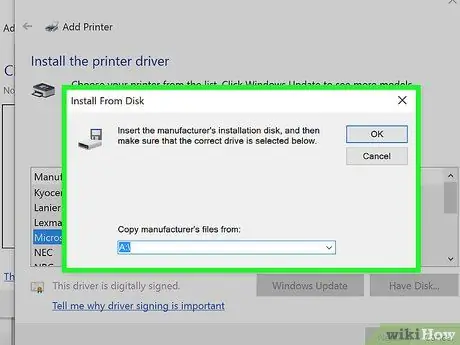
Step 4. Install the printer software from the disc (optional)
If your printer came with an installation disc (CD), you can use it to install your printer driver instead. Insert the disc and follow the instructions to install your printer driver.
Method 4 of 5: Windows 8
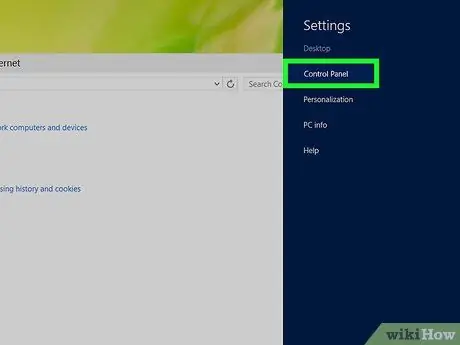
Step 1. Open Control Panel
Place the mouse in the lower-left corner of the screen, and right-click. From the menu that appears, select Control Panel. The Control Panel window will open.
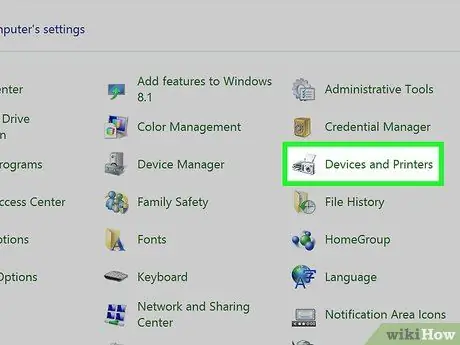
Step 2. Open the Devices and Printers window
In the Control Panel window, click the icon named Hardware and Sound. Click the link for Devices and Printers. A window will open showing all the devices and printers installed on your computer. Find the computer you want to add. If the computer is there, then you're done.
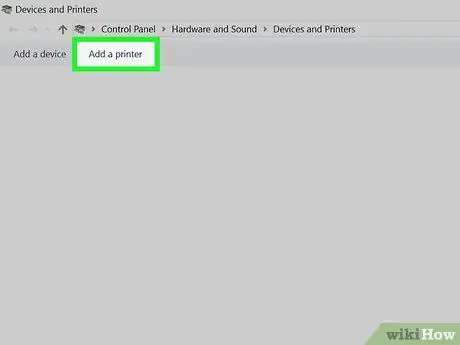
Step 3. Add a printer
At the top of the Devices and Printers window, click the button named Add A Printer. This will prompt your computer to search for and recognize the newly installed printer. A window will appear showing the progress.
If Windows finds your printer in this step, it will guide you through the installation process. Follow the instructions that appear on the screen. If successful, you will see your new printer appear in the list of printers
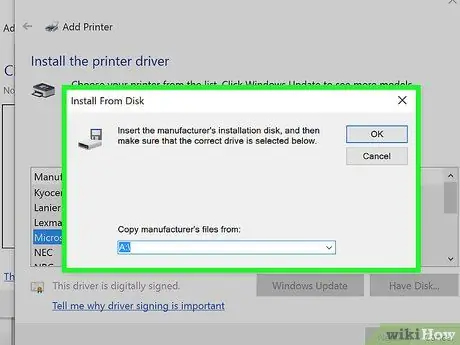
Step 4. Install the printer software manually (optional)
If Windows doesn't find the printer, you'll see a button called "The printer I want isn't listed." If this is the case, you can install the software manually.
- Mount from disc - If your printer came with a disc, it may contain a. Unplug the USB cable from your printer, insert the disc into the, and follow the installation instructions.
- Download and install the printer driver - Your printer manufacturer will have a printer driver available for download on its website. Find your printer driver, then download it and follow the installation instructions.
Method 5 of 5: Printing a Test Page
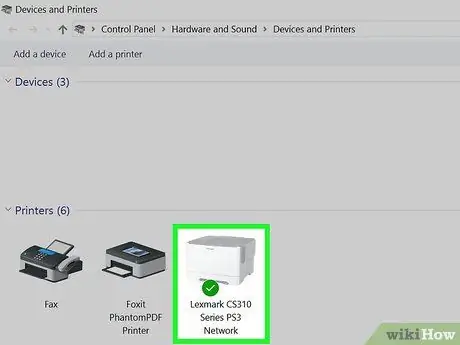
Step 1. Make sure the installation is successful
To make sure your printer is installed correctly, you can print a test page. Here's how.
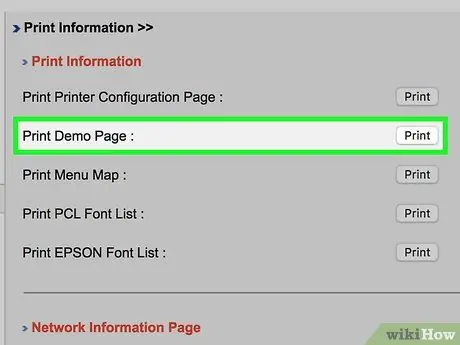
Step 2. Print a test page on Mac
These steps apply to both Lion and Mountain Lion operating systems.
- Double-click the Macintosh HD icon on your desktop.
- Double-click the Users folder and select the icon with that username.
- Double-click the Library folder and select the Printers folder.
- Double click on the printer you are currently using.
- Select Printer > Print Test Page
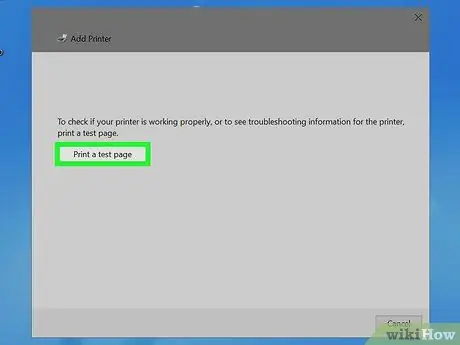
Step 3. Print a test page in Windows
Some printers have a button that can be used to print a test page. If your printer doesn't have one, follow these steps.
- Click the Start button.
- In the Start Menu, select Devices and Printers.
- Find the printer you want to test and right-click it.
- From the menu that appears, select Printer Properties.
- On the General tab, click Print Test Page.
- Your test page will start printing.


