- Author Jason Gerald gerald@how-what-advice.com.
- Public 2024-01-19 22:11.
- Last modified 2025-01-23 12:04.
With Google Apps, you can access web-based email, calendar, and documents from Google's data centers, so you can work anywhere -- at home, work, or mobile -- as long as internet access is available. This article will show you how to sign up for Google Apps, so you can take advantage of those devices and connectivity for your business.
Step

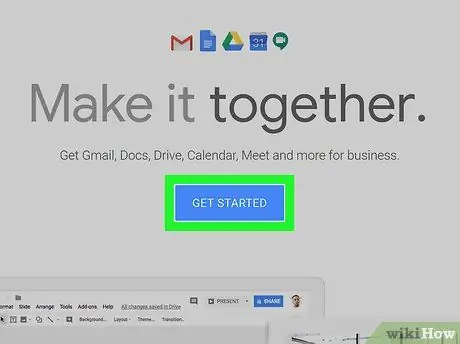
Step 1. Start by visiting the Google Apps registration page in Google Apps for Business, and click the green button Start Free Trial.

Step 2. Fill out the form
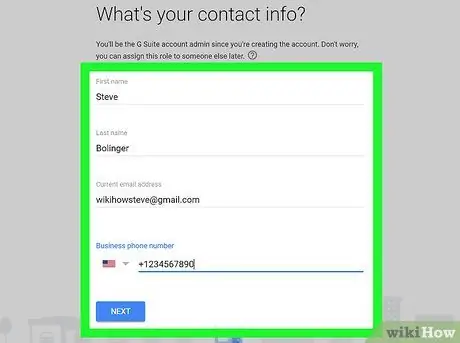
To get started, you will need to fill in general information.
- Enter your name, email and business information.
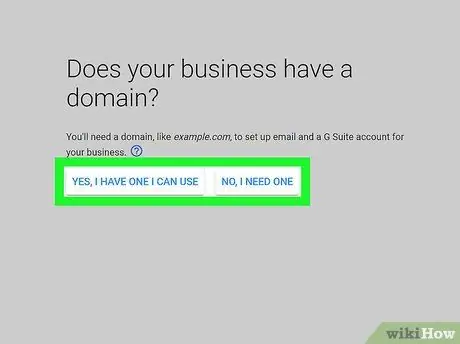
- Then, choose whether you want to use an existing domain, or buy a new one. Choose the option that best suits your needs. If you decide to use an existing domain, you will be asked to enter the domain name, and if you choose to purchase, you will see a search page to find competitively priced domain names.
- Complete the registration process by filling in your username, password, CAPTCHA password, and agreeing to the usage rules. Congratulations, you've finished registering!
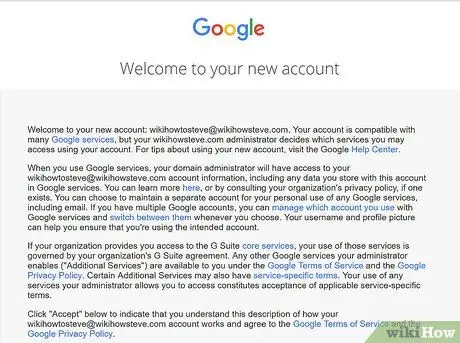
- Google Apps for Business will display a welcome screen. Click the blue button Go to Control Panel, log in with your username and password, and you'll see your Google Apps control panel. On the control panel, you must complete the registration process.

Step 3. Validate ownership of the domain you registered for Google Apps
You can choose between 4 authentication methods:
-
Recommended way:
Validating through a domain registrar service only takes a few minutes. The authentication page initially displays GoDaddy, but the actual list of supported registrars varies. Choose your domain registrar and follow the process
-
Alternative way:
- Add meta tags on the start page of your website. If you can access HTML for your website, you can use this method, but this method is not recommended because most sites use software like WordPress, and not pure HTML.
- Create an HTML file and upload it to your site via FTP or cPanel. Enter the file address into the browser, and if the browser displays the text, it means that the domain verification was most likely successful. Then, click the “I've completed the steps above” link to complete the authentication process. The authentication process may take up to 48 hours (rarely occurs -- it's usually automated), and will be displayed on the Dashboard. If the domain ownership status has not been validated after 48 hours, it means that the authentication process failed.
- Link your Google Analytics account to your Google Apps account. If you already have a Google Analytics account, this process is just one click away, and is a huge time saver compared to other options.

Step 4. Explore all available options
Now you can create accounts and emails for you and your staff, and take advantage of the tools and power of Google Apps. You can try Google Apps for free for 30 days, after which you must enter your credit card information for billing purposes. The cost of Google Apps per account is $50 per year or $5 per month -- a monthly fee is more suitable if you have a changing line of staff.


