- Author Jason Gerald gerald@how-what-advice.com.
- Public 2023-12-16 10:50.
- Last modified 2025-01-23 12:04.
While there's no surefire way to permanently and “cleanly” remove vocal elements from a song without the original multitrack recording, Audacity can reduce vocal output in most stereo-quality MP3 files. As long as the song is recorded and mixed in the studio, and the vocal elements are in the center frequency (on both left and right channels), this free app can at least drastically reduce most vocal tracks (if not permanently). You may still be able to hear remnants of vocal elements, depending on the song you choose. Learn how to use the vocal reduction filter in Audacity to create karaoke tracks from MP3 files.
Step
Part 1 of 3: Setting Audacity
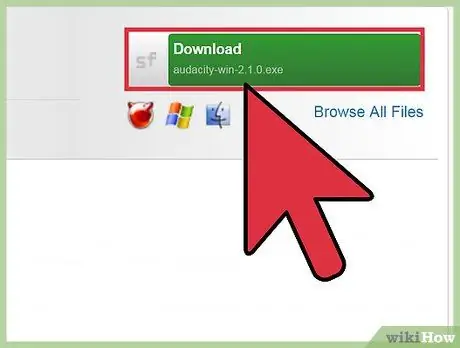
Step 1. Download Audacity from
Audacity is a free audio editing application that can be used on Windows and MacOS operating systems. Click the green “Download” button to get the latest version of Audacity according to the operating system you are using, then save the installation file to your computer.
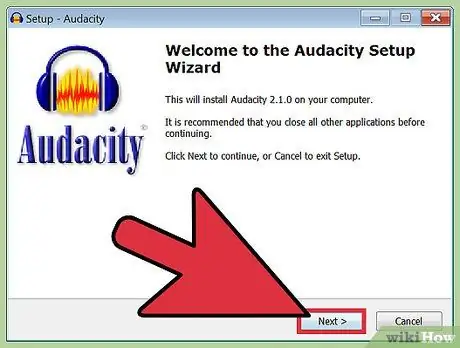
Step 2. Install Audacity
Once the download is complete, double-click the installation file and follow the prompts to install the program.
Read the help files and become familiar with the program as separate instructions on using the program are beyond the scope of this article. For more information, read the article on how to use Audacity

Step 3. Download LAME for Audacity
This program requires an add-on or plug-in called LAME to allow you to save MP3 files. You need it when you need to save karaoke tracks to your computer.
- Visit https://lame.buanzo.org via a web browser.
- Click the button provided to download the latest version of LAME, according to the operating system you are using (the first option shown under the operating system name).
- When prompted, save the file to an easy-to-remember directory.
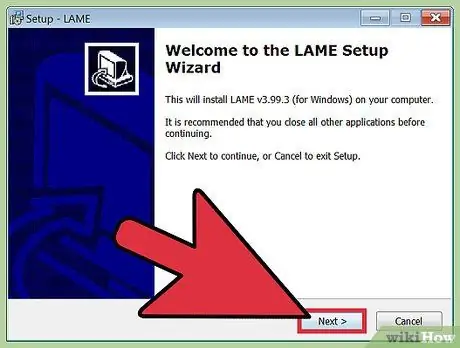
Step 4. Install LAME for Audacity
The process of installing this add-on varies slightly depending on the operating system of the computer.
- Windows: Double-click the installation file and follow the instructions to install LAME. Make sure you don't change the default settings as they are required for the add-on to work.
- Mac: Double-click the installation file (ending with a.dmg extension) to load it, then click the “Lame Library v.3.98.2 for Audacity.pkg” file (file version numbers may vary). Follow the displayed instructions to complete the installation.
Part 2 of 3: Eliminating the Vocal Element
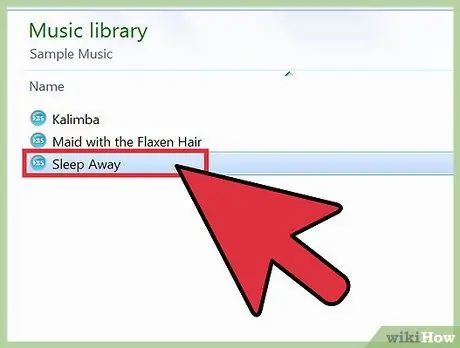
Step 1. Get the desired song file in stereo MP3 format
Now you need to use Audacity's built-in vocal reduction filter to remove vocal elements from the song. If you're not sure if your MP3 file is stereo quality, try listening to the song using headphones. If the file is stereo quality, you can hear various sounds and volumes on the right and left speakers.
- The only sure way to know if an existing song is stereo quality is to import the song file into Audacity directly.
- It's also a good idea to get files of the highest quality. If possible, look for files with a quality of 320 kbps (kilobits per second).
- Read the article on how to download free music for tips on finding audio files.
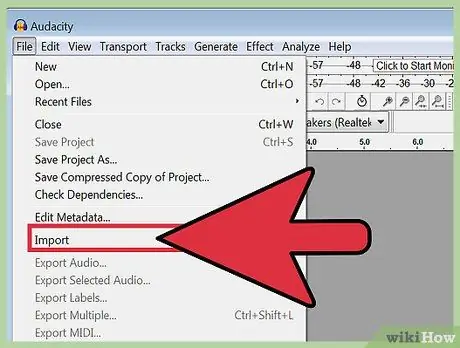
Step 2. Import the MP3 file into a new project window in Audacity
Open Audacity, then:
- Click the “File” menu at the top of the screen to expand the menu.
- Select “Import” > “Audio…”
- Find and double-click the MP3 file to open it.
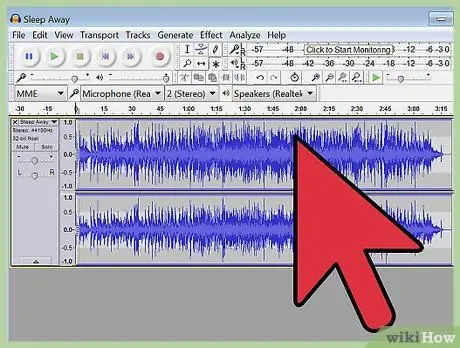
Step 3. Make sure the selected file is a stereo track
If the file is a stereo track, Audacity will display the track in two channels. This means that you will see two visualizations of the length of the song (two sound waves) stacked on top of each other. You will also see the word “Stereo” in the sidebar below the track name.
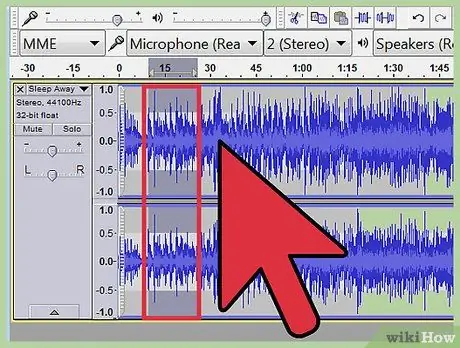
Step 4. Select the part of the song that contains vocals to test it
Before making your final changes, choose a part of the song that has vocals that are about 5-10 seconds long so you can review the changes. Here's how:
- Click the cursor in the time bar above the track to play the song from that point. Look for parts of the song that contain vocal elements for about 5-10 seconds.
- Drag the mouse over the tracks until the cursor appears.
- Click and drag the cursor to mark the part of the song you want to review.
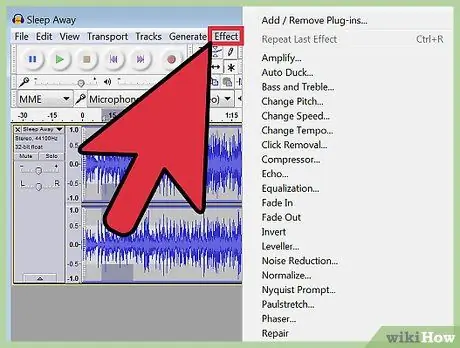
Step 5. Open the “Effects” menu
Once you've selected the section you want to review, you can test removing vocal elements.
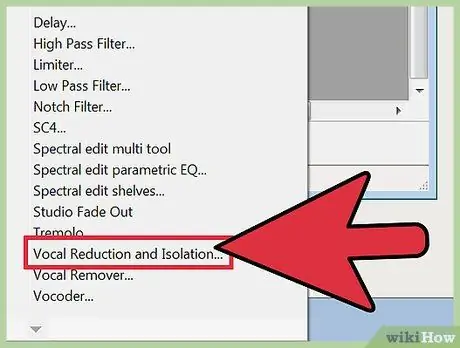
Step 6. Select “Vocal Reduction and Isolation” from the menu
This effect can remove vocal elements that are placed at the center frequency of the track (with the other instruments being on the surrounding frequencies). Most modern music is recorded in this order, although there are some exceptions.
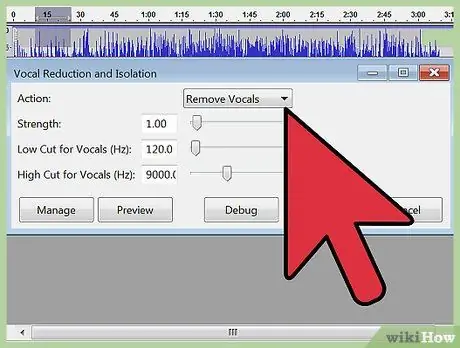
Step 7. Set the vocal deletion parameters
This setting determines how the effect is applied to the main vocal element.
- Set the “Action” option to “Vocal Reduction”. With this option, you'll be eliminating the vocal element, and not the accompaniment music or instrumentation.
- Select the amount of “1” for the “Strength” option. With this amount, the effect will be applied at a normal rate. You may need to increase the magnitude to “2” if the vocal elements still sound loud.
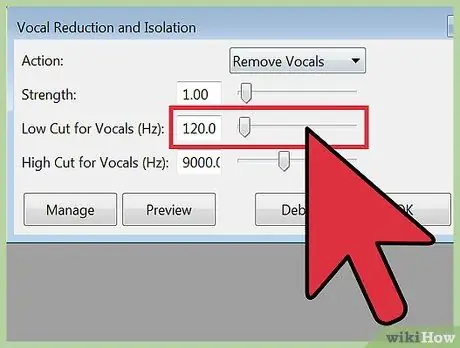
Step 8. Set a “Low Cut for Vocals” size limit
This quantity determines the lowest frequency (Hz) to be removed from the track. You may need to re-adjust the amount, depending on the result of the vowel removal.
- If the vocal element you want to remove is low-pitched with a dominant bass (eg Barry White or Leonard Cohen's voice), type “100” into the field.
- If the vocal element you want to remove is low-pitched, without bass dominance (e.g. Drake or Toni Braxton's voice), start with "100" first.
- For most vocal elements in the mid-range (e.g. Beyonce or Bruce Springsteen voices), set the scale to “120”.
- For very high vowels (e.g. a child's voice or Mariah Carey's), select a scale of “150”. If you can still hear the sound or vocals clearly after making the changes, you can go back and change the scale to “200”.
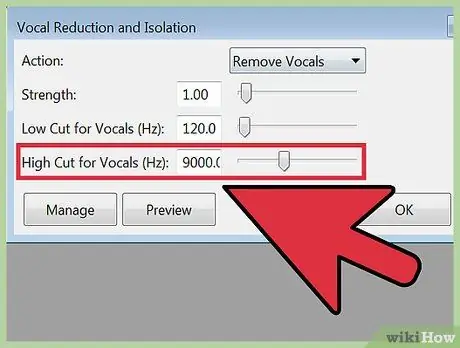
Step 9. Set the “High Cut for Vocals” size limit
This limit refers to the highest frequency of the vowel. If it's too high, the song's high-pitched instrument track may be erased, but if it's too low, all vocals may not be removed. You can always undo changes and re-access this menu to make adjustments.
For most vocal elements, you can try setting the size to “7000”
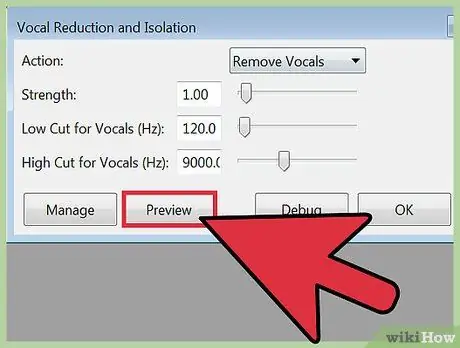
Step 10. Click “Preview” to test the current size or settings
Keep in mind that backing vocals usually can't be erased using this method as they are usually recorded on a different track.
Keep in mind that if there is an echo in a vowel or other type of sound process, the lead vowel cannot be permanently removed. You may hear a “ghost” sound in the background. When you sing that part, your voice will be heard
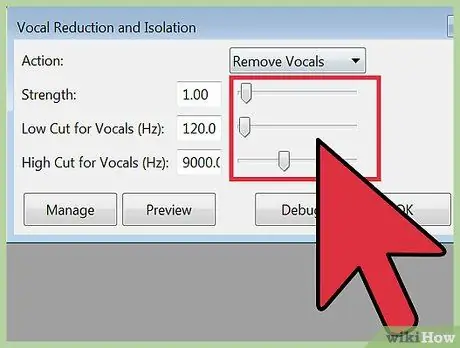
Step 11. Change the settings if you are having problems
Re-adjust the settings If the results of the settings do not give the desired result:
- If a lot of bass is missing in the song, increase the “Low Cut” to “20 Hz” until you find a balance between bass and vocal removal.
- If you hear some lower vocal elements, lower the “Low Cut” by 20 levels until you get the balance just right.
- Set the " Strength " to " 2 " if the adjustment of the " Low Cut " option does not give significant results.
- If you change the parameters and don't hear any changes to the vocal elements, the selected song is not recorded and mixed in a way that matches Audacity's vocal removal feature.
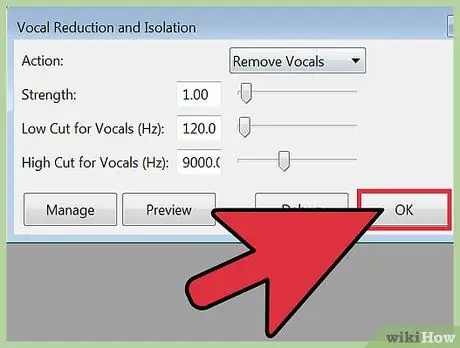
Step 12. Click “OK” to apply the filter to the entire track
After finding a suitable parameter or setting when tested, click “OK” to apply a filter to the track. This process may take several minutes, depending on the performance of the computer and the duration of the song.
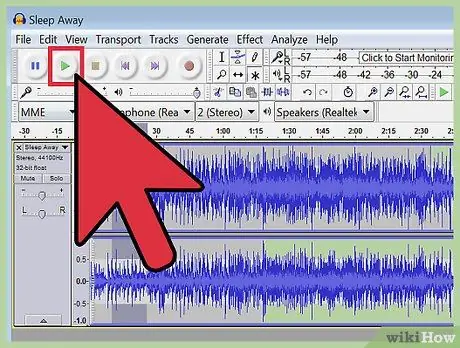
Step 13. Listen to the track
Pay attention to the main vocal in the song. While you can't completely remove vocal elements, you can at least remove most of the singer's voice from the song using this filter as long as the vocals are recorded at the center frequencies of the track.
To undo the changes, click “Edit” > “Undo Vocal Reduction and Isolation”
Part 3 of 3: Saving Songs As New MP3 Files
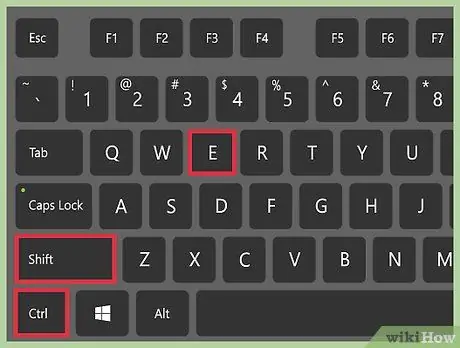
Step 1. Press Ctrl+⇧ Shift+E (Windows) or Cmd+⇧ Shift+E (Mac) to export the file.
Once you've finished creating the instrumental track, it's time to save the track as an MP3 file.
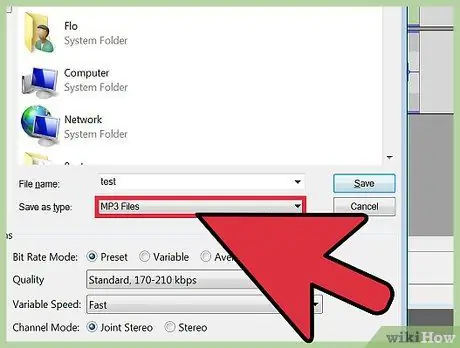
Step 2. Change the “Save As Type” format to “MP3”
You will see several options to change the MP3 details.
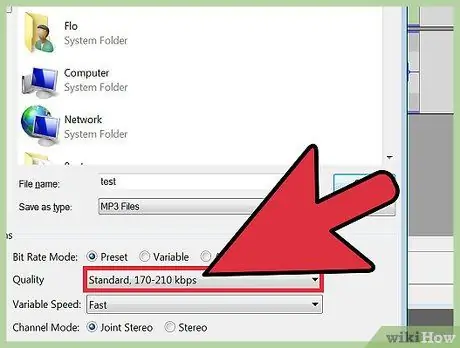
Step 3. Select the file quality
This option depends on your preference. The higher the bit rate of the MP3, the more storage space the file takes up. However, the quality of the song will sound better. A low bit rate results in a file with a low size, but the sound quality may not be that great. Keep in mind that because you are editing a compressed file, the quality of the song will be slightly reduced in this process.
- If you want the file to be small, but still of good quality, change the “Bit Rate Mode” option to “Variable” and select “Best Quality”. This option can usually be chosen by anyone.
- If you don't mind the large file size and need the highest quality, change the “Bit Rate Mode” option to “Preset” and the “Quality” option to “320kbps”. With these settings, Audacity will produce files of the highest quality.
- If you need the file to be as small as possible, change the “Bit Rate Mode” option to “Variable” and choose an option lower than “3” (155-195 kbps or kilobits per second).
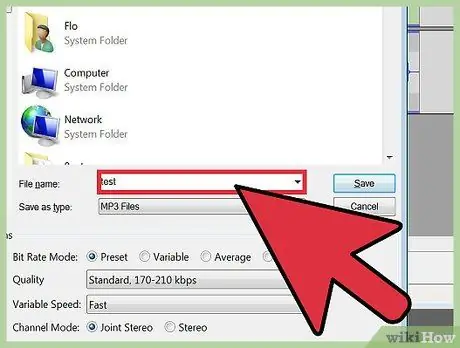
Step 4. Select the location to save the file
Browse to the folder where you want to save the file.
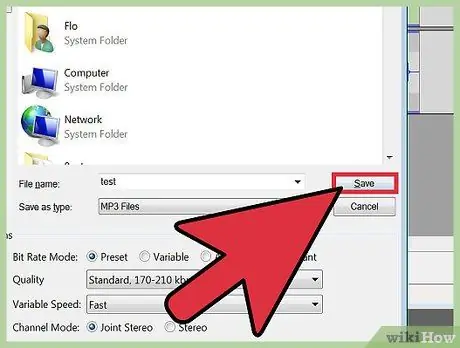
Step 5. Click “Save”
Audacity will create an MP3 file and save it to the specified directory. Once saved, you can play the MP3 in an application that supports MP3 files.
Tips
- When searching for MP3 files, include the keywords “instrumental” or “karaoke” to find tracks without vocals.
- There are many karaoke versions of songs that you can find on YouTube. Some videos even display song lyrics on the screen.


