- Author Jason Gerald [email protected].
- Public 2023-12-16 10:50.
- Last modified 2025-01-23 12:04.
You can carry all the things you need on a USB drive (such as flash disks, external drives, iPods, etc.). Continue reading to find out how to create a virtual PC on a USB drive.
Step
Method 1 of 2: Installing the Operating System
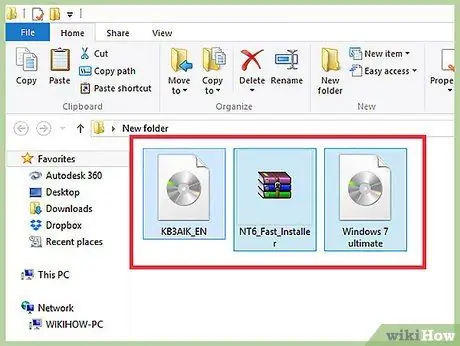
Step 1. Set up your USB device
To create a virtual PC on a USB drive, you will need:
- USB drive with 8GB free storage space
- Windows 7. ISO or DVD image
- Microsoft WAIK software
- NT6 FAST Installer
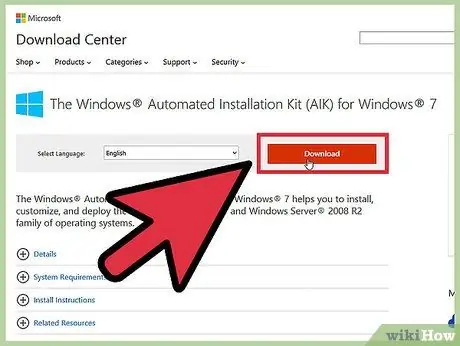
Step 2. Download the Windows Automated Installation KIT (WAIK) for Windows 7 on the official Microsoft website
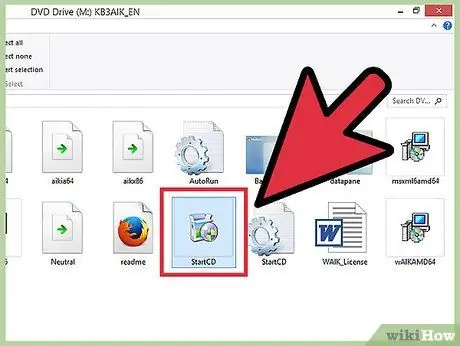
Step 3. Install the Windows Automated Installation Kit by opening the StartCD.exe file
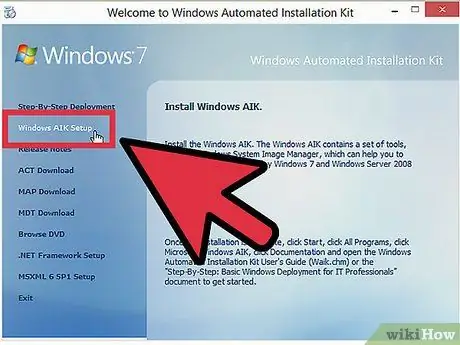
Step 4. Click the Windows AIK Setup option on the left of the window
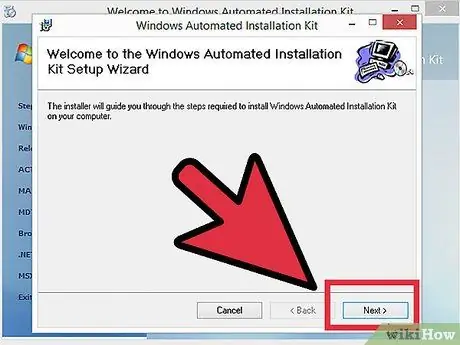
Step 5. Click Next
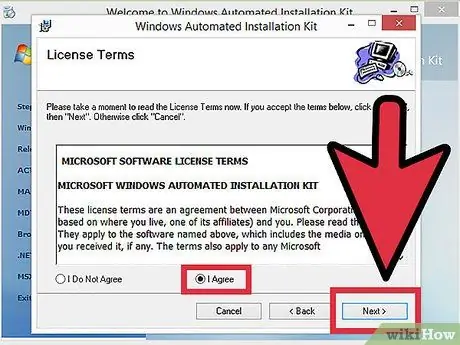
Step 6. Agree to the license terms by clicking "I Agree", then click Next
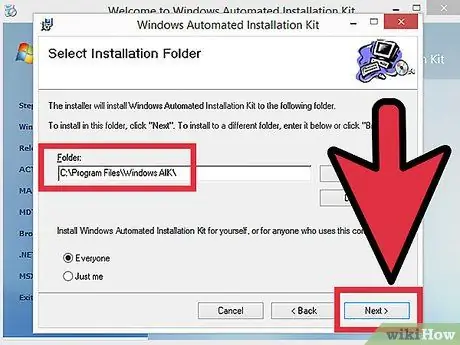
Step 7. Select the installation directory
You can install the program in the default directory (C:\Program Files\Windows AIK) or another directory. After selecting the directory, click Next.
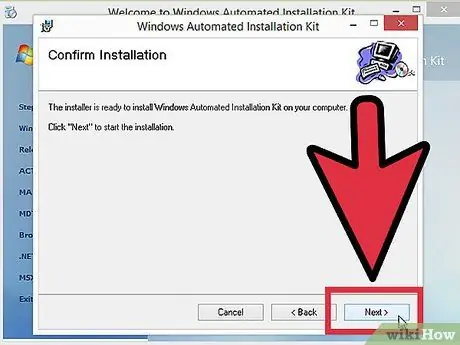
Step 8. Confirm the installation
Click Next.
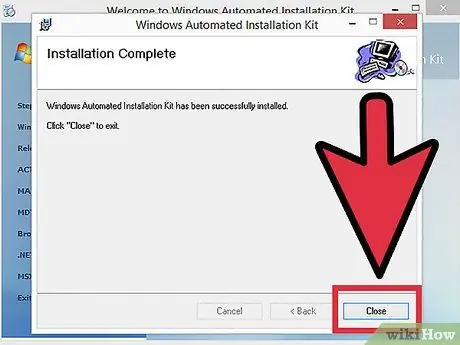
Step 9. Complete the installation process
Once the process is complete, click Close.
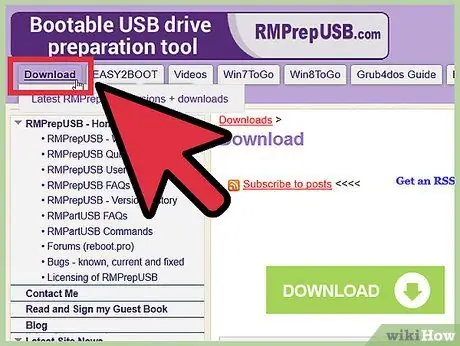
Step 10. Download the NT6_FAST_Installed.zip file
- Click Download in the top left corner.
- Select NT6_Fast_Installed.zip from the download list.
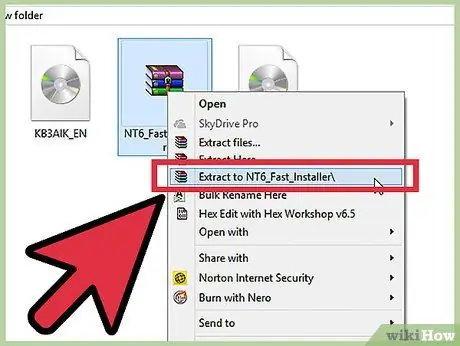
Step 11. Extract the downloaded file by right-clicking on the file and selecting Extract to NT6_Fast_Installer
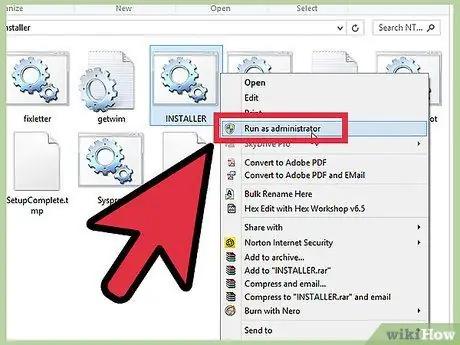
Step 12. Right-click on the INSTALLER.cmd file, then click Run as Administrator
A command line window will appear.
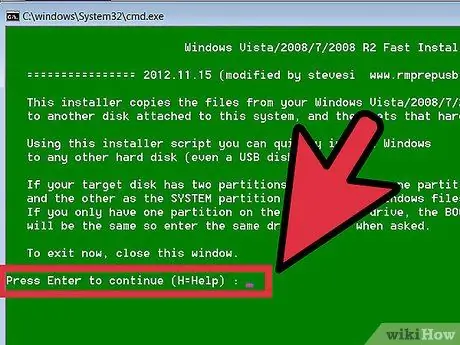
Step 13. Press Enter to continue
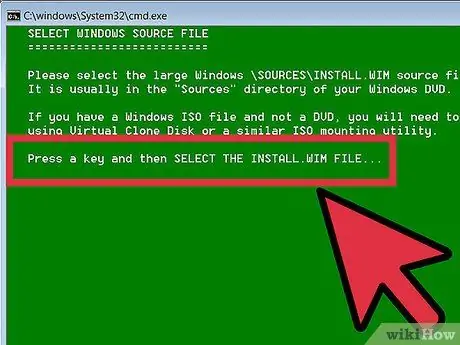
Step 14. Press any key to select the install.wim image
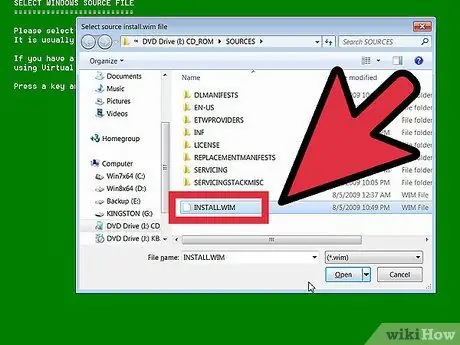
Step 15. Select the install.wim image from the Windows 7 DVD
This file is in the sources directory.
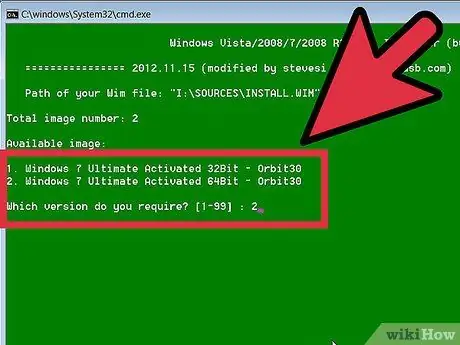
Step 16. Select the operating system image number
For Windows 7 Professional, select number 4.
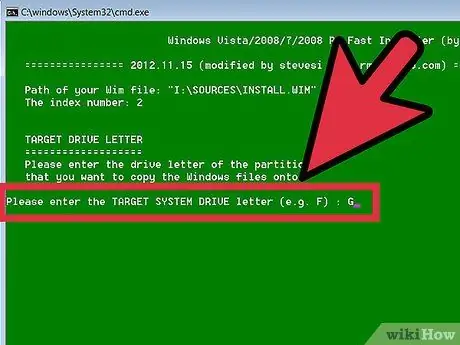
Step 17. Select the letter of the USB drive to which the operating system will be installed
In this example, the drive letter used is K.
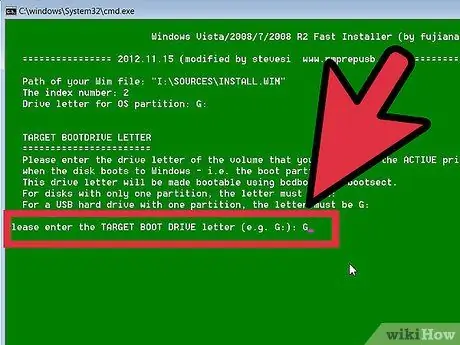
Step 18. Select the target drive
In this example, we also use K.
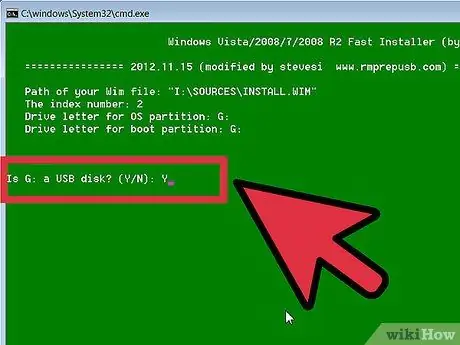
Step 19. Choose to install the operating system in the USB drive by pressing "y"
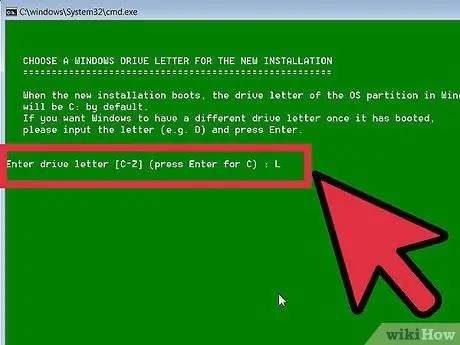
Step 20. Select the Windows drive letter for the new installation, for example L
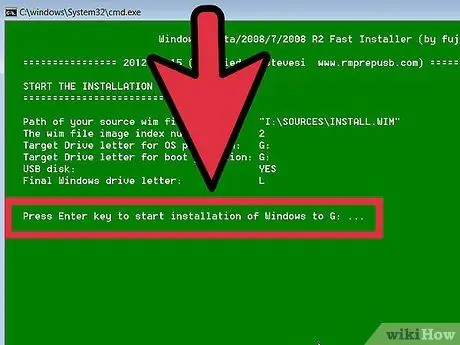
Step 21. Press Enter to start the installation
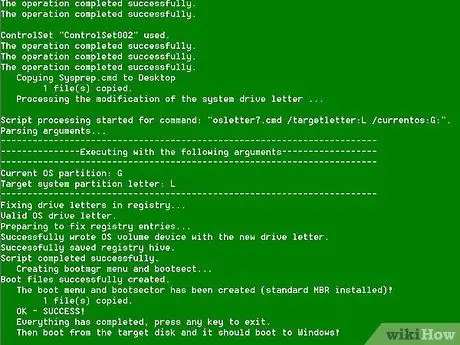
Step 22. Start the operating system
After the installation is complete, you can start the operating system from the USB drive.
Method 2 of 2: Installing the App
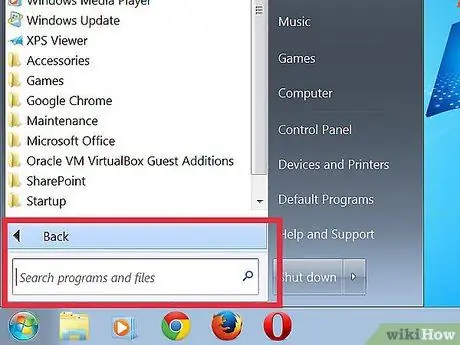
Step 1. Determine which applications you need when you are not using the computer you normally use
At the very least, install an email client (if your email service provider supports POP3 access) and an internet browser. You may also want to install entertainment and office apps.
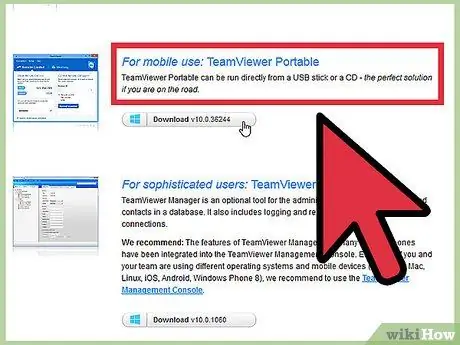
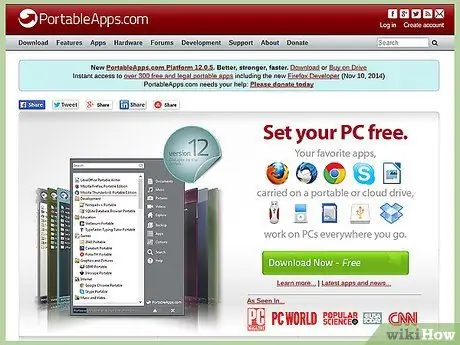
Step 2. Download the app which is already designed for portable use
You can find it through a search engine with certain keywords or visit sites that discuss portable computing activities.
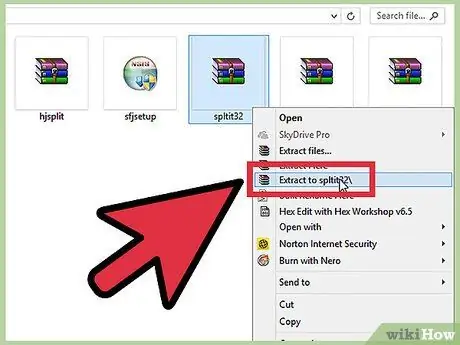
Step 3. Install (extract) the application of your choice to the USB device, and take the device with you
Step 4. Check the following list of apps
You may find some of these apps useful:
- 1by1 - MP3 player in directory
- 7-zip portable - archive manager
- AceMoney Lite - finance tracker
- Firefox Portable - portable version of Firefox
- Foxit PDF - portable PDF reader
- Filezilla Portable - FTP client
- FreeOTFE - free drive encryption software
- GIMP Portable - image processor
- Google Talk - portable version
- Opera USB - portable version of Opera
- OpenOffice Portable - office software
- Pidgin Portable - multi-network instant messaging, formerly known as GAIM
- Portable Scribus - Portable DTP
- Sudoku Portable - portable game
- SyncBack - sync/backup app
- The Sage - dictionary
- Thunderbird Portable - email client
- Torpark - a portable TOR client for browsing anonymously
- TrueCrypt - free drive encryption software
- uTorrent - a lightweight BitTorrent client
Tips
- Not all applications can be used portable. Check the changes to be made to some apps.
- Make regular backups. Every time you use a portable application, file changes occur, especially if you use a browser or an email client. USB drives are generally smaller than PC drives, so you can easily back up your drive.


