- Author Jason Gerald gerald@how-what-advice.com.
- Public 2023-12-16 10:50.
- Last modified 2025-01-23 12:04.
To mute, lower, or increase the volume on a Mac, you can press the F10, F11, or F12 keys on the keyboard. To enable the volume slider on the menu bar, click the Apple menu → click “System Preferences” → click “Sound” → tick the “Show volume in menu bar” box. You can also change the volume using the keyboard buttons or the OLED Touch Bar.
Step
Part 1 of 2: Activating the Volume Slider

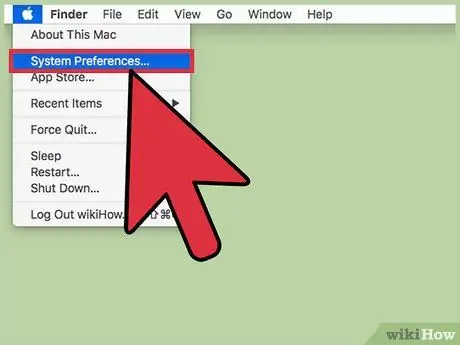
Step 1. Click the Apple menu
It's in the top-left corner of the screen.

Step 2. Click System Preferences

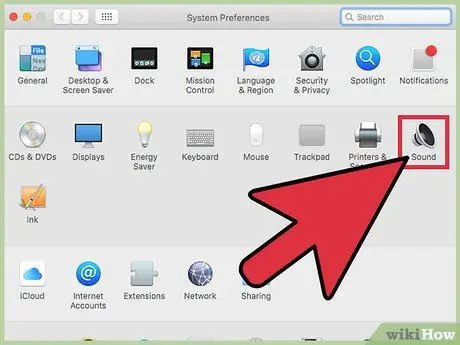
Step 3. Click the Sound option
If the option is not available, click the “Show All” button at the top of the window first.

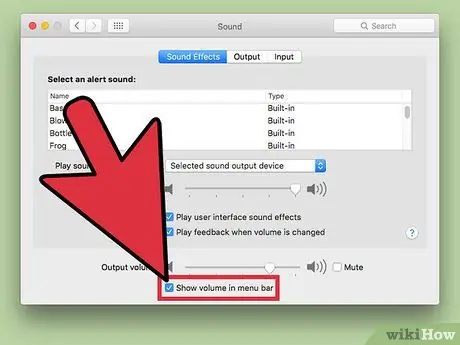
Step 4. Click the Show volume in menu bar box
The volume buttons will be displayed on the menu bar. The icon looks like a loudspeaker.
Part 2 of 2: Adjusting the Volume

Step 1. Click the Volume button on the menu bar

Step 2. Click and drag the slider to change the volume

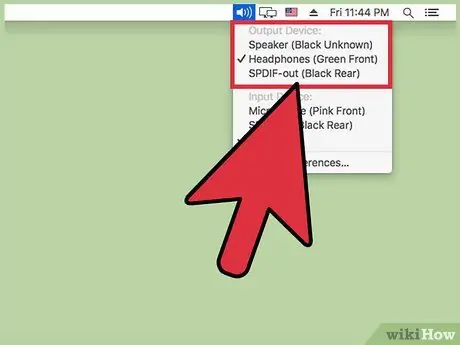
Step 3. Click another sound output device to change the output
On some Mac models and versions, you may need to press the Option key while clicking the Volume buttons to see all the voice output and input options

Step 4. Press the volume keys on the keyboard to adjust the volume
Most Mac keyboards have a volume key that doubles as the F11 and F12 keys. Press the buttons to increase or decrease the volume.

Step 5. Touch the volume buttons on the MacBook Pro's Touch Bar
If you have a MacBook Pro with an OLED Touch Bar, you can touch the volume buttons on the bar to display the volume slider. After that, touch and drag the slider to adjust the volume level.
Tips
- If you are using external speakers and hear no sound from the device, make sure the device is properly connected and powered on, then check the speaker volume control.
- You can use the Shift+⌥ Option+Fn+F11 or Shift+⌥ Option+Fn+F12 keys to gradually adjust the volume in smaller increments.


