- Author Jason Gerald gerald@how-what-advice.com.
- Public 2024-01-19 22:11.
- Last modified 2025-01-23 12:04.
Has your Windows installation really been corrupted? If you've tried everything to fix it, the only option left may be to format the computer's drive and reinstall Windows (or another operating system). Formatting a computer drive will erase all data on it, so only do this as a last resort.
Step
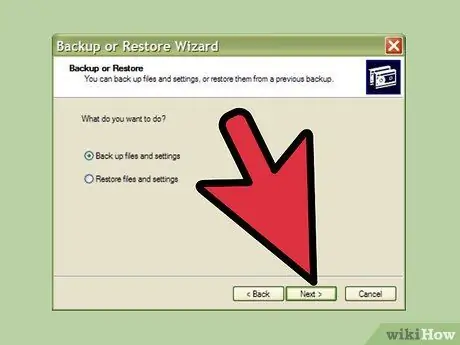
Step 1. Back up everything you want to keep
Formatting the C: drive will erase the entire Windows installation, as well as any data stored on that C: drive. Usually this includes all documents, images, and downloaded files. Make sure to save anything you want to save somewhere else.
Read this guide for more details on how to back up data
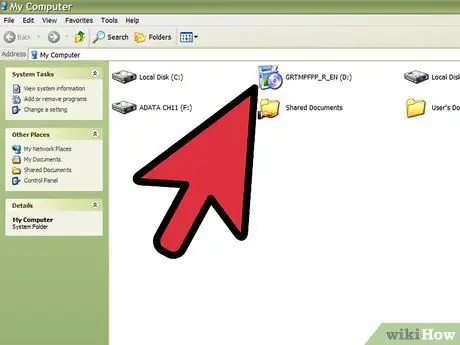
Step 2. Insert your Windows XP installation disc
If you want to format the C: drive, you will need to uninstall Windows at this time. To do this, you will need a Windows installation disc. You can also use Windows installation discs in other versions.
If you lost your installation disc, you can download the ISO file from the Windows installation disc and burn it to a blank DVD. This is legal if you have Windows
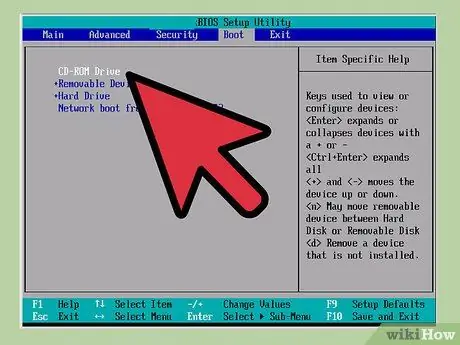
Step 3. Set the computer to boot from the disc drive
After the disc is inserted, you must set the computer to boot from the disc drive instead of the hard drive. You can change the boot order from the BIOS, which you can access by pressing the setup button while the computer boots.
- The commonly used setup keys are F2, F10, or Delete.
-
You can change the boot order from the menu Boot or Boot Orders.
Make sure the optical drive is set as the first device to boot from.
- Read this guide for more details on how to open the BIOS and change the boot order.
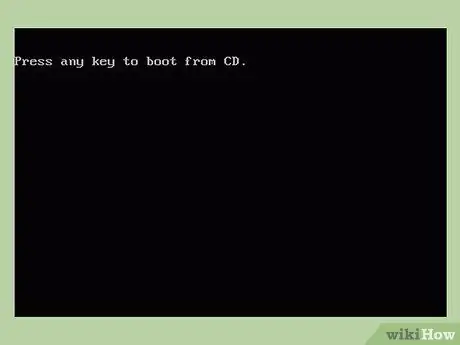
Step 4. Run the installer
After you set the boot order, restart your computer. A message will appear that says Press any key to boot from CD. Press a key on the keyboard to run the setup program.
- The setup program may take a few minutes to load.
- Once the setup program has finished loading, press Enter to start it.
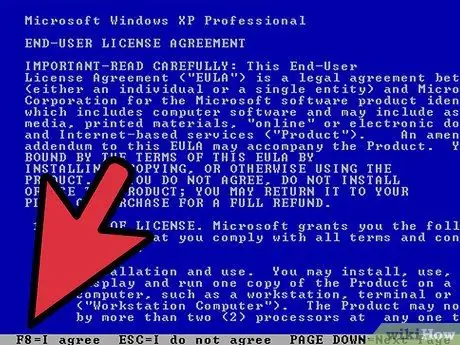
Step 5. Accept the license agreement
The Windows XP license agreement will be displayed. Since you just want to uninstall Windows XP, you shouldn't bother reading it. Press F8 to continue.
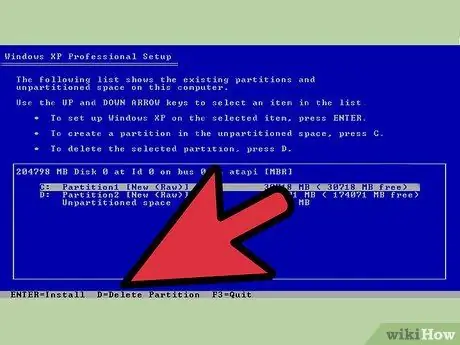
Step 6. Delete your Windows partition
A list of all the partitions on the computer will be displayed. Highlight your Windows partition, which is also the C: drive. Press D to delete the partition you selected.
All data on this partition will be deleted, so make sure you back up anything you want to save first
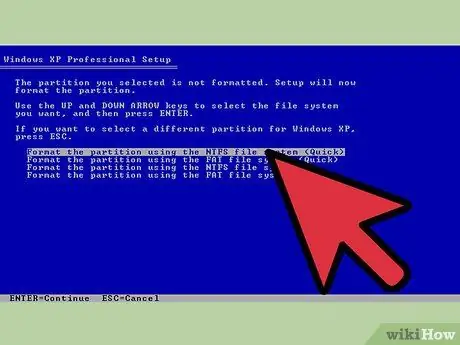
Step 7. Format the partition
After the Windows partition is deleted, you can format the unpartitioned hard disk space. This will be done automatically if you install a new operating system, or you can format it manually by selecting the unpartitioned space and pressing C.
- You'll need to specify the size of the partition, the drive letter you want to use, and the file system format.
- Usually, you should select NTFS as the file system.
- Do not choose quick format (quick format), because this will not fix errors (errors) that occur on the drive.
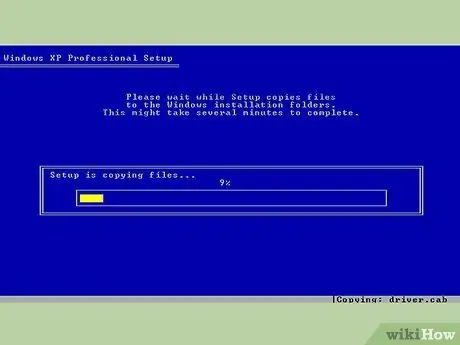
Step 8. Install the new operating system
After formatting the C: drive, you must install a new operating system in order for the computer to work.
- Installing Windows XP
- Installing Windows 7
- Installing Windows 8
- Installing Linux


