- Author Jason Gerald [email protected].
- Public 2023-12-16 10:50.
- Last modified 2025-01-23 12:04.
When you select a Windows 10 user account photo, it will appear on the login page, “Start” menu, and various other segments of Windows. If you don't want to show your profile photo at all, you'll need to replace it with another photo, such as the default profile icon (human outline). After changing the photo, you can delete the old profile photo. This wikiHow teaches you how to reset your Windows 10 user account photo to the operating system's default profile icon and delete old profile photos.
Step
Method 1 of 2: Restoring Operating System Default User Photos

Step 1. Click the “Start” button
It's usually in the lower-left corner of the screen.
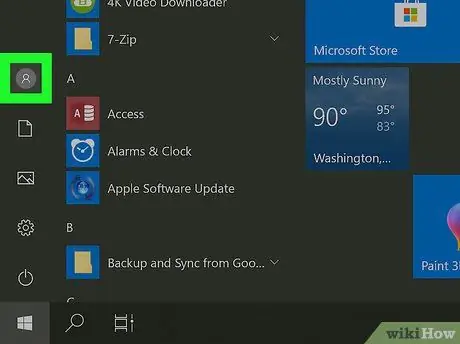
Step 2. Click the profile icon
This icon looks like the currently active user's photo and is in the upper-left corner of the "Start" menu.
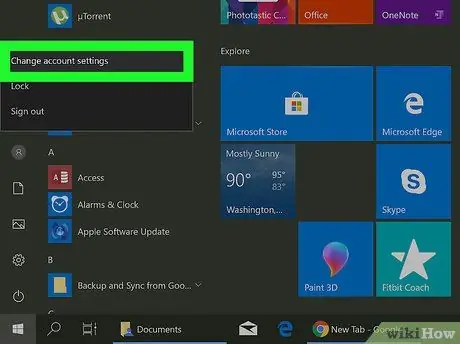
Step 3. Click Change account settings
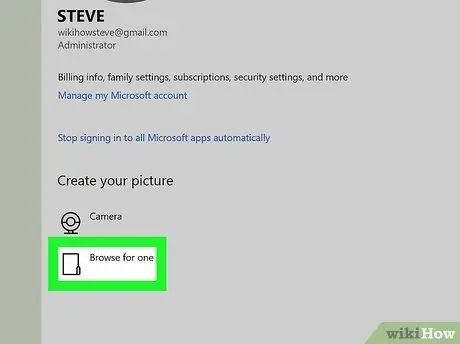
Step 4. Click Browse for one
This option is under the "Create your picture" heading. You will see an " Open " dialog window after that.
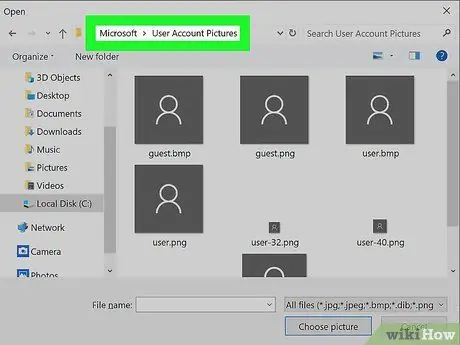
Step 5. Visit “C:
ProgramData\Microsoft\User Account Pictures.
” In this directory, you can find the default user icons of the operating system. Here's a quick way to access the directory:
- Mark this address with the mouse: C:\ProgramData\Microsoft\User Account Pictures.
- Press Ctrl+C to copy the address to the clipboard.
- In the address bar at the top of the “Open” window, click the end of the directory address that appears. All addresses or information that is already available in the column will be marked.
- Press Ctrl+V to paste the previously copied address.
- Press Enter.
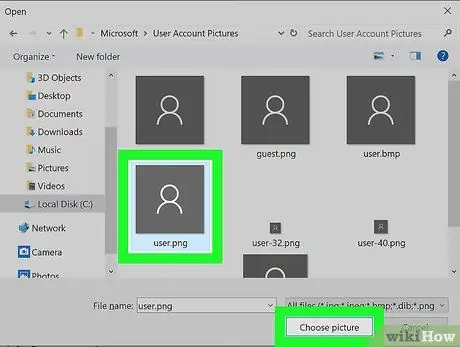
Step 6. Select user.png and click Choose picture.
You are free to choose any file with the name " user ". The old profile photo will be replaced by the operating system default profile photo.
Your old photos will still be shown in your account settings. If you want to permanently remove it from your computer, keep reading this method
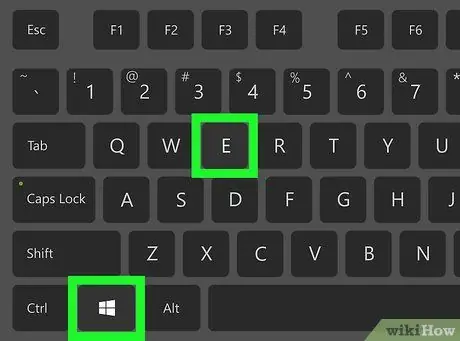
Step 7. Press Win+E to open File Explorer
Now, you need to use File Explorer to delete the old profile photo from the computer.
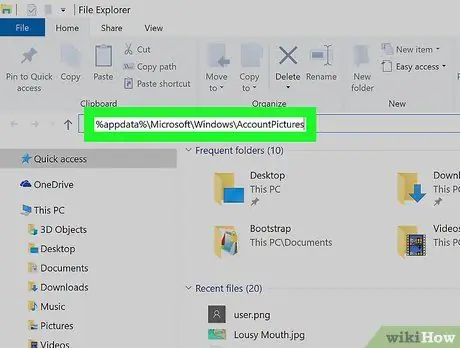
Step 8. Paste %appdata%\Microsoft\Windows\AccountPictures into the address bar
Follow the same procedure as when you access the “User Account Pictures” folder in the “Open” window.
Step 9. Press Enter
Now, you can see all user account photos.
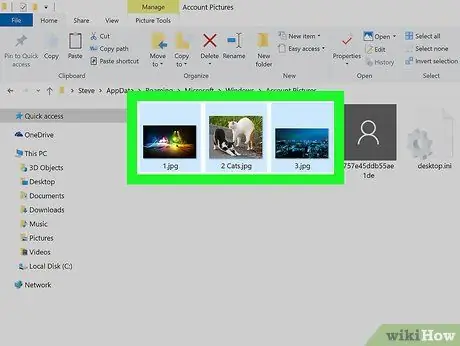
Step 10. Select the photos you want to delete
To select multiple photos at once, hold down the Ctrl key while clicking the photos.
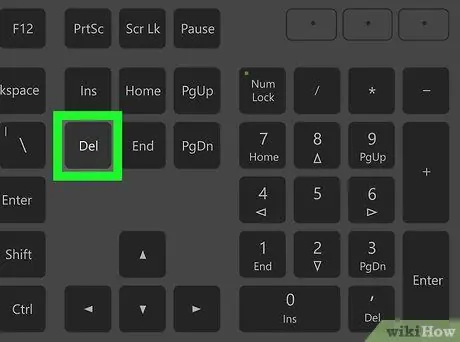
Step 11. Press the Del key on the keyboard
Selected photos will be removed from the account.
If you're signed in to Windows using a Microsoft account, you may still be able to see your old profile photo in some segments (e.g. when you're signed in to another Windows 10 computer). Read how to remove a profile photo from a Microsoft account to find out how to remove it
Method 2 of 2: Deleting Profile Photo from Microsoft Account
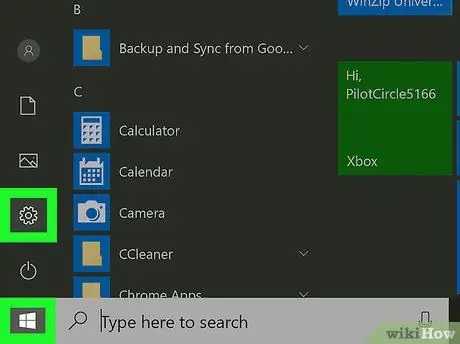
Step 1. Open the Windows settings menu (“Settings”)
You can see this app at the bottom of the “Start” menu.
If your Windows 10 account/login is linked to a Microsoft account and you don't want your old profile photo to be shown anywhere, follow this method to delete photos from your Microsoft account
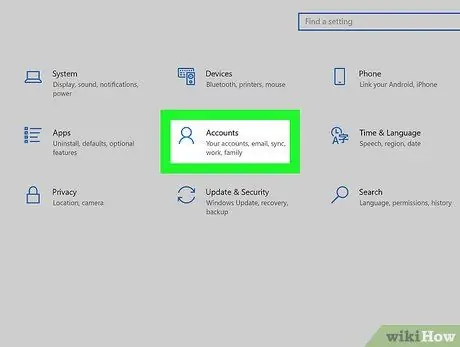
Step 2. Click Accounts
The icon looks like a human outline.
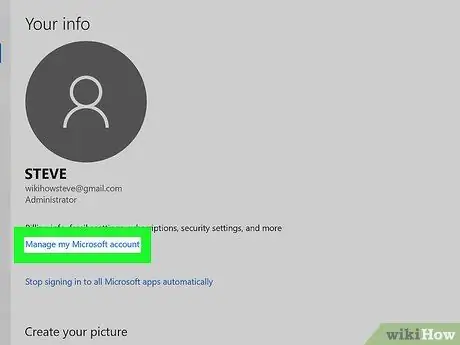
Step 3. Click Manage my Microsoft Account
This option is below the currently active user's photo.
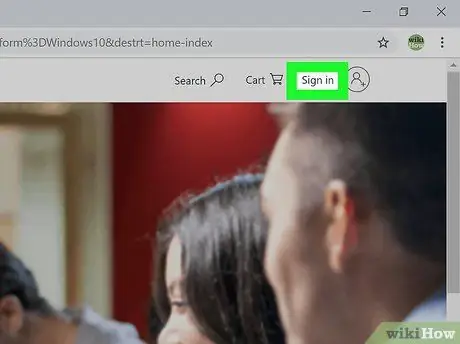
Step 4. Sign in to your Microsoft account
If you haven't already, you'll be asked to sign in to your account at this stage. Type in the same logon information and password as you used to log into Windows.
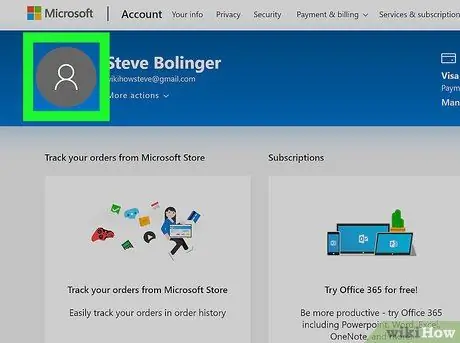
Step 5. Click the profile photo
It's in the top-left corner of the page. A large version of the photo will be displayed.
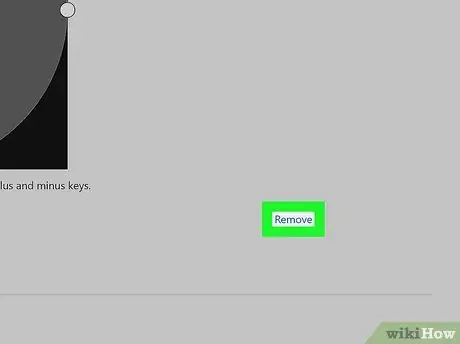
Step 6. Click Remove
It's in the lower-right corner of the page. A confirmation message will be displayed at the bottom of the page.
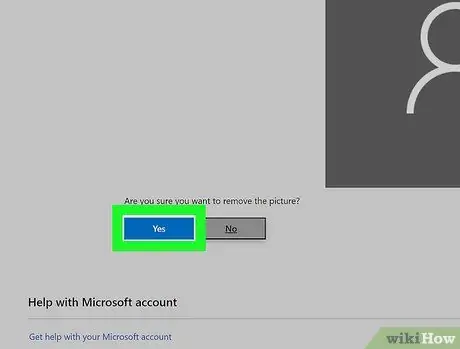
Step 7. Click Yes to confirm
Deleted photos will no longer be associated with your account.


