- Author Jason Gerald [email protected].
- Public 2024-01-19 22:11.
- Last modified 2025-01-23 12:04.
This wikiHow teaches you how to hack a Mac or Windows computer login, and how to use TeamViewer to remotely control another computer.
Step
Method 1 of 3: Bypassing Login on Windows Computer
Step 1. Understand what will happen
Windows 10 doesn't allow you to abuse the Administrator account like you could in previous versions of Windows. However, you can still view files and folders in your primary account by adding a new user (who acts like an administrator) using the Windows 10 installation drive.
You can't change the password used by the main account, but you can access, copy, and edit almost any file in the main account
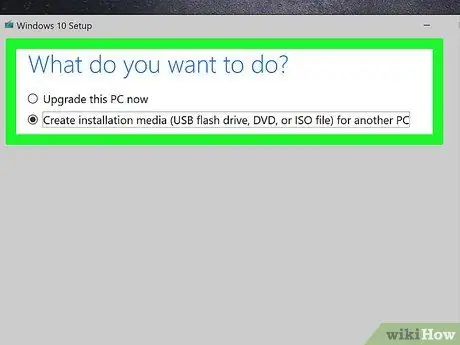
Step 2. Create a Windows 10 installation tool
Prepare a blank flash drive with a minimum capacity of 8 GB, then do the following:
- Plug the flash drive into the computer.
- Visit the Windows 10 download page.
- Click Download tools now.
- Double-click the tool you just downloaded.
- Follow the instructions given on the screen, and make sure the flash disk is used as the installation location.
- Keep the flash drive plugged into your computer after the account creation process is complete.
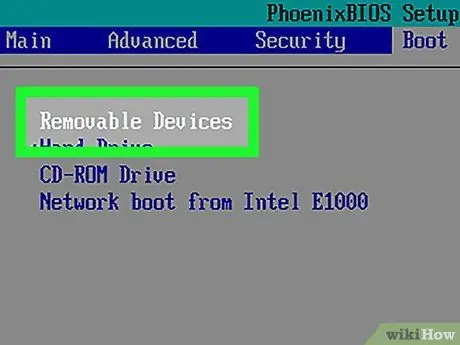
Step 3. Change the computer boot order
This must be done so that the computer runs via a flash drive, not from the hard drive (hard drive):
- Access the computer's BIOS.
- Look for the " Boot Order " section in the tab Boot or Advanced.
- Select the name of the flash disk, then press the button + (or "Up" as written at the bottom or right of the screen) until the flash drive is at the top of the list.
- Save the changes and exit the BIOS using the keys listed at the bottom or right of the screen.
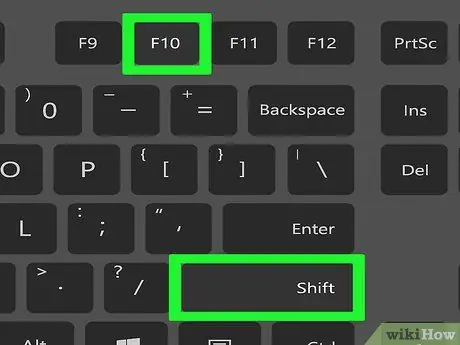
Step 4. Run Command Prompt
On the setup screen, press Shift+F10 key. A Command Prompt window will open.
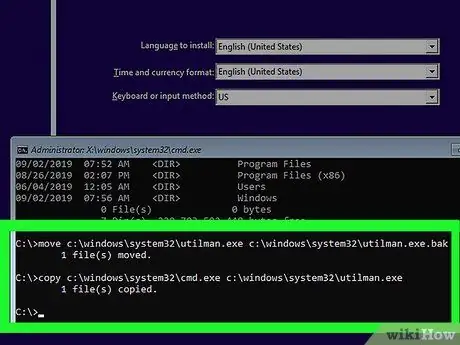
Step 5. Replace Utility Manager with Command Prompt
Utility Manager is a service whose icon is on the lock screen. After replacing Utility Manager with Command Prompt, you can act like an administrator without logging in. How to do it:
- Type move c:\windows\system32\utilman.exe c:\windows\system32\utilman.exe.bak into Command Prompt.
- Press the Enter key.
- Type copy c:\windows\system32\cmd.exe c:\windows\system32\utilman.exe into Command Prompt.
- Press the Enter key.
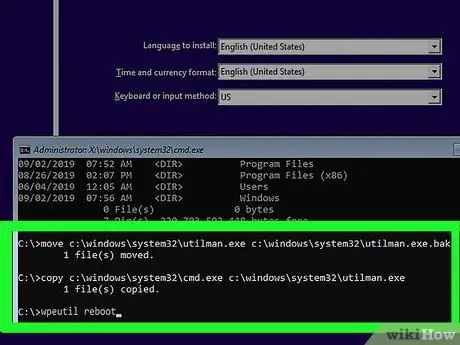
Step 6. Restart the computer
Type wpeutil reboot into the Command Prompt, then press Enter. At this point, you will need to unplug the installation media from the computer so that Windows can restart to the logon screen instead of returning to the installation setup.
If Windows boots into the installation setup, but you haven't had time to remove the flash drive, remove the flash drive and press (or press and hold) the power button on the computer case
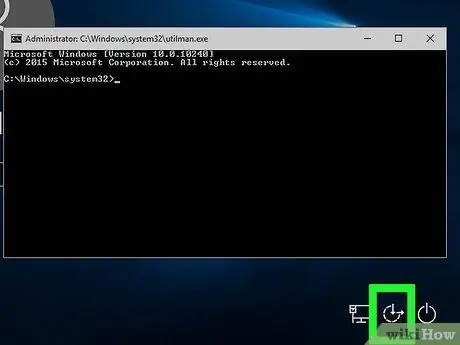
Step 7. Run Command Prompt
When the lock screen has loaded, click the " Utility Manager " icon which is a button with an arrow pointing down in the middle. It's in the lower-right corner of the screen. This will open a Command Prompt window.
If Utility Manager was not replaced with Command Prompt in the previous step, you will open Utility Manager when you click the icon
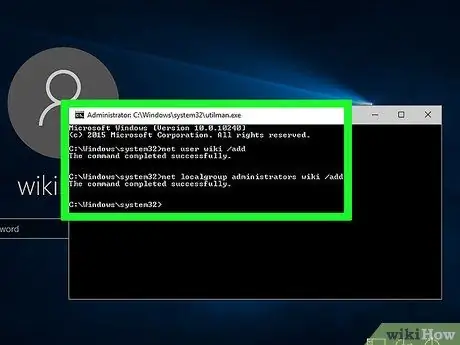
Step 8. Create a new user
Do the following after opening Command Prompt:
- Type net user name /add. Replace the words " name " with the username you want.
- Press the Enter key.
- Type net localgroup administrators name /add. Replace " name " with the newly created username.
- Press the Enter key.
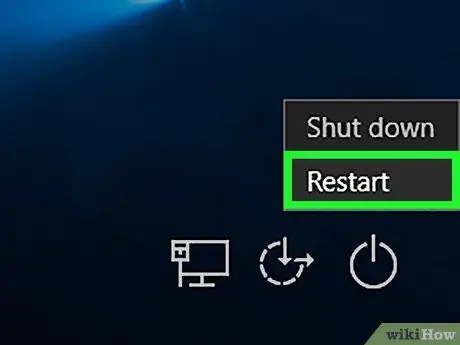
Step 9. Restart the computer
Click icon Power
then click Restart when requested. The computer will restart for the last time. After this process, you can log in with the newly created administrator account.

Step 10. Log in with the new user
If Windows has restarted, use the newly created account to log in. How to do it:
- Select the new username at the bottom left of the screen.
- Click Sign In.
- Wait for Windows to finish setting up the new user account.
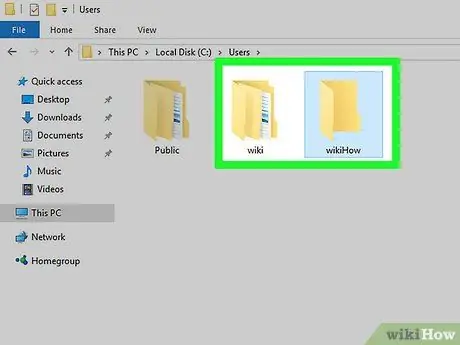
Step 11. Look at the files in the main account
Do the following to see all files and folders in the primary user account:
-
Open File Explorer

File_Explorer_Icon . You can also press Win+E key.
- Scroll up the screen, then click This PC in the left column.
- Double-click the computer hard drive.
- Double click the folder Users.
- Double click the main account user folder.
- Click Continue when prompted, then wait for the user's folder to load.
- Browse the user's files and folders as needed.
Method 2 of 3: Bypassing Login on Mac Computer
Step 1. Understand the limitations
While you can use this method to bypass logins on almost any Mac computer, some users may have enabled FileVault and/or firmware passwords. If this happens, you won't be able to hack your Mac if you don't know the password.
Keep in mind that the Mac user will know if someone is accessing the computer because the password has changed
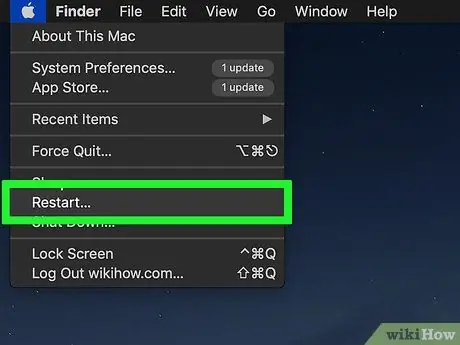
Step 2. Restart the Mac computer
Click Restart located at the bottom of the login screen.
-
When you are logged into your Mac, click the menu Apple

Macapple1 click Restart…, then click Restart when requested.
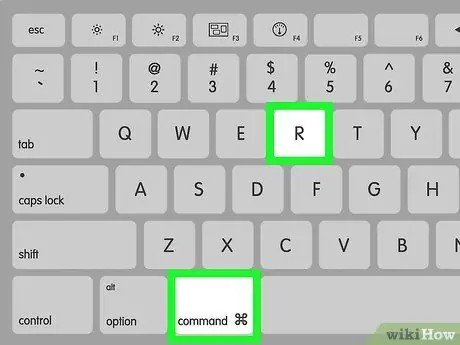
Step 3. Press and hold Command + R.
Do this as soon as you click Restart.

Step 4. Release both buttons when the Apple logo has appeared
The Mac will start up in the recovery menu.
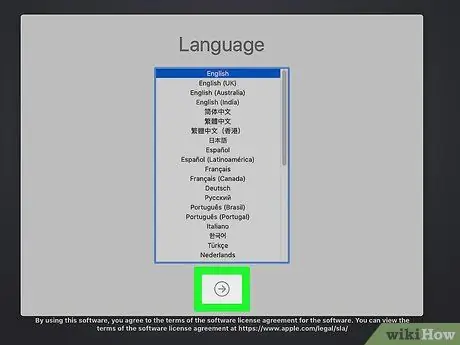
Step 5. Click → located at the bottom of the screen
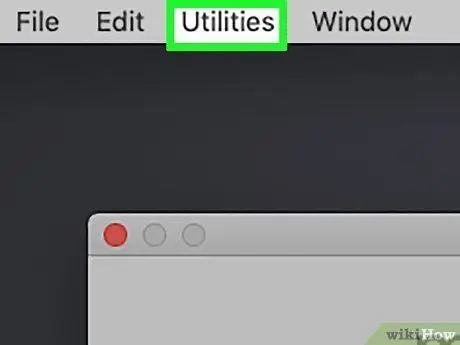
Step 6. Click the Utilities menu at the top of the screen
A drop-down menu will be displayed.
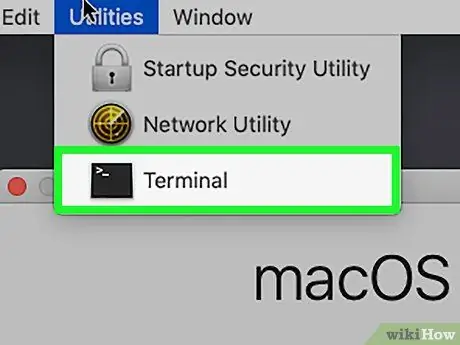
Step 7. Click Terminal in the drop-down menu
A Terminal window will open.
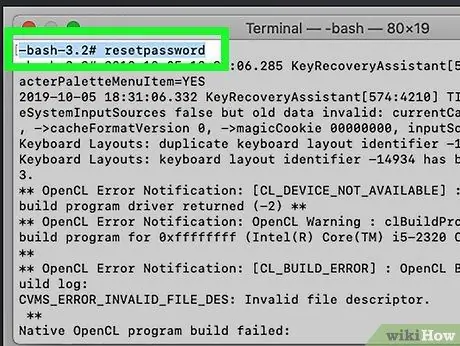
Step 8. Enter the command to reset the password
Do this by typing resetpassword and pressing Return. The Terminal command will run and a password reset page will open in the background.
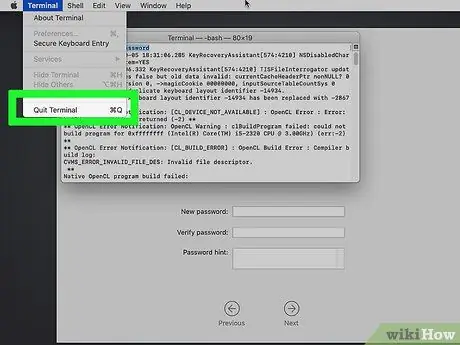
Step 9. Close Terminal
If the password reset page is open in the background, click the red round button in the upper-left corner of the Terminal window.
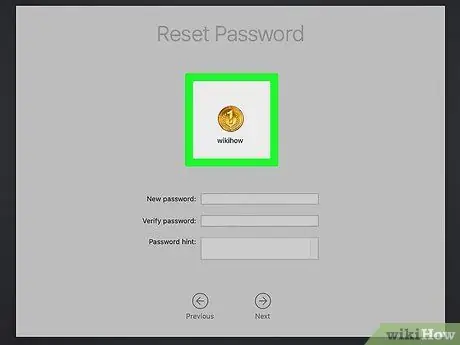
Step 10. Select the desired user
Click the name of the user account you want to hack, then click Next at the bottom of the window.
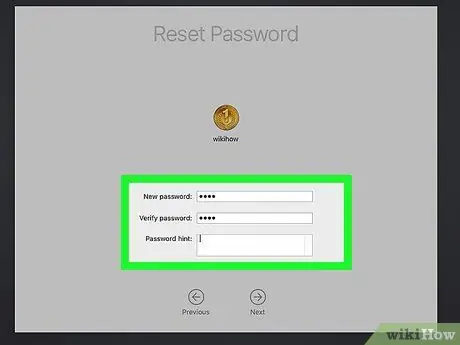
Step 11. Create a new password
Fill in the fields below:
- New password - Type in a new password.
- Verify password - Type the password again.
- Password hint - Add a hint for the password.
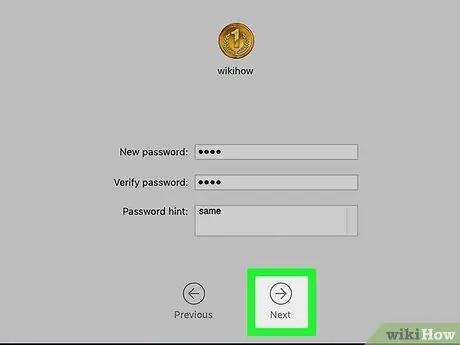
Step 12. Click Next at the bottom of the screen
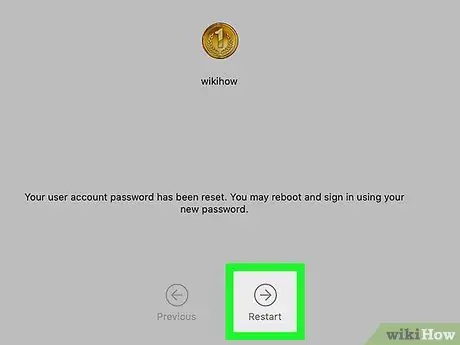
Step 13. Click Restart
This option is at the bottom of the screen. Clicking on it will restart your Mac, and will return to the login screen when the process is complete.
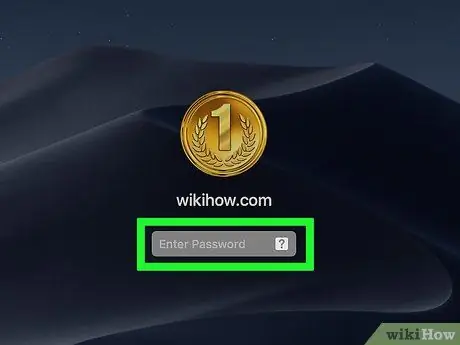
Step 14. Use the new password to log in
In the password box under the selected user, type a new password, then press Return.

Step 15. Click Continue Log In when prompted
Doing so will allow you to continue logging in without having to set up a new Keychain.
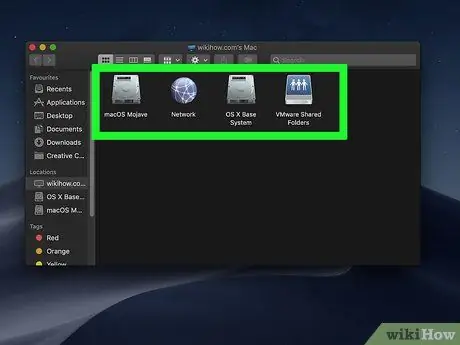
Step 16. Browse the contents of the Mac computer as needed
Since you are in a user account, you will have no restrictions as long as the account has administrator rights.
Note that the last password used by the user will be replaced with the new password. So, the user you hacked will not be able to log in to their computer using the old credentials
Method 3 of 3: Hacking a Computer Remotely with TeamViewer
Step 1. Understand how this method works
If you can access the target computer within a few hours, and want to be able to access it remotely while the computer is on, you can use TeamViewer to do this.
- Keep in mind that you must actually physically access the computer in order to use this method.
- If you can physically access the computer but don't know the password, use the method to bypass logon on a Mac or Windows computer described above.
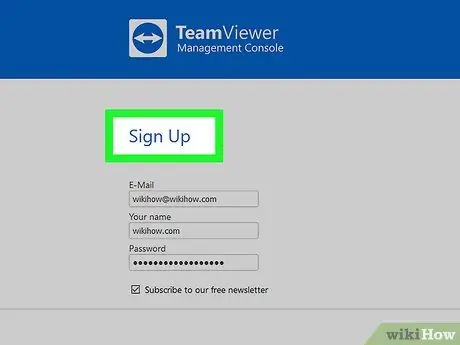
Step 2. Create a TeamViewer account
This must be done so that you can enable a number of features on the target computer:
- Run a web browser on your computer and visit
- Click LOGIN.
- Scroll down the screen, then click Sign up in the lower left corner.
-
Type in your desired email address (email), name, and password on the left side of the page.
To do this step, we recommend that you use a new email address that doesn't appear to be related to you at all
- Check the box " I'm not a robot ".
- Click Sign Up.
- Verify your email address. Here's how: open the email, click the email sent by TeamViewer, then click the long link in the middle of the email body.
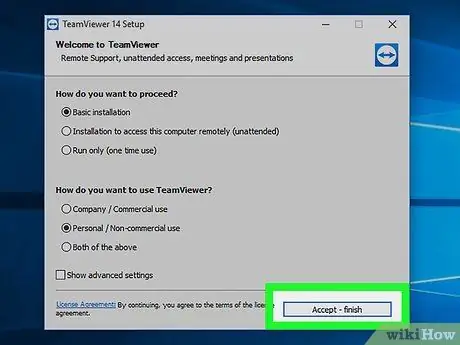
Step 3. Install TeamViewer on both computers
Run a web browser on each computer, then visit https://www.teamviewer.us/downloads/. Next, click Download now, double-click the newly downloaded file, and do the following:
- Windows - Check the "Installation to access this computer remotely" and "Personal / Non-commercial use" boxes. Uncheck the "Show advanced settings" box if necessary. Next, click Accept - finish, and click Yes when requested.
- Mac - Double-click the square icon in the center of the TeamViewer window, then follow the onscreen instructions. If you don't know the password, you'll need to reset your Mac's password first, as you'll be prompted to enter your password during the installation process.
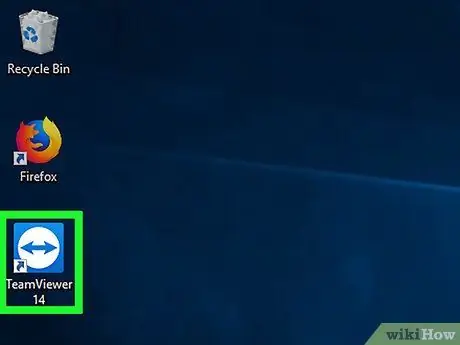
Step 4. Run TeamViewer on your computer
Do this by double-clicking the blue and white TeamViewer app icon.
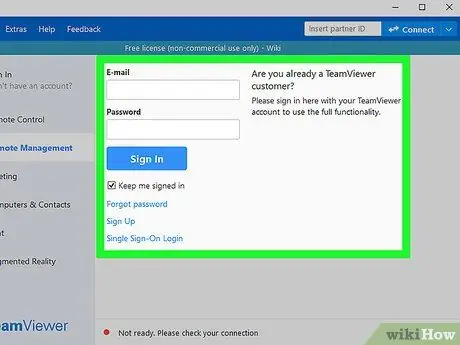
Step 5. Set up TeamViewer
How to do it:
- Close the " Unattended setup " window when prompted by clicking Cancel.
- If possible, click the button Try it now at the top of the window.
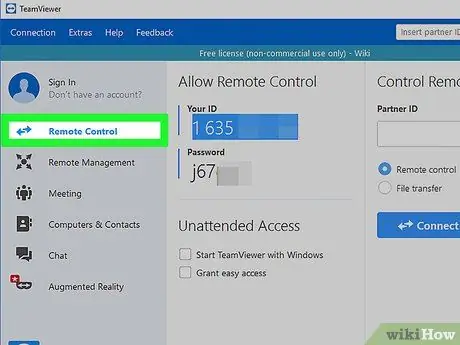
Step 6. Check the "Remote control" box on the right side of the window
Doing so will allow you to use the computer to access the target computer later.
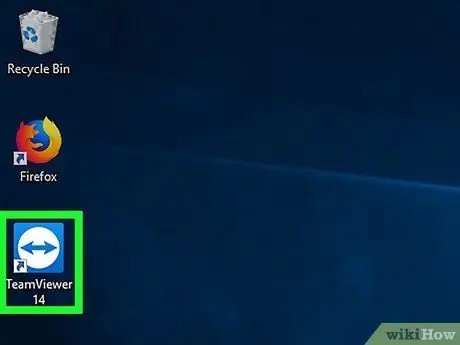
Step 7. Run TeamViewer on the target computer
Do this by double clicking the TeamViewer icon.
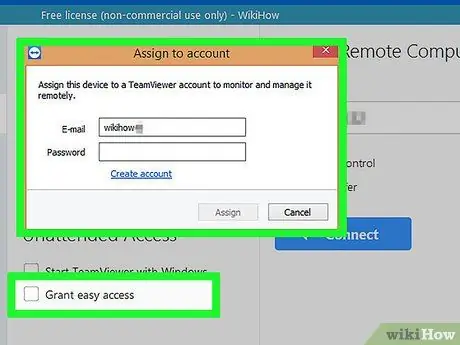
Step 8. Set TeamViewer on the target computer so that it can be accessed
Under the " Unattended Access " heading, do the following:
- Check the box "Start TeamViewer".
- Check the "Assign to Device" box.
- Type in your email address and password when prompted, then click Assign.
- Check the "Grant Easy Access" box.
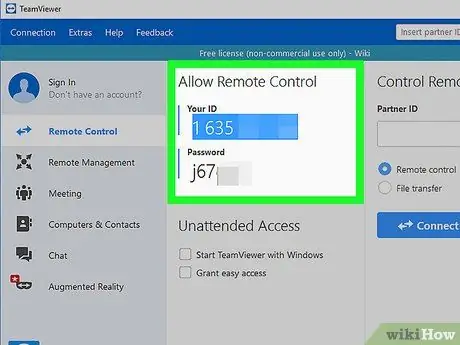
Step 9. Check the target computer's ID and password
On the left side of your computer's TeamViewer window, a jumble of "ID" numbers and characters or "Passwords" are listed. You must know both of these login information in order to access the target computer.
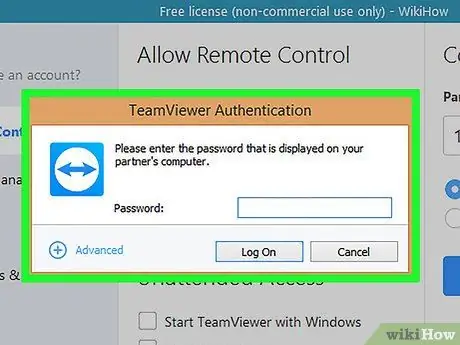
Step 10. Access the target computer from your computer
Type the target computer's ID into the "Partner ID" text box, click CONNECT, type in the password when prompted, then click Log On. By doing so, you will be able to access the target computer remotely at any time.
- You can also control other computers which will allow you to move files and folders, shut down computers, and more.
- Since the target computer is set to allow you to log in at any time, you will no longer need to physically access the computer once you have installed and set up TeamViewer.


