- Author Jason Gerald [email protected].
- Public 2023-12-16 10:50.
- Last modified 2025-01-23 12:04.
This wikiHow teaches you how to connect your computer to your router via an ethernet connection (cable), and adjust the ethernet settings on Windows and Mac computers. Wired internet connections are usually more secure and reliable than wireless connections. To connect your computer to your router, you'll need an Ethernet cable (also known as an RJ-45 or CAT 5 cable).
Step
Part 1 of 3: Connecting a Computer to a Modem or Router
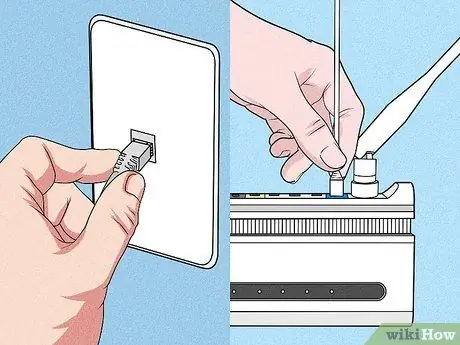
Step 1. Connect the modem to the internet cable
Attach internet cable, DSL, or fiber optic from the telephone box to the modem.
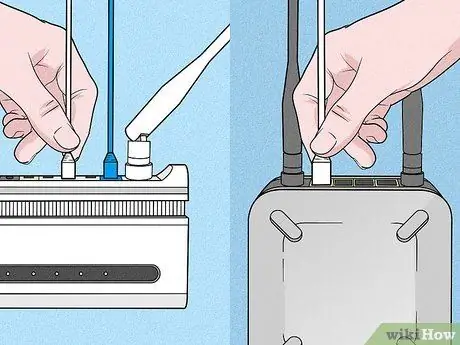
Step 2. Connect the modem to the router
If you have a separate wireless router, use an Ethernet cable to connect the modem to the router's internet port. This port is usually labeled "Internet", "WAN", "UpLink", or "WLAN". Most modern modems also function as wireless routers. If you are not using an external wireless router, skip this step and move on to the next.
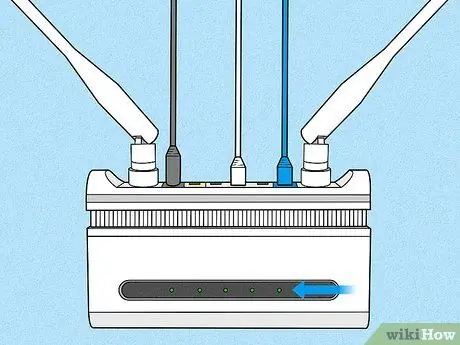
Step 3. Make sure the modem or router is connected to the network
Check the light on the front of the device. The lights labeled "Power", "Internet/Online", and "US/DS" should be lit steadily. If the light is flashing, the modem or router is not connected to the internet. You need to contact your internet service provider for assistance.
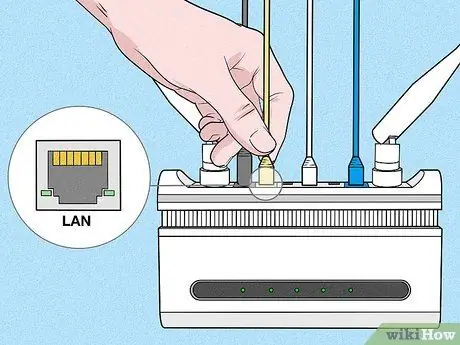
Step 4. Connect the Ethernet cable to the modem or router
Plug one end of the Ethernet cable into the port labeled "LAN" on your modem or router.
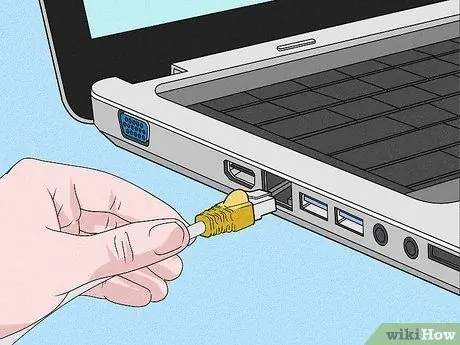
Step 5. Plug the other end of the Ethernet cable into your computer
Computers usually have an ethernet port. On laptops, this port is usually on the left or right side of the keyboard. On a CPU or all-in-one monitor, the Ethernet port is usually located on the back of the computer.
Part 2 of 3: Verifying an Ethernet Connection on a Windows 10 Computer

Step 1. Click the Windows “Start” menu
It's the Windows logo icon in the lower-left corner of the screen on the taskbar.
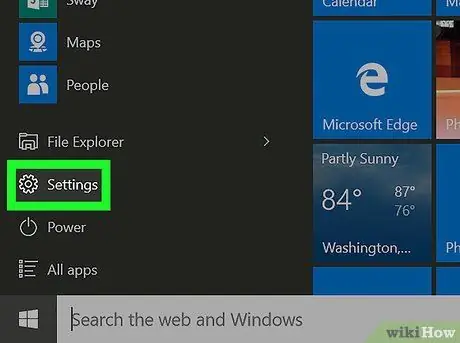
Step 2. Click the “Settings” icon
It's a gear icon in the left column of the menu.
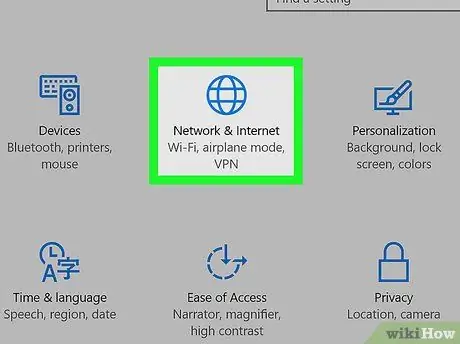
Step 3. Click the “Network & Internet” icon
This icon looks like a globe.
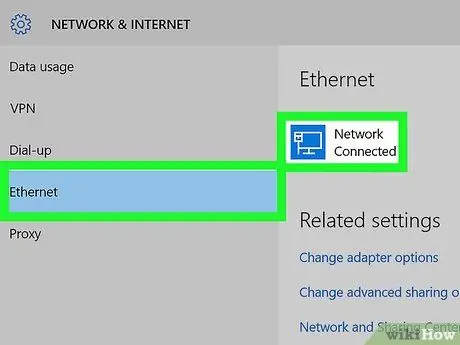
Step 4. Click Ethernet
This option is in the column on the left. The text " Connected " will appear next to the Ethernet icon, at the top of the page. If the text displayed is " Not connected ", try a different LAN port on a different router or ethernet cable. If it still doesn't work, contact your internet service provider for help.
Part 3 of 3: Verifying the Ethernet Connection on a Mac Computer
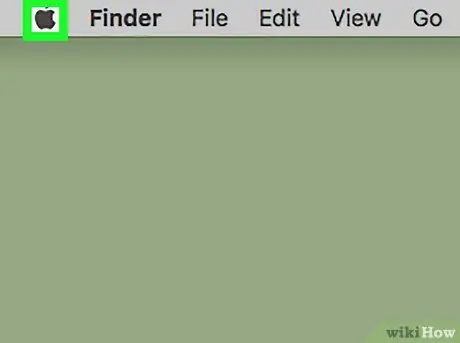
Step 1. Click
It's an apple icon in the top-left corner of the menu bar, at the top of the screen. The Apple menu will open on the computer.
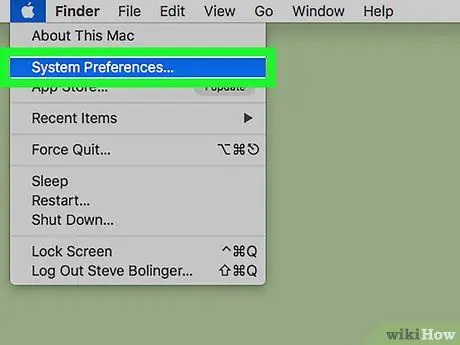
Step 2. Click System Preferences…
This option is the second option on the Apple menu.
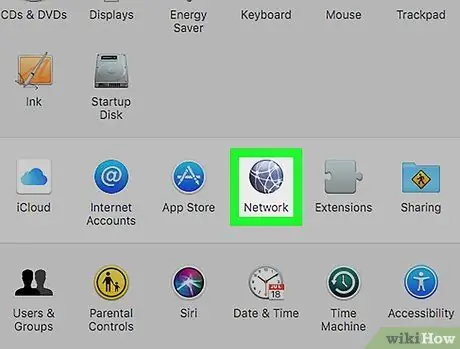
Step 3. Click Network
This icon looks like a globe surrounded by curved white lines.
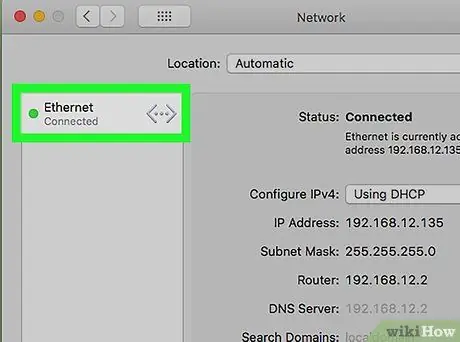
Step 4. Click Ethernet
It's in the box on the left. You can see the text " connect " and a green dot next to it. Otherwise, the computer is not yet connected to the ethernet network. Try using a different LAN port on a different modem or Ethernet cable.
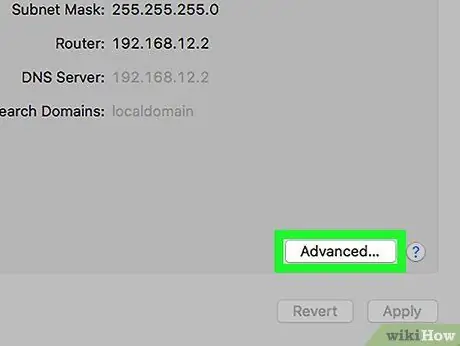
Step 5. Click Advanced
It's in the lower-right corner of the window.
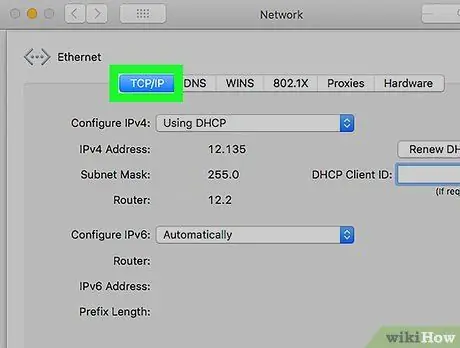
Step 6. Click TCP/IP
This option is the second tab at the top of the “Advanced” window.
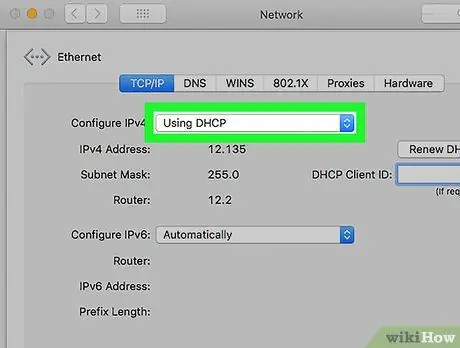
Step 7. Make sure the “Configure IPv4” menu displays the “Using DHCP” option
This menu is below the row of tabs, at the top of the window. If the menu does not show the "Using DHCP" option, select "Using DHCP" from the drop-down menu.
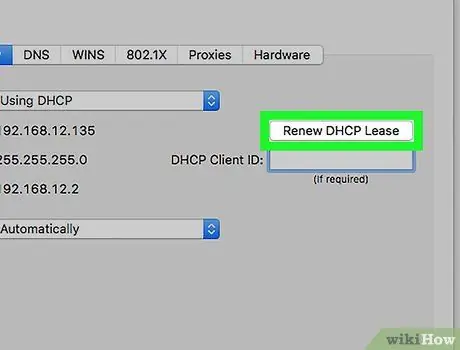
Step 8. Click Renew DHCP Lease
With this option, you can access the internet when the computer is connected to the modem via ethernet.


