- Author Jason Gerald [email protected].
- Public 2024-01-19 22:11.
- Last modified 2025-01-23 12:04.
You can change the signature that is inserted at the end of an e-mail message via the settings menu or “Settings” iPad. If iPad stores multiple email accounts, you can assign separate signatures to each account. You can also add HTML signatures with images and links by pre-generating them on a computer and adding them to iPad. If you want to add a manual (handwritten) signature, search for a signature maker app by entering the search keyword "signature" in the iPad App Store.
Step
Method 1 of 2: Changing the Signature
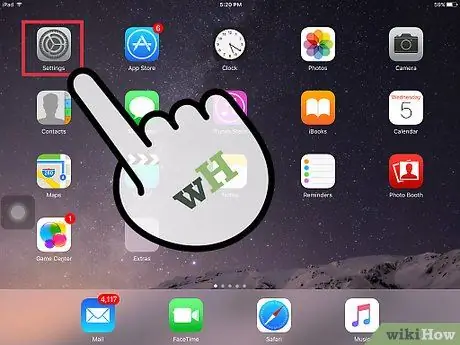
Step 1. Open the settings menu or “Settings” on the iPad
You can find this icon on one of the device's home screens. The icon looks like a gear.
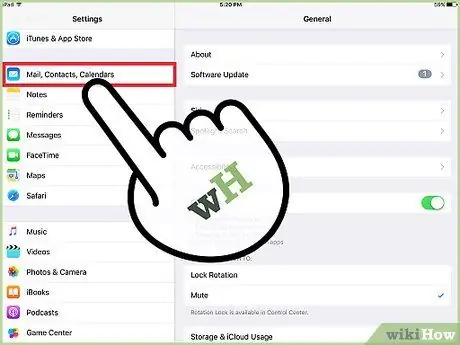
Step 2. Select “Mail, Contacts, Calendars”
The email account settings will appear after that.
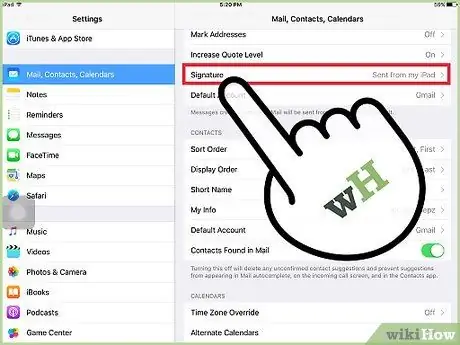
Step 3. Touch the “Signature” option
The currently used signature for the email account will be displayed.
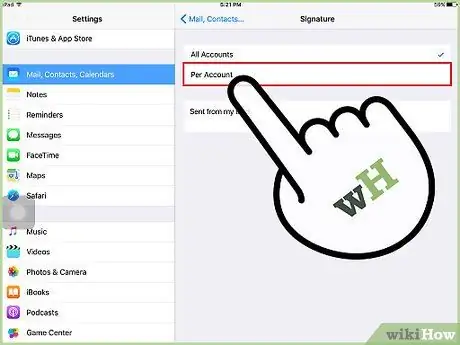
Step 4. Touch " Per Account " if you want to assign a different signature for each email account
By default, iPad assigns the same signature to every saved email account. By touching " Per Account ", a signature field for each account on iPad will appear so you can assign a different signature to each email account.
This option won't show if you don't have more than one account on iPad
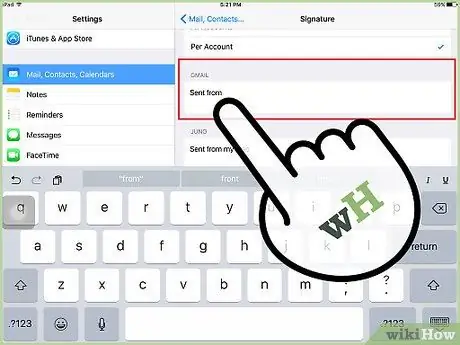
Step 5. Remove the default signature
The default signature of the iPad is " Sent from my iPad ". You can touch the end of the text and use the keyboard to delete it.
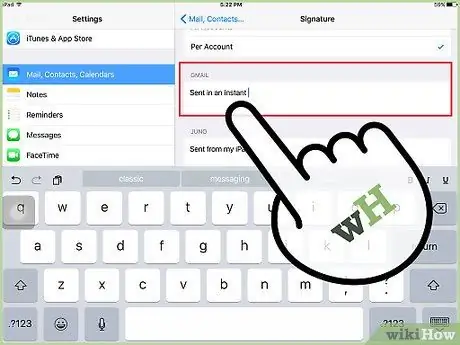
Step 6. Type in the signature you want to use
Try to keep your signature short and concise, and include the most relevant information. Press the " Return " key on the on-screen keyboard to move to the next line.
If you want to create a signature with formatted text and an image, read the how to create HTML signature segment below
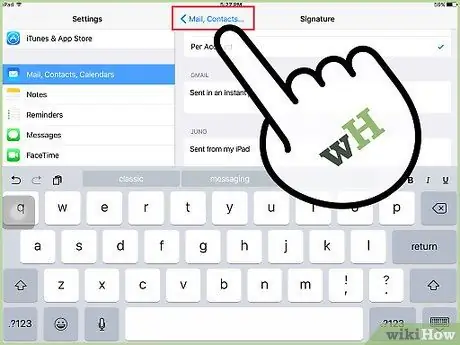
Step 7. Return to the previous menu to save changes
Touch the "< Mail " button in the top left corner of the screen to return to the “Mail” menu. The signature will be saved and applied to all future emails sent from iPad.
Method 2 of 2: Creating an HTML Signature
Step 1. Sign in to your Gmail account on the computer
Create a new account if you don't have a Gmail account yet. You need to use Gmail to create and send a signature to iPad so that it can be added to the device.
While you don't have to use Gmail, the signature editor feature is very handy and powerful. You can use an existing account or create a disposable Gmail account for this purpose. Read the article on how to create a Gmail account for more instructions
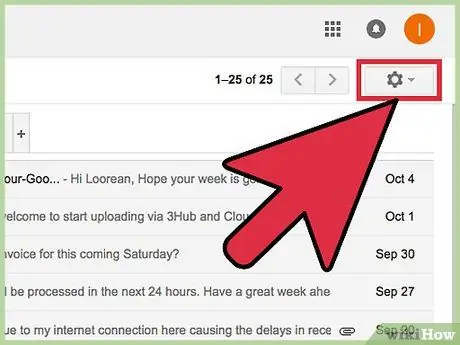
Step 2. Click the gear button in the top right corner of the screen and select “Settings”
The Gmail account settings menu will open.
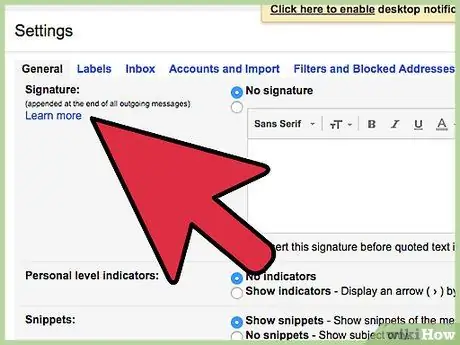
Step 3. Scroll to the signature field (“Signature”) on the “General” tab
You need to scroll through the screen to find the column.
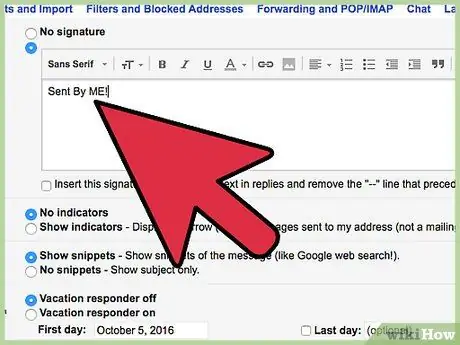
Step 4. Access the signature editor feature to create custom signatures
Use the buttons above the text field to change the format and add images and links. You can insert pictures from your computer or Google Drive account.
Keep in mind that font changes will be reverted/undone when you add a signature to iPad
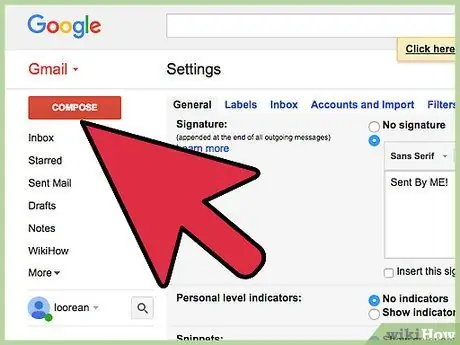
Step 5. Send an email from your Gmail account to an email account saved on your iPad
Return to the Gmail inbox page and click the " Compose " button in the top left corner of the screen. Send an email to one of the email accounts stored on your iPad. You don't have to include a subject or any text in the body of the message.
If your Gmail account is linked to an iPad, you can send messages to yourself on your computer
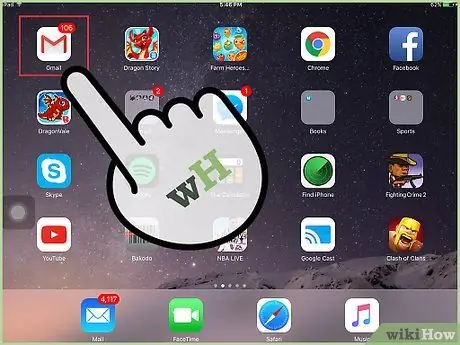
Step 6. Open the email on the iPad
The email from the Gmail account will be displayed after a while.
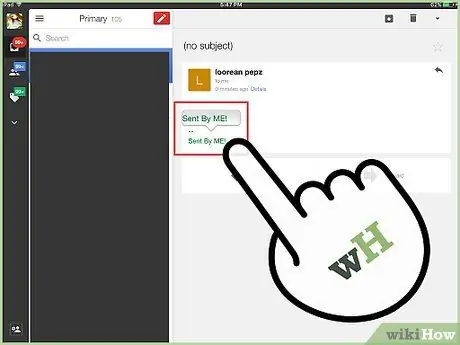
Step 7. Press and hold the signature until the magnifying glass is displayed
With the magnifying glass cursor, you can select the text and content of the message.
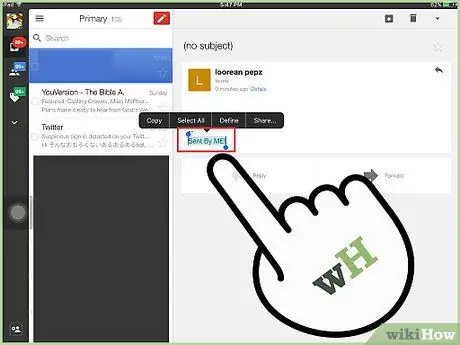
Step 8. Drag the bars to select the signature text and image
Make sure you mark all signatures, including any loaded images.
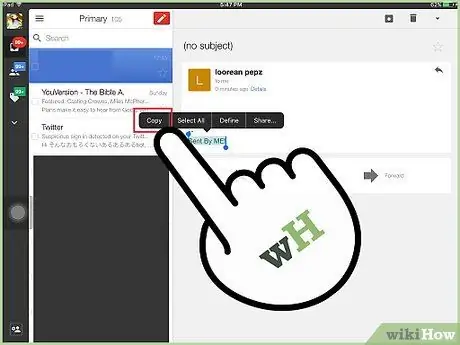
Step 9. Select "Copy" from the displayed menu
The entire signature will be copied to the device clipboard.
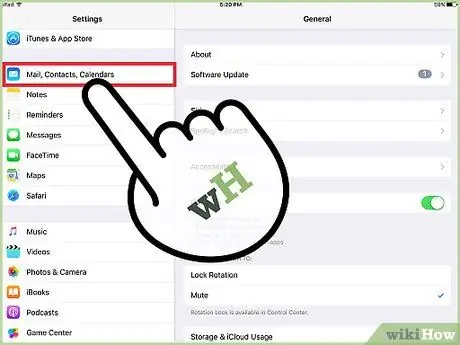
Step 10. Open the settings menu or “Settings” and select “Mail, Contacts, Calendars”
The email account settings will be displayed.
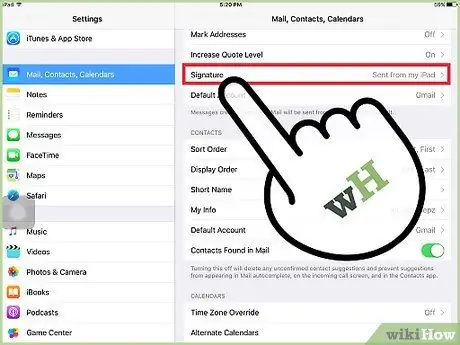
Step 11. Touch the “Signature” option
You can view signature entries for email accounts.
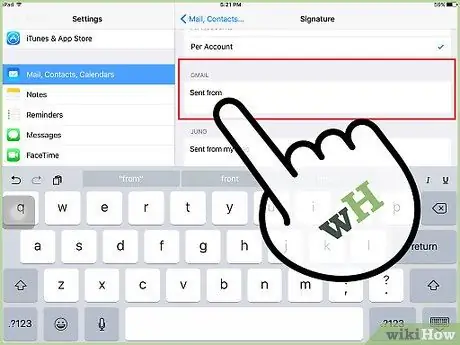
Step 12. Touch the signature entry field you want to change
The cursor will be placed in the column. Delete the signature you don't want to use.
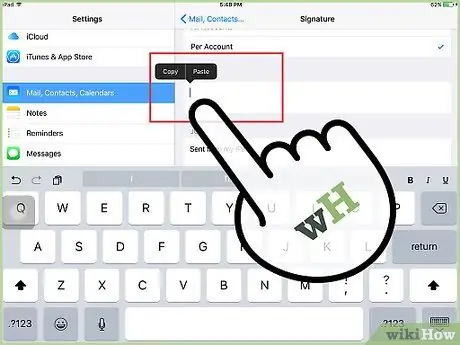
Step 13. Press and hold the text field until the magnifying glass appears
You can see the menu above the cursor afterwards.
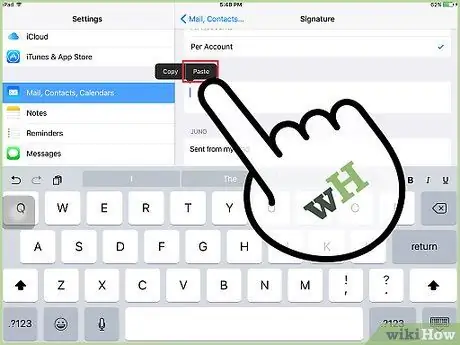
Step 14. Select "Paste" from the menu
The entire HTML signature will be pasted into the field, including images and links that are loaded.
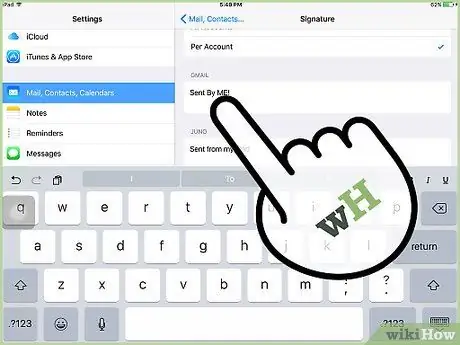
Step 15. Make the necessary adjustments
Text or image formatting may not be copied correctly so make adjustments to the signature to make it look neat.
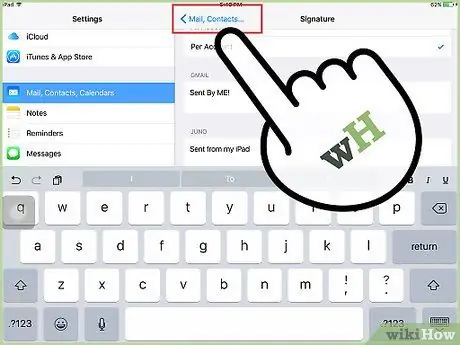
Step 16. Return to the previous menu to save changes
Touch the "< Mail " button in the top left corner of the screen to save changes to the signature. Automatically, a signature will be affixed to messages sent through the linked email account.


