- Author Jason Gerald gerald@how-what-advice.com.
- Public 2023-12-16 10:50.
- Last modified 2025-01-23 12:04.
Keeping your air conditioner clean will prevent costly repairs and increase the efficiency and reliability of your unit. You can follow the steps in this article to clean your air conditioner or central unit without having to hire a professional.
Step
Method 1 of 3: Cleaning the Indoor Unit of Central Air Conditioning

Step 1. Replace the air filter
Purchase a new air conditioning filter at the nearest electronics store. Refer to the unit's manual to confirm the correct filter size or take an old filter to the store with you.
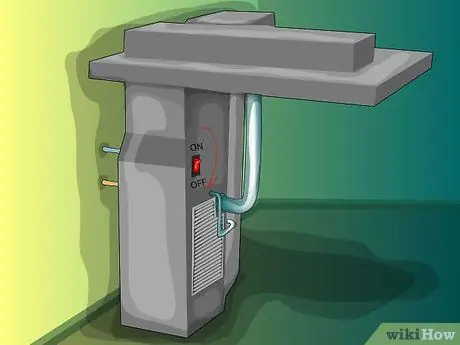
Step 2. Turn off the power to the blower
If the unit switch cannot be found, use the main panel to turn off the air conditioning unit
Change the filter
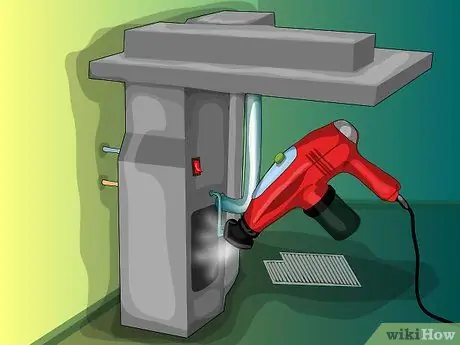
Step 3. Open the blower compartment
Vacuum up all visible dust and debris. If the motor has a lubrication port, apply five drops of special electric motor oil to the port. Do not use a rust remover or general purpose oil (eg WD-40).
Refer to the manual to check about the lubrication port
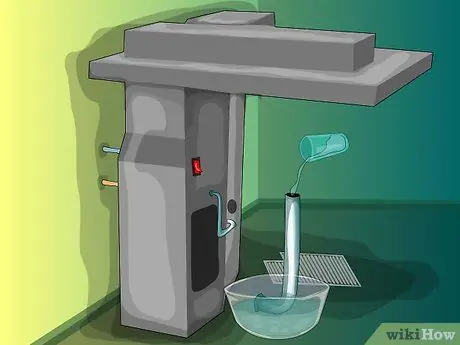
Step 4. Remove any algae that grows
Remove the plastic condensation tube and check for algae growth. The tube can be replaced, or flushed with a 1/16 mixture of bleach and water into the tube through the funnel.
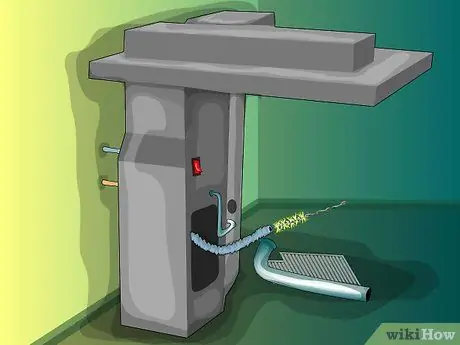
Step 5. Clean the drain pipe
Use a pipe cleaner or a small soft brush.
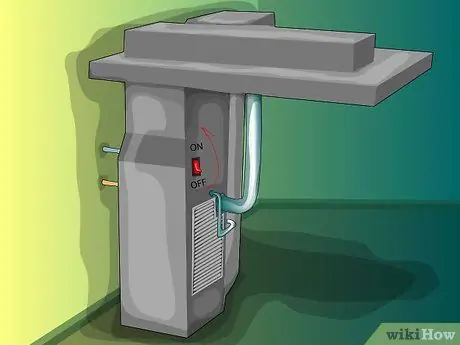
Step 6. Restart your unit
Reinstall the drain pipe and turn on the unit power again.
Method 2 of 3: Cleaning the Outdoor Unit of Central Air Conditioning
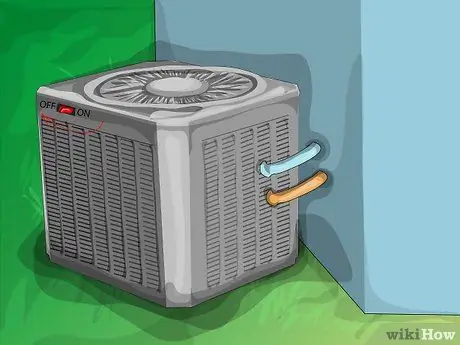
Step 1. Turn off the power of the unit
Turn off the 240-volt power for air conditioning in the shutoff box on the exterior of your home.
Pull the breaker, lower the lever or remove the fuse. If there is no shutoff box, turn off the circuit breaker that powers the A/C
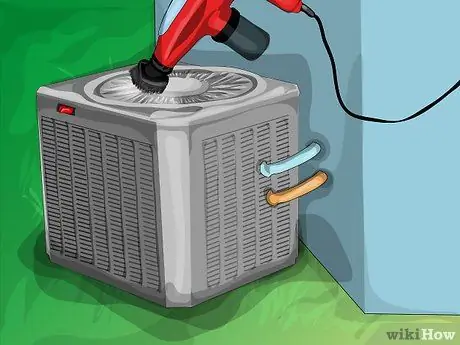
Step 2. Suck up the condenser fins
Use a vacuum cleaner with a soft brush tip. Unscrew the screws on the protective iron case to reach the fins.
- Check for grass, leaves and other debris blocking airflow. Cut the leaves around the unit so that there is approximately 61 cm of space around the unit.
- Be careful not to damage the fins while vacuuming. These fins bend easily. If it is bent, straighten it again with a knife or fin comb.
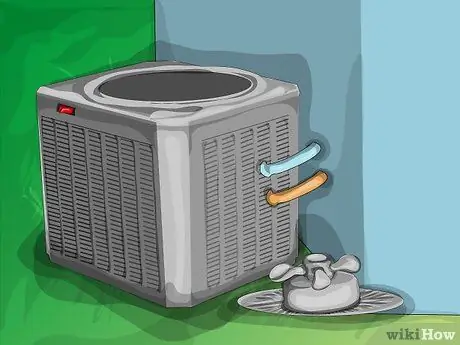
Step 3. Remove the grille on the top of the air conditioner
The unit fan is usually raised with the grille, so support the fan when lifting the grille so that the electrical connections are not damaged.
Clean the fan with a damp cloth
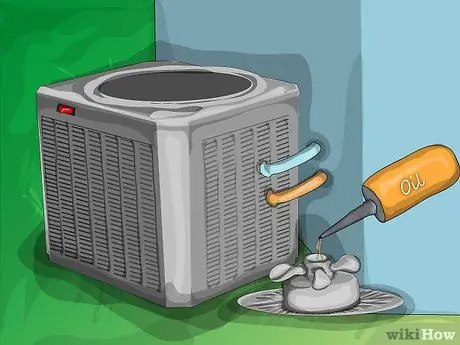
Step 4. Check if the fan has a lubrication port
Most fans do not have this port. However, if there is, give five drops of oil specifically for electric motors. Do not use rust removal oil or general purpose oil (eg WD-40).
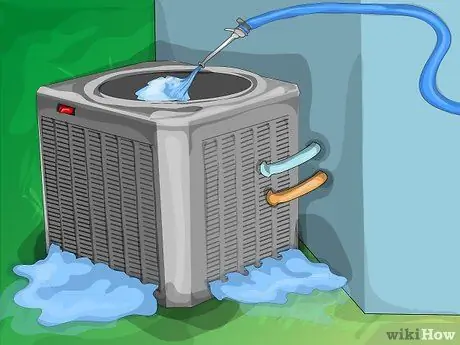
Step 5. Lower the water hose into the empty unit
Flush unit fins from the inside on medium strength.
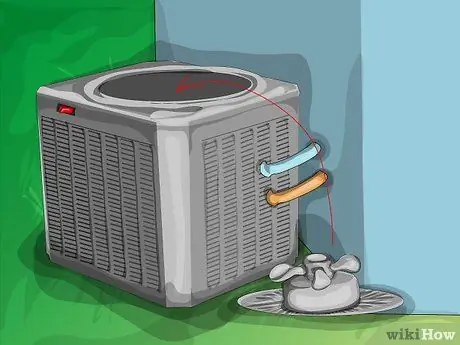
Step 6. Reinstall the unit
Return the fan and grille to their original position and replace the screws on the unit.
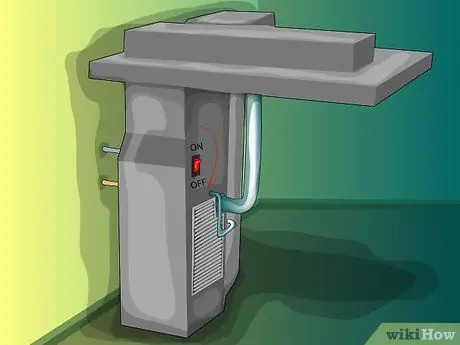
Step 7. Disable A/C
Go inside the house and change the thermostat setting in the room from "Cool" to "Off."
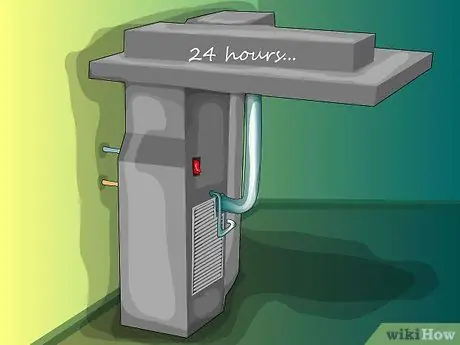
Step 8. Restore the unit power
Leave the A/C idle for 24 hours.
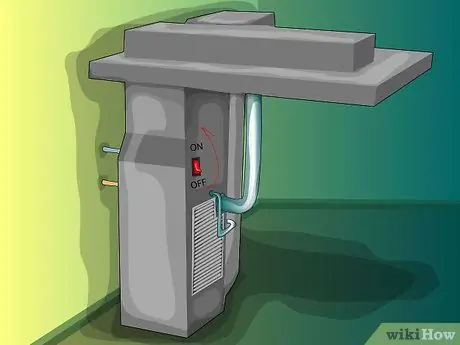
Step 9. Turn on the A/C again
Change the thermostat setting back to “Cool” and set the unit temperature to start cooling the room. Wait for 10 minutes.
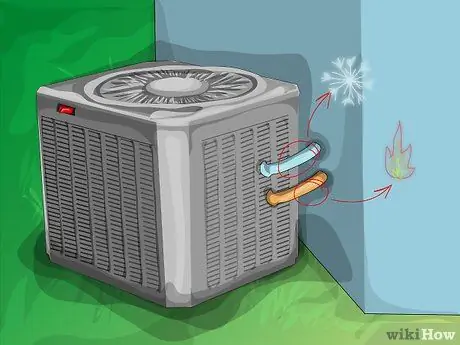
Step 10. Check performance suitability
Pull the insulation on the pipe emerging from the base of the air compressor. One pipe should feel cold, the other should feel warm. If the temperature of these pipes does not match, you will need the services of a professional to restore the coolant level.
Method 3 of 3: Cleaning the Room Air Conditioner
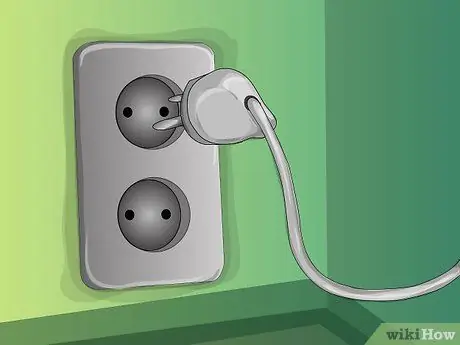
Step 1. Turn off A/C
Unplug the A/C, or turn off the breaker to that circuit.
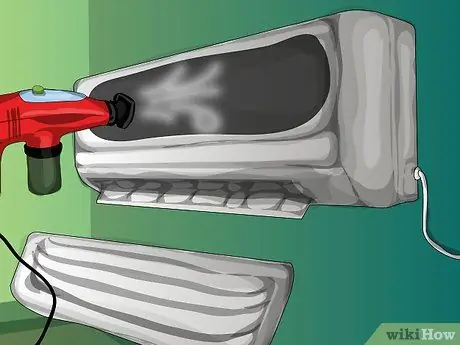
Step 2. Clean the output
Remove the rear exhaust panel and with a fine-brush vacuum, clean the fins and coils.
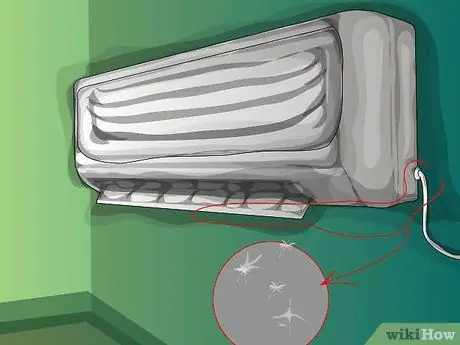
Step 3. Check the drain pipe
Check the drain on the bottom of the A/C for blockages.
Clean the blockage with a pipe cleaner or a soft brush
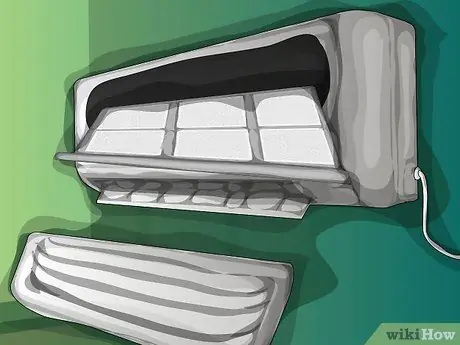
Step 4. Clean the filter
Remove the front grille from the A/C unit. Unplug the filter and clean with a vacuum cleaner or rinse with warm foam water
Make sure the filter is dry before putting it back on the unit
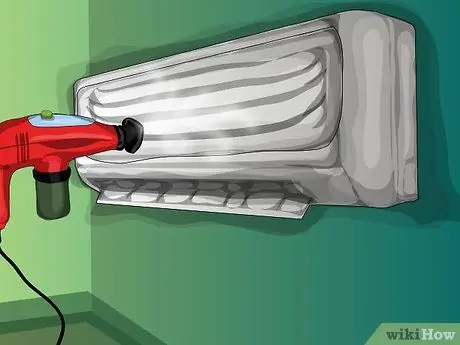
Step 5. Clean the grille and vent from dust
When your A/C is clean, the electric power can be turned on again.


