- Author Jason Gerald gerald@how-what-advice.com.
- Public 2024-01-19 22:11.
- Last modified 2025-01-23 12:04.
In image editing programs, a gradient is a gradual change in color that sweeps across or part of an image. Gradients can be used to add subtle color changes to an image, such as a color shadow effect, and can be layered and blended for interesting effects. To create a gradient in Photoshop, you will need to use the gradient tool to add a linear, radial, angular, mirror, or diamond gradient to the selected area or layer. Using a basic gradient is pretty simple, but you can also customize it further using the Gradient Editor. However, need to be noted that you cannot add gradients to bitmaps or color indexed images.
Step
Method 1 of 2: Adding a Basic Gradient to a Layer
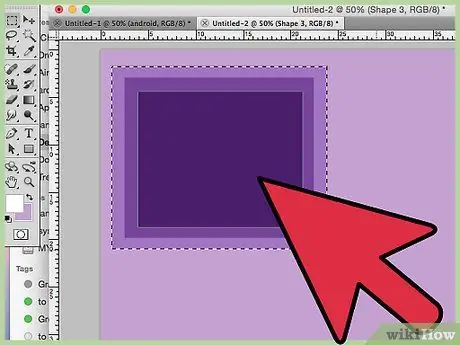
Step 1. Create a gradient shape with the selector tool
This selection tool has a dotted line icon, for example a square or a lasso, that allows you to set aside a portion of the image area. If you don't select anything, the gradient will fill the entire working layer.
- You can create gradients of any shape, as long as the selection area can be created.
- If you're new to experimenting, it's best to start with a small square.
- The gradient will fill the selected area so if you don't make a selection area, it will fill the entire layer.
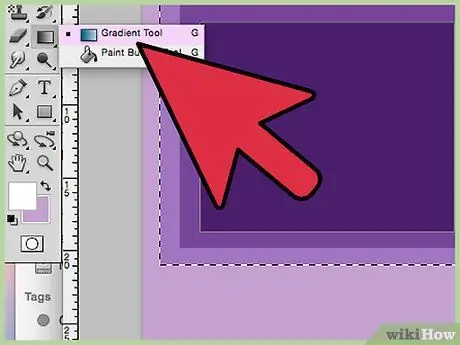
Step 2. Select the gradient tool
This tool looks like a small rectangle that fades from black to white. If you don't find it, click and hold on the paint can icon (the gradient icons are usually stacked on top of each other). When you click it, you'll see a “gradient bar” appear near the top of the screen. This is where you can edit the gradient appearance.
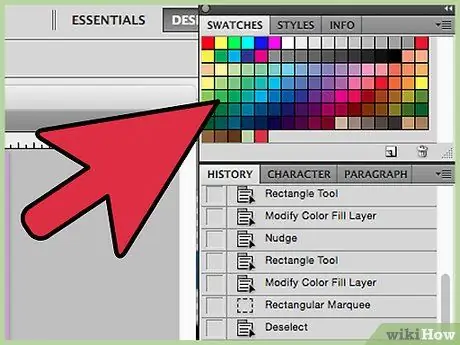
Step 3. Select the gradient color using the two rectangles on the bottom right
It's the same rectangle you use to select a paintbrush or pencil color, and it's at the bottom of the toolbar. Double click each square to change the color.
- The front square is the gradient's starting color. For this example, try using red.
- The back square is the gradient's final color. The color in the front box will fade to the color of the back box. For example, choose white.
- The gradient in the upper left corner will show an example of what the result looks like.
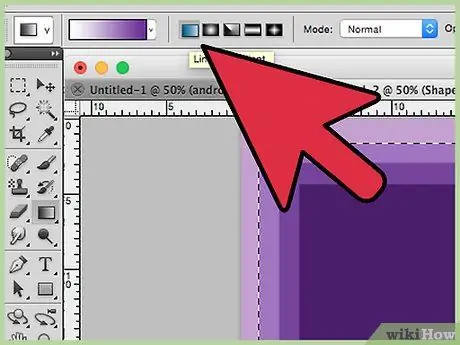
Step 4. Select the desired gradient type
On the top bar, you will see some small icons. These are gradient styles. Note that not all versions of Photoshop have this style. Below is a list of the latest gradient styles since 2015. To learn about them, try all the styles and see how they look.
-
Linear:
Classic gradient style, which resembles the evening sky. This style is simply a gradual transition between two colors along a line.
-
Radials:
One color starts in the middle, then changes gradually in a circle. Think of it like the sun in the sky; the first color is "sun" and the second color is "sky".
- Angular (angled): This more specific type sweeps the color in a clockwise arc around your starting point. This style often leads to two solid colors with gradations around the edges.
- Reflected (mirror):This type produces a normal linear gradient reflection. Basically, if you draw a “line” on the right, the gradient will repeat on the left. You will get a mirrored gradient. In this case, you will get three “blades”: white, red, and white again.
- Diamonds (diamond): Similar to a radial gradient, but this time the center is a diamond or square instead of a circle.
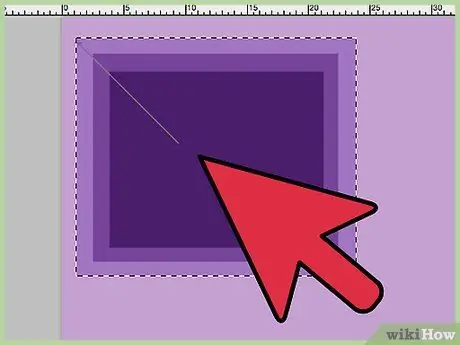
Step 5. Click and hold to set the gradient's starting point
Think of this as the part where your first color will be strongest. Here, there is no other color than red. Remember, the gradient will fill the shape of the selection area. You don't need to fill the gradient from the edges to make it full.
- You don't even have to click from within the selection area or layer. If you want to start the mix off-screen, click off-canvas. This method can result in a more subtle mix.
- Don't release the mouse button until you're ready to create the gradient.

Step 6. Move the mouse in the direction of the desired gradient, then release
You'll see a line follow from the starting point, indicating the direction the color will fade. Release the mouse to create your gradient.
- Long lines will result in a more gradual color transition.
- Short lines will result in sudden changes between the two colors.
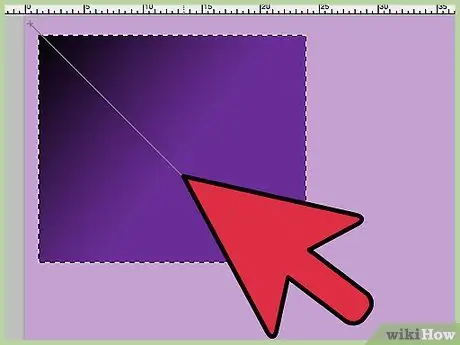
Step 7. Use gradients to create transitions anywhere
Gradients are a very useful tool in Photoshop. This tool is not only used to fade colors, it can also be used to produce transitions or blend effects. You can also wear it with a Transparency layer to slowly fade the two layers together. Gradients can also overlay text. You can use low opacity gradients to color the image in unusual ways, including transitions to black and white. Remember, all selected areas can be given a gradient.
Method 2 of 2: Adjusting the Gradient

Step 1. Click the gradient tool in the Tools panel
You can set presets. You can adjust the color so it's exactly what you want. You can even edit existing gradients to enhance them. Select the gradient tool as usual to bring up the Gradient Editor. Then click the sample gradient that appears in the bar at the top of the screen. You will see:
- Wide variety of preset gradients
- Sample gradient with customizable sliders.
- Opacity and layer information.
- Option to create gradients, load old gradients, or save your own creations.
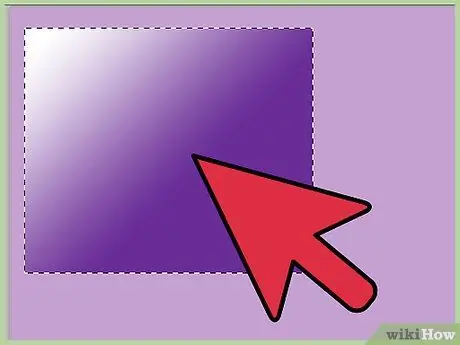
Step 2. Click the gradient you want to edit
You can also manage presets, or edit existing gradients. This allows you to fine-tune the gradient before applying it. If you have more than one layer, make sure to choose the layer that contains the gradient.
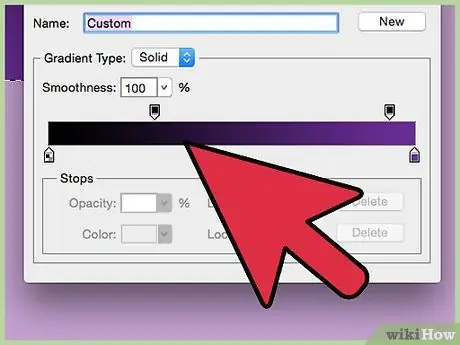
Step 3. Change the color by clicking on the small stopper below the sample gradient
You can add more by clicking along the line. In the Gradient Editor, roughly in the lower half, you'll see a bar with gradient samples. You can click below the two gray stops to change the color.
- Double click on the line to add another stop. You can add as many as you want.
- Click and drag the stopper on the screen to remove it. You can also click and press Delete.
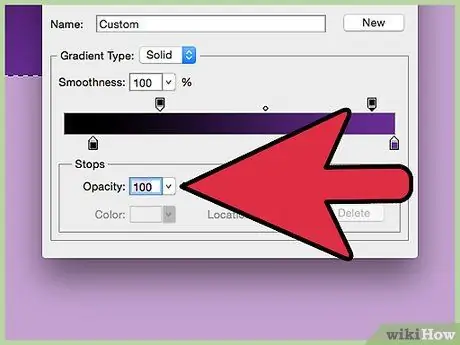
Step 4. Change the opacity by clicking the small stop above the gradient swatch
These little blocks change the color strength level, which can be increased and decreased as desired. The default setting of this option is set at 100%.
Like color stops, you can add more colors to create more complex gradients. The trick, just right click
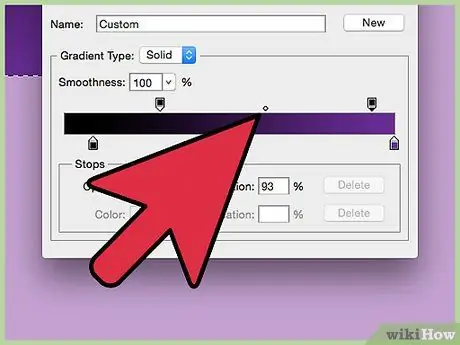
Step 5. Set the diamond in the center to set the center point
This is where the two colors will meet, each of which has a strength level of 50%. You can drag this diamond between the two color stops to set the center point.
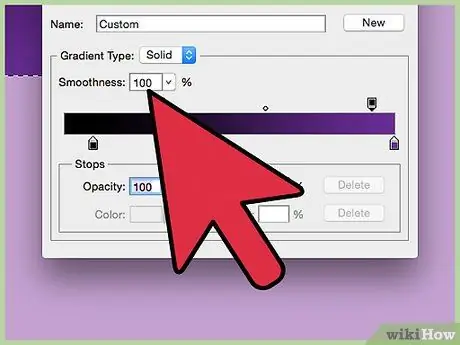
Step 6. Adjust the gradient's "smoothness" to get a rainbow-like color
A "coarse" gradient chooses a color randomly for each point that has a similar value to the two colors at the end of the gradient. The result will be much like a bookshelf, filled with blocks of color instead of one smooth, unbroken transition.
You can further adjust this option by clicking " Noise " from the Gradient Type menu
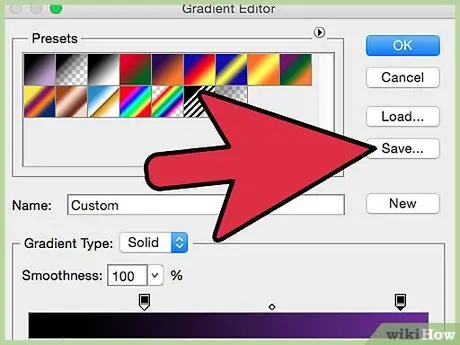
Step 7. Save your preferred gradient for later use
Or get it via the internet. Gradient presets can be very useful because you don't have to work twice. If you create a gradient that you like, click save. You can also search for it on the internet by entering the keyword "Gradient Preset Packs" into a search engine. You have thousands to choose from, and you can get them by simply downloading a small file to your desktop. After that, hit the “Load” button in the Gradient Editor to load it into Photoshop.


