- Author Jason Gerald [email protected].
- Public 2023-12-16 10:50.
- Last modified 2025-01-23 12:04.
This article teaches you how to connect an Excel workbook to an Oracle database with Power Query.
Step
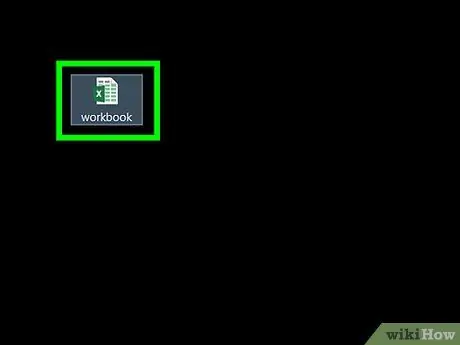
Step 1. Open the desired workbook using Excel
Excel comes with a feature called Power Query (also called Get & Transform) to make it easier for you to connect to Oracle databases.
If your computer does not have the Oracle client program installed, install this software first. Get the latest version of Oracle for 64 bit computers here, and 32 bit at this link
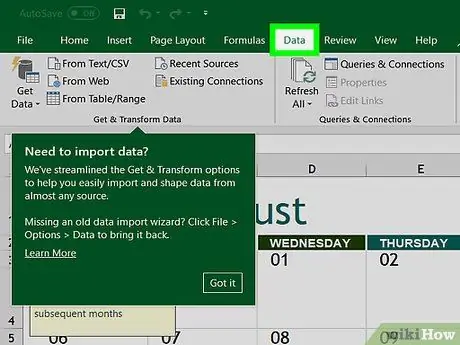
Step 2. Click Data
This tab is at the top of the screen.
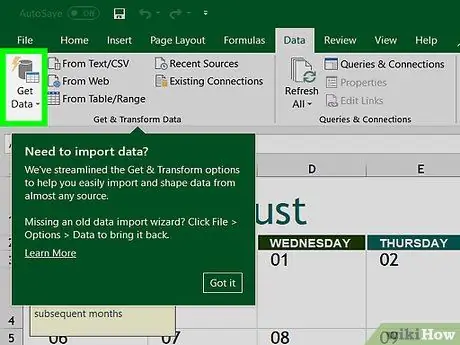
Step 3. Click Get Data
If this option does not exist, click New Query.
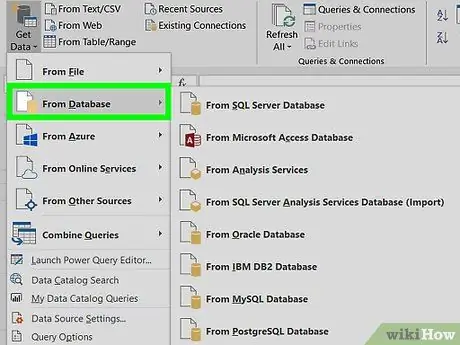
Step 4. Click From Database
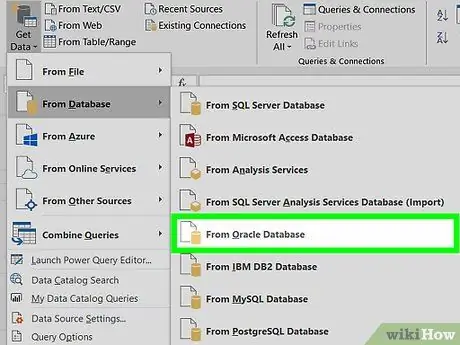
Step 5. Click From Oracle Database
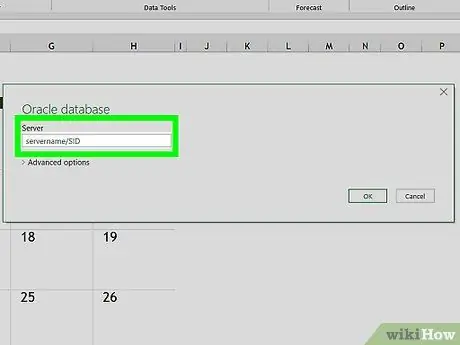
Step 6. Type the Oracle server name in the Oracle Database box
This is the hostname or address of the server that hosts your database.
If the database requires a SID, enter the server name/address using this format: servername/SID
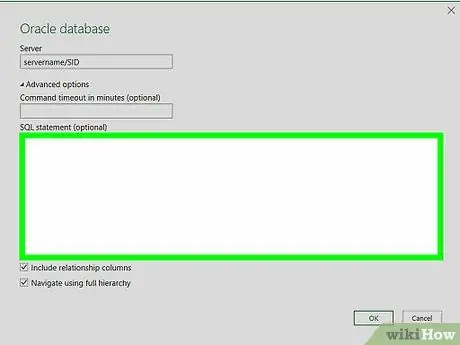
Step 7. Enter the original database query (optional)
If you need a special query when importing data from the database, expand the SQL Statement box by clicking the small triangle, then type the statement.
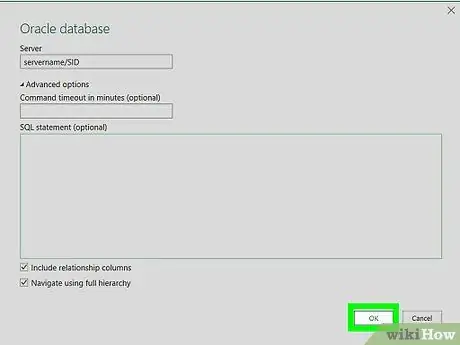
Step 8. Click OK
This will save your selected options and initiate a connection to the database.
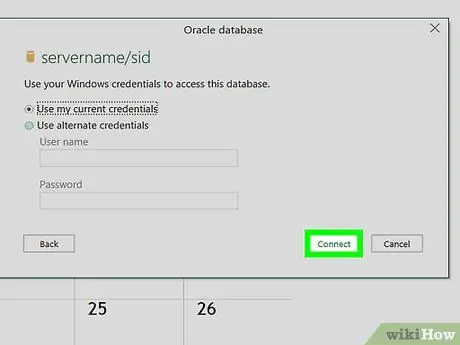
Step 9. Log in to the database
If the database asks you to login first, type in your username and password, then click Connect. Doing so will connect the workbook to the database.
- Depending on your settings, you may also need to specify an authentication method.
- When you enter the original database query, the results will be displayed in the Query Editor window.


