- Author Jason Gerald gerald@how-what-advice.com.
- Public 2023-12-16 10:50.
- Last modified 2025-01-23 12:04.
Want to share your best game moments with the world? With an external recorder, you can record your favorite games in full HD resolution. After that, you can edit and upload the recorded video to YouTube or any other site you want. If you can't afford a recording device, you can use your phone's camera to record the TV screen.
Step
Method 1 of 2: Using a Video Recorder Tool
Step 1. Purchase a recording device or card
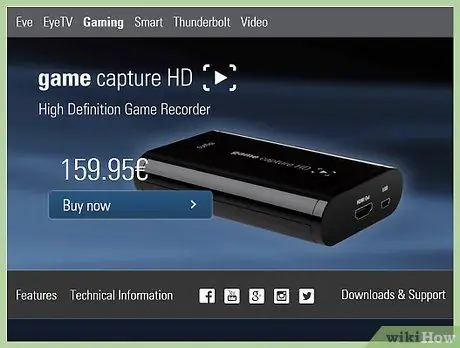
To record gameplay directly from the Xbox 360, you need a device that can receive both video and audio signals, and then record them before being broadcast on the screen. Make sure that the recording device supports your Xbox 360 output cable (for example, some recorders only support HDMI, while your Xbox may not have an HDMI port).
- There are many different types of tools to choose from for recording gameplay. The most famous tool brands are Elgato and Hauppauge. The two companies make external devices that plug into computers and record games from consoles.
- You can also get PCI recording cards for computers, for example Black Magic Design Intensity Pro. Recording cards are more of a hassle because you'll have to install them yourself, but they're usually a bit more useful (and expensive).
Step 2. Get an HDMI or video splitter (optional)
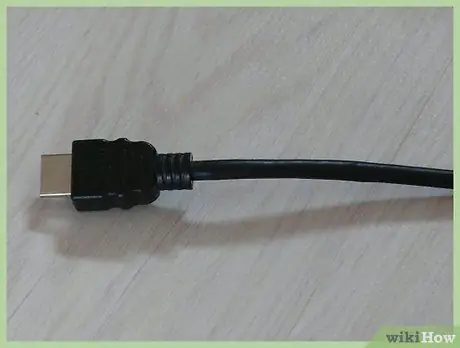
Some recording devices may distort the display while recording is in progress. To avoid this, you can use a splitter to send the game display to the TV, while the recording is done on a computer.
Step 3. Connect the tools
Once you get all the tools, you need to connect them all in the right order.
- Connect an Xbox 360 video cable (HDMI or Component/YPbPr) to the recorder's "IN" port.
- Connect the "OUT" port of the recorder to the TV.
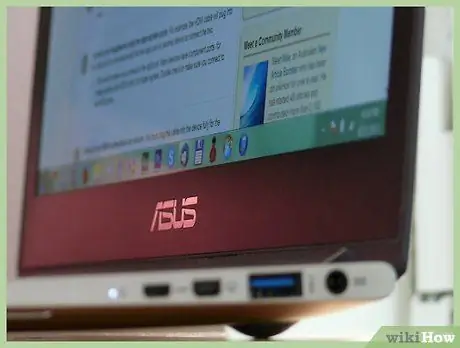
- Connect the recording device to the computer. Connect the recording device to the computer's USB 3.0 port if possible.
Step 4. Install the recording program on the computer
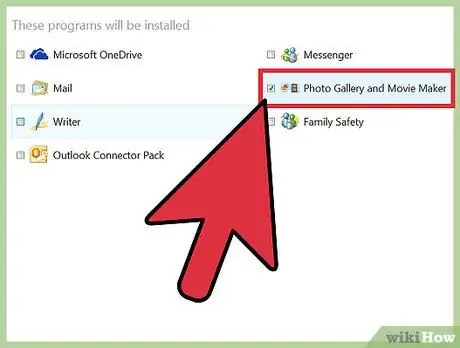
All recorders have a program for recording video games from the Xbox 360. Insert the program disc that came from the recorder, or visit the website listed in the device's manual to install the recording program.
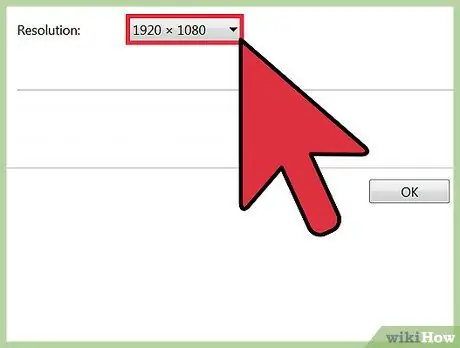
Step 5. Adjust the recording settings
The resolution and frame rate used for recording will greatly affect the amount of resources used as well as the final video output.
- If you connect your Xbox 360 via a Component /YPbPr cable, the highest resolution you can use is 720p or 1080i. HDMI supports 1080p resolution (on newer recording devices), but is still limited by the Xbox 360's native output as not all games are displayed at 1080p resolution.
- Most recorders can only produce video at 30 frames per second (FPS). If your recorder is newer, you can record 60 FPS video, but this is very hard on the computer hardware and not all Xbox 360 games are displayed at 60 FPS.
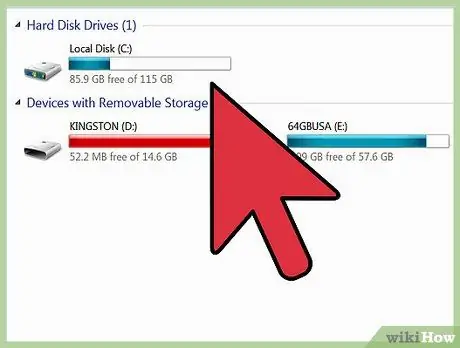
Step 6. Start recording the game
Start playing, and start recording using the provided program. Recorded videos will take up quite a bit of space on your hard disk, so make sure you have enough free space before you start recording.
Step 7. Edit and upload your recorded video
Once you've recorded your game, you can edit it to your liking, then upload it to a video site of your choice.
- Click here for a video editing guide.
- Click here for a guide to uploading videos to YouTube.
Troubleshooting
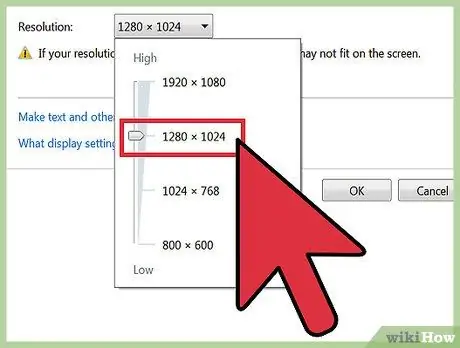
Step 1. Use the following method if the TV does not display an image after the recorder is connected
If your TV does not support 1080p resolution, the picture may not appear when you connect a recording device.
The quickest way to solve this problem is to change the output setting of your Xbox 360 to 720p or 1080i
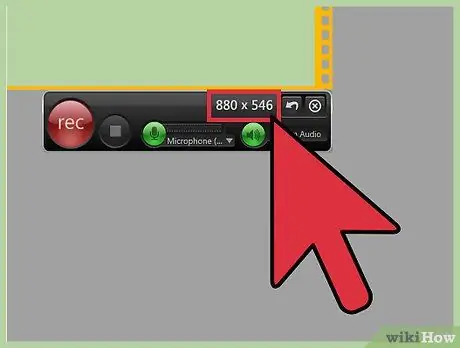
Step 2. Use the following method if the recorded video is not smooth
This usually happens because the recording process is burdensome on your computer hardware. Lower the recording settings to see if the recording performance can be improved.
You should be able to see significant changes when changing the recording from 1080p to 720p, and also by changing the setting from 60 FPS to 30 FPS
Method 2 of 2: Using a Camcorder or Webcam
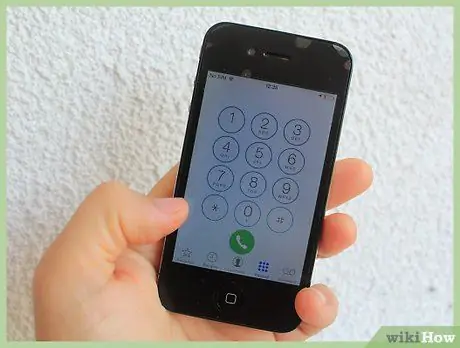
Step 1. Determine the recording device you want to use
If you can't afford an HD-quality recording device, you can use a camcorder, webcam, or even a cell phone camera to record the TV screen.
Since you will be recording "TV screen" in this way, you will not be able to get perfect quality. What you can do is focus on reducing outside interference by setting the device to only record the full TV set and ensuring that the recording device can stand steady
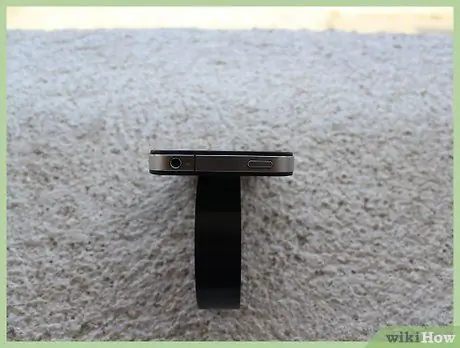
Step 2. Set the recording device on a flat and stable surface
You can use a tripod to do this, or find an appropriate flat surface to record the TV screen well.
Try to adjust the position so that the camera frame is completely filled by the TV screen
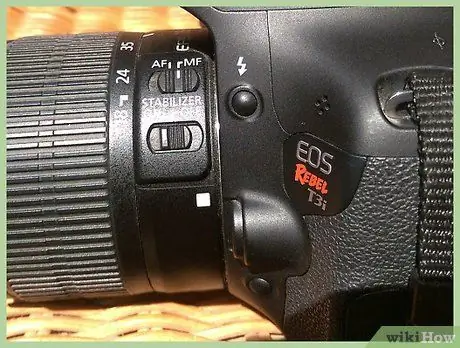
Step 3. Adjust the camera focus
Use the Focus tool on the camera to ensure that the footage from the TV screen is clear.
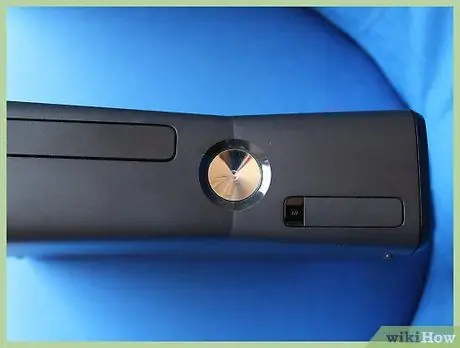
Step 4. Start playing, then press the record button on the camera
If you use a digital device such as a cell phone, be aware that videos can take up a lot of memory space.
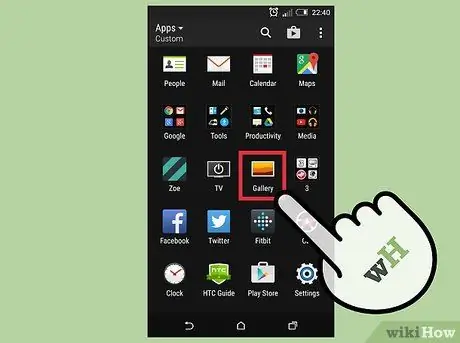
Step 5. Transfer the video to your computer for editing
Click here for a detailed guide on how to transfer files from your phone to your computer.
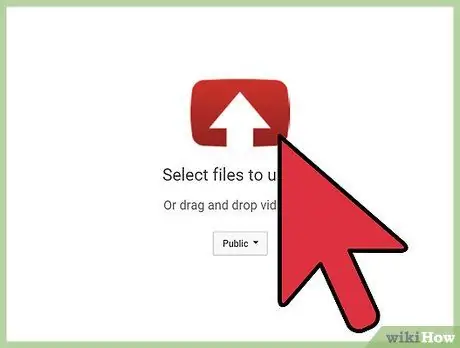
Step 6. Edit and upload your recorded video
Once you've recorded your game, you can edit it to your liking, then upload it to a video site of your choice.
- Click here for a video editing guide.
- Click here for a guide to uploading videos to YouTube.


