- Author Jason Gerald [email protected].
- Public 2023-12-16 10:50.
- Last modified 2025-01-23 12:04.
The rule of thirds, namely the arrangement of thirds (especially in the world of photography, design, and art) that positions objects to make them more pleasing to the eye, making triangles into interesting shapes to contemplate and create. The impossible triangle that often appears in MC Escher's art is also known as the penrose triangle or the penrose tribar.
Step
Method 1 of 3: Getting Started by Drawing an Inverted Triangle
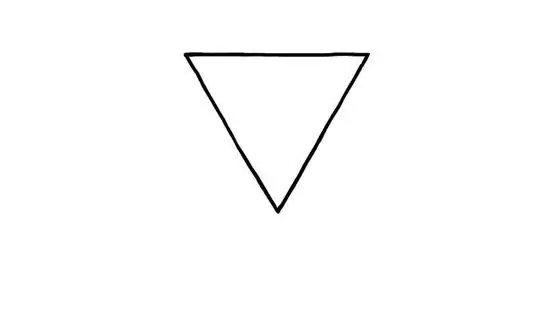
Step 1. Sketch an equilateral triangle upside down
This will be the center of your triangle.
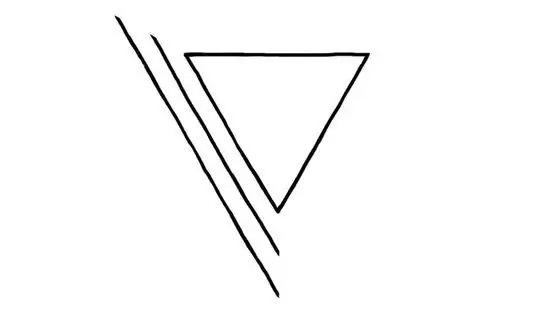
Step 2. Draw two parallel lines on the outside of one of the sides of the triangle
The distance between the lines must be the same. Draw a straight line.
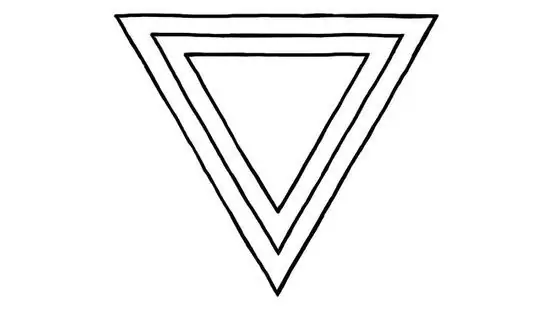
Step 3. Repeat the steps on the other two sides
Now your sketch should look like three triangles joined together.
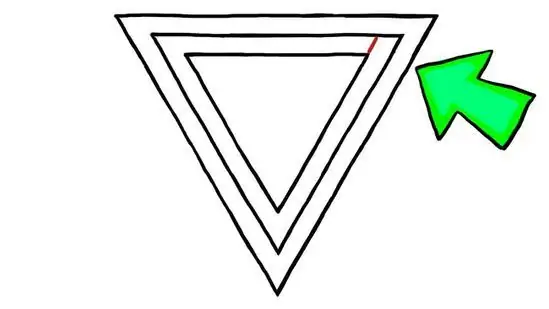
Step 4. Choose one of the sides of the innermost triangle
Draw a straight line from the end of the triangle until it touches the middle triangle.
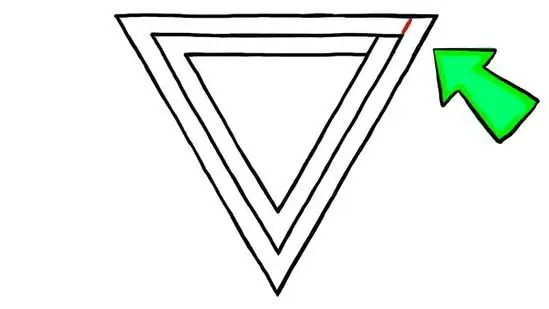
Step 5. Do the same for the middle triangle
Draw a straight line from the end of the middle triangle to the outer triangle.
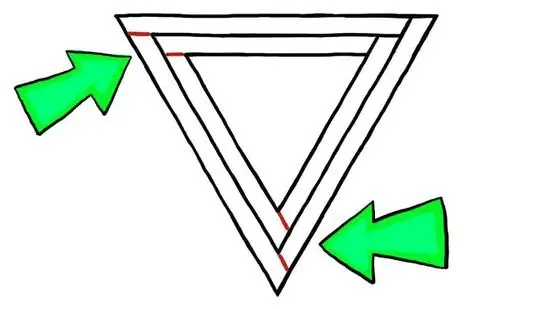
Step 6. Repeat this step on the other two sides
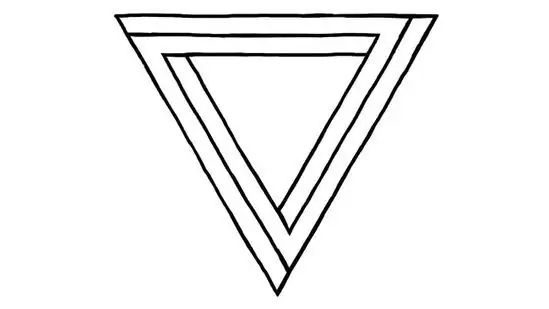
Step 7. Erase the short lines so that the triangle starts to look three-dimensional
Each end of this 3-D shape should look like an inverted L shape.
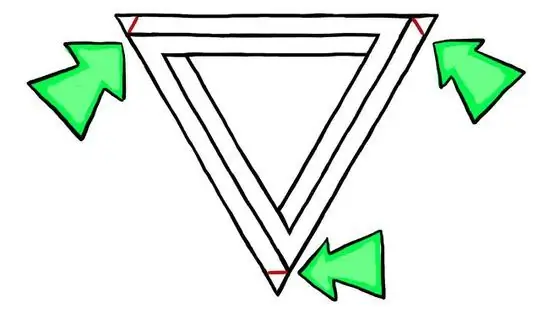
Step 8. Add short lines in the corners
These lines will intersect the outer points.
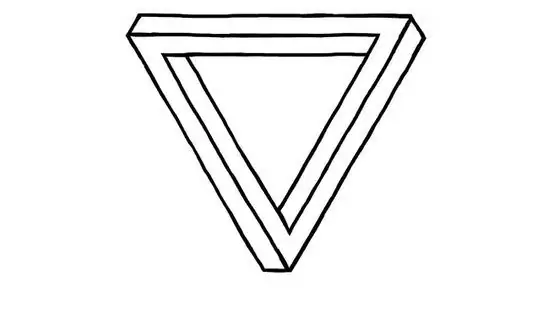
Step 9. Trim the drawing by erasing the lines beyond the short line you last drew
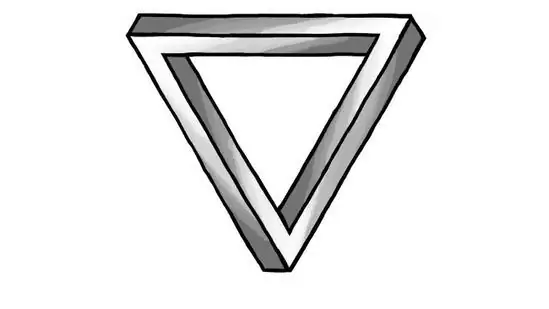
Step 10. Add dark and light sections if you want
Method 2 of 3: Drawing from an Extended Triangle
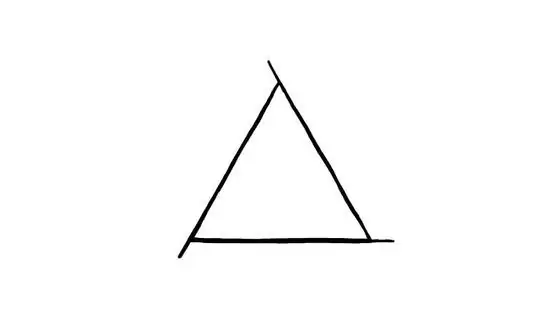
Step 1. Draw a triangle and extend the line at the end through each corner
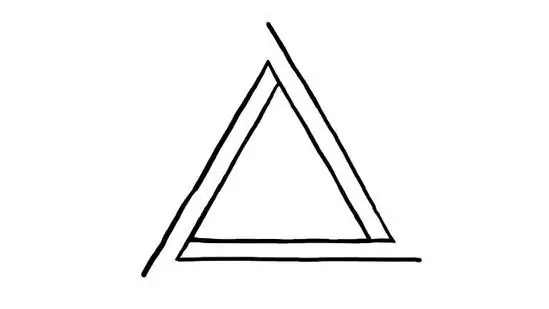
Step 2. Draw a line from these ends, extending beyond the corners of the innermost triangle
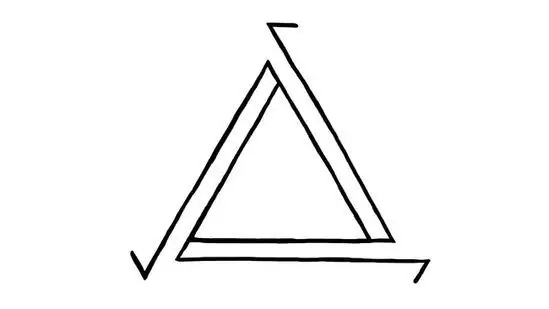
Step 3. Draw the corners for the outer triangle
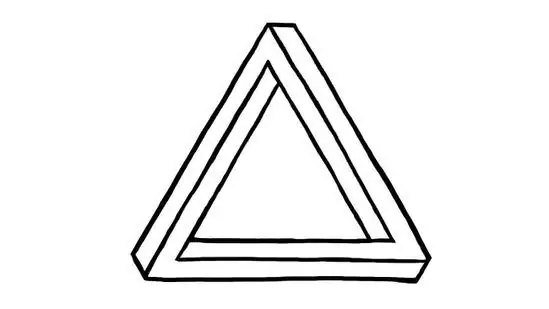
Step 4. Draw the outermost long lines to connect all the corners
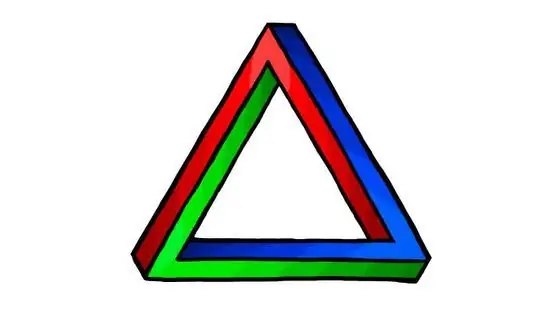
Step 5. Done
Method 3 of 3: Drawing from Irregular Hexagons
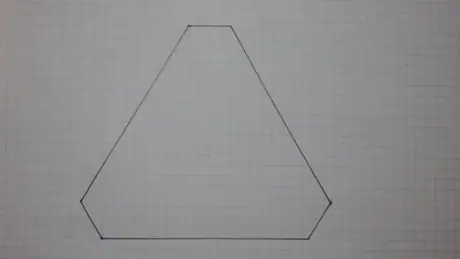
Step 1. Draw a hexagon (hexagon)
Three of its sides must be long, and the other three short. The short and long side images should be alternated. This irregular hexagon can be made easily. The trick, draw an equilateral triangle and then cut the corners.
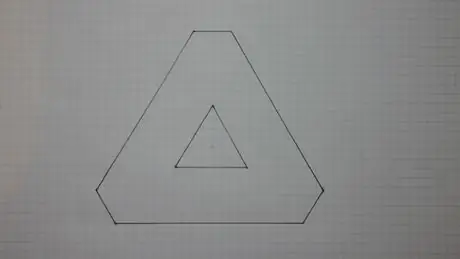
Step 2. Add a smaller equilateral triangle in the center of the hexagon
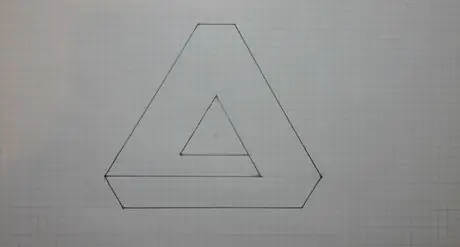
Step 3. Draw a line from the corner of the triangle to the corner of the hexagon, as shown in the illustration above
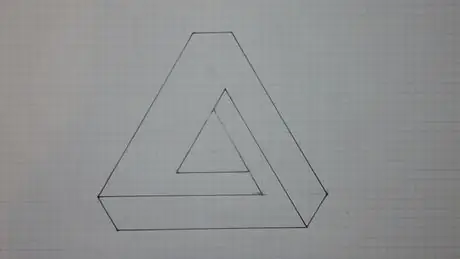
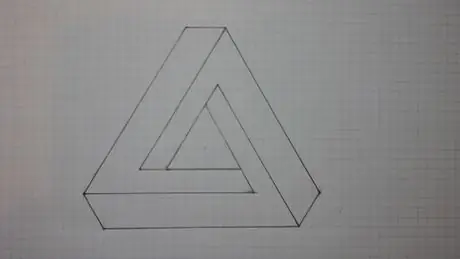
Step 4. Repeat this step for the other two sides
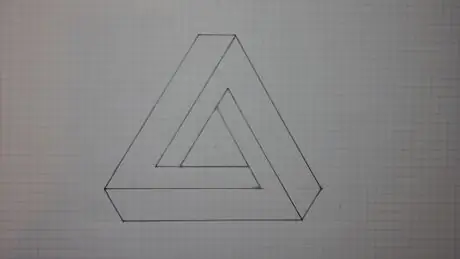
Step 5. Done
Draw the dark and light parts or color them if you want.
Tips
- After learning these basic optical illusions, you can experiment with more complicated patterns.
- Sketch it with a Sharpie marker to make it look sharp.
- Practice making light and dark techniques. This technique will give the impression of depth to a two-dimensional image.
- Make a sketch first because you could be wrong. Draw on old paper first so you don't waste new paper.
- Practice before making the final drawing.
- Make sure the light and dark parts are well drawn for a "Wow!" effect.
- If necessary, you can use a protractor to help.


