- Author Jason Gerald [email protected].
- Public 2023-12-16 10:50.
- Last modified 2025-01-23 12:04.
If you want to dive into the world of soap making, but are reluctant to deal with lye, consider making soap from old soap scraps. This way, you can learn the basics of soap making and experiment with additives, such as oatmeal or essential oils. You can also use this method to reuse less-than-good homemade soap. This process is called “manual milling”, and results in “hand milled” or “rebatch” (recycled) soap.
Step
Part 1 of 3: Preparing the Base Materials
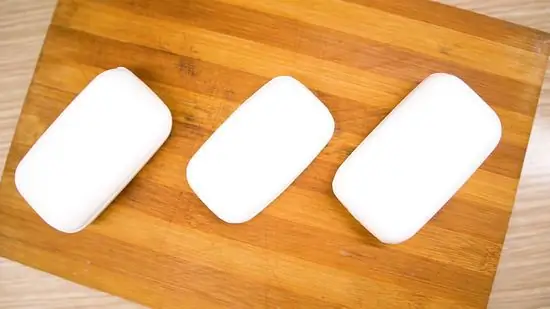
Step 1. Choose some soap
You can use any type of soap, but for best results, choose a natural, unscented soap, such as pure olive oil soap. That way, you'll have more options for making new soaps later. Try to use at least 350g of soap.
- Recycled soap will have a rough texture once it dries. Soap will not be as smooth as regular bar soap.
- If you use a variety of leftover soaps, try to find one with a similar scent to avoid getting a final product that smells bad.
- You can use different colored soaps, but keep in mind that the colors don't necessarily mix and form new colors. Sometimes, the color appears as blotches.
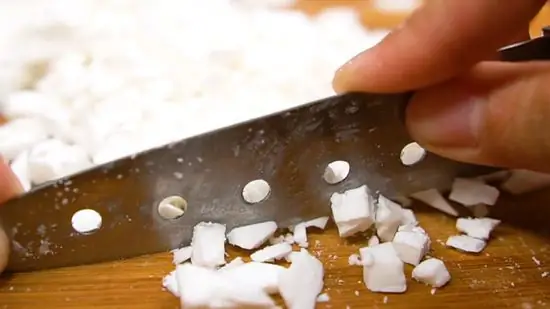
Step 2. Grate or slice the soap into small pieces
The easiest way to do this is to use a cheese grater, but you can also chop the soap with a knife. The smaller the pieces, the faster the soap will melt.
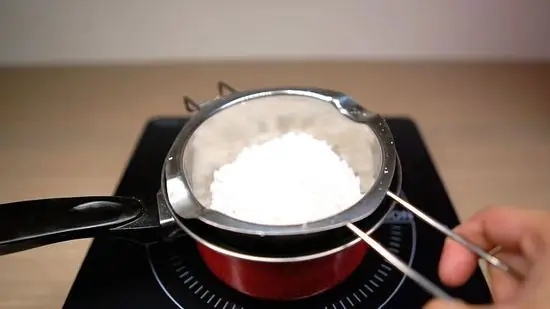
Step 3. Put the soap pieces into the double boiler
Fill the pot with water to a height of 2.5 to 5 cm. Place a heatproof bowl on top. Make sure the bottom of the bowl doesn't touch the surface of the water. Pour the soap pieces into the bowl.
- If you have a crock pot, you can use it.
- You can also dilute the soap directly in the pan, without a bowl. However, make sure they are small so the soap doesn't burn.
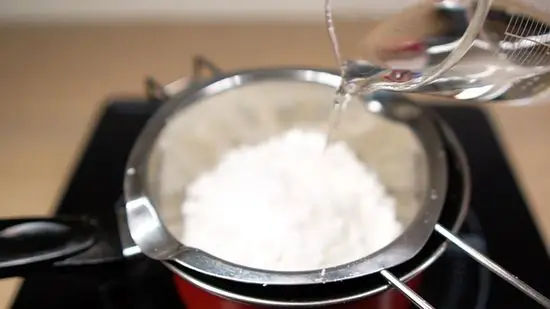
Step 4. Pour some water into the soap
For every 350g of soap, you need 260ml of water. The water will help soften the soap. Do not add too much water or the result will not dry well.
- If you want to make the product even more special, consider adding tea or milk instead of water. You can also use goat's milk or buttermilk.
- If you're using a new cold-processed soap, you'll need to add little or no liquid.
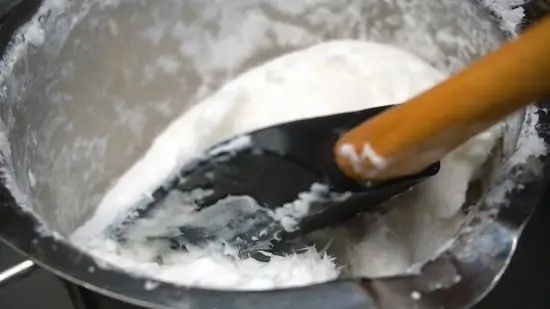
Step 5. Heat the soap and stir every 5 minutes or so
Place the pot on the stove over medium-high heat and let the water boil. Stir the soap every 5 minutes with a wooden spoon or rubber spatula. Make sure the wooden spoon reaches the bottom and sides of the bowl as you stir.
- If you are using a crock pot, put the lid on and heat it on high. You'll need to open the lid every now and then and stir the soap to make sure it doesn't burn.
- If you are heating soap in a saucepan, use low heat.
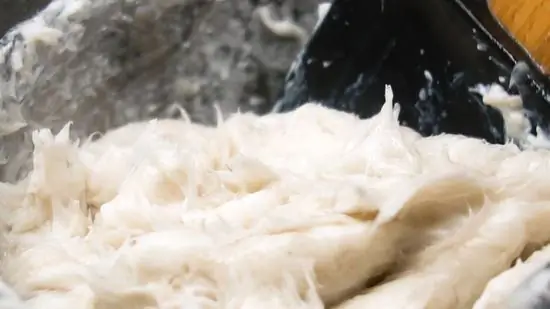
Step 6. Continue heating and stirring until the soap softens
Recycled soap never melts completely like melt-and-pour soap. Instead, the recycled soap will turn into a coarse mixture, much like oatmeal or mashed potatoes. You have to be patient. This process can take between 1-2 hours.
- At a certain point, the soap will no longer change its consistency. If the soap stays the same for a while, it means the soap won't melt anymore. After that, you are ready to take the next step.
- If the soap starts to burn, reduce the heat and add a little cold water.
Part 2 of 3: Adding Extra Ingredients
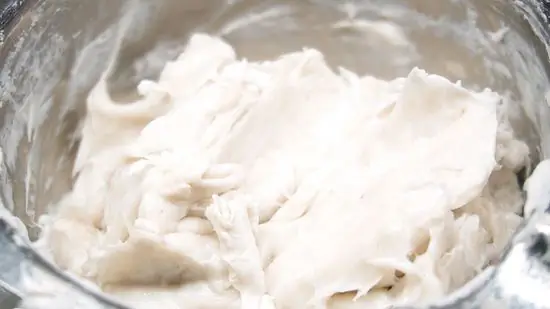
Step 1. Allow the soap to cool until it reaches a temperature of approx. 65-70°C
There's no need to add any of the extras mentioned in this section if you don't want them, but they can make your soap feel more luxurious. You also don't need to add all the extra ingredients. Pick one or two (or three!) that you like the most!
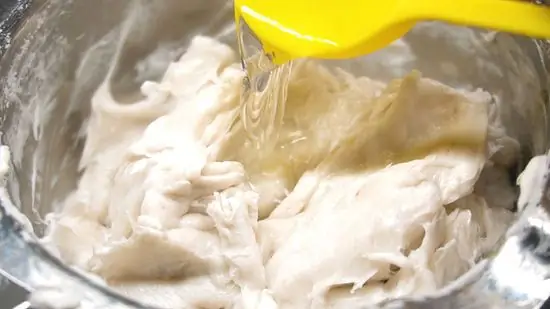
Step 2. Mix a few drops of perfume or essential oil for a pleasant aroma
For every 350g of soap, use about 15ml of fragrance. If the soap already has a scent, it's best to skip this step, or use a similar scent. For example, if your base soap smells like lavender, you can add a little lavender essential oil.
- You don't need to use essential oils like perfume, because essential oils have a stronger scent.
- Do not use perfumed oil for wax production as it is not safe for the skin.
- You can also give it a fragrant aroma using spices. Also, the spices will give the soap a bit of color. Use about 1-2 tablespoons of spices, such as cinnamon powder.
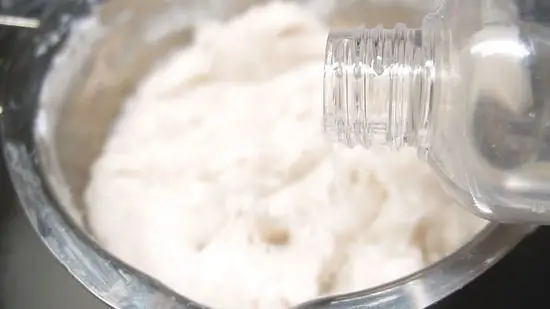
Step 3. Mix in a little nourishing oil to make the soap more luxurious
If you want a luxurious product, you can add a few drops of a treatment oil, such as vitamin E oil, jojoba oil, almond oil, and so on. Anything that can be applied to the skin would be great for soap. However, don't overdo it; too much oil can affect the drying process!
You can also add honey as an additional ingredient. Honey not only makes scented soaps more pleasant and more moisturizing, but also gives the soap a beautiful golden color. Consider using about to cup of honey
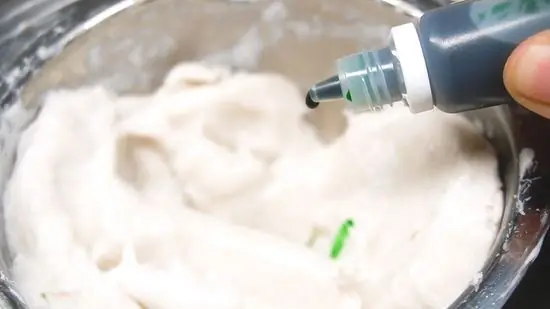
Step 4. Add a few drops of soap coloring
Since soap dyes are usually transparent, this option is recommended for white soaps. Purchase soap coloring online or at an arts and crafts store. Add 1-2 drops of dye and stir. Keep stirring until the colors are evenly mixed. If the color is not what you expected, add 1 more drop.
- Soap dyes are very strong. Just add 1-2 drops each time you mix until you get the color you want.
- You must use soap dye. Do not replace it with wax dye because it is not safe for the skin. Food coloring is also not recommended.
- You can add dye to make the existing color brighter. For example, you can make light blue soap darker by adding blue dye.
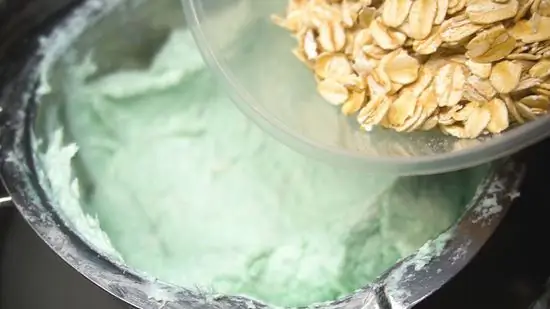
Step 5. Add a little texture with plants or exfoliants
It's a good solution for people with dull or dry skin. Exfoliants gently exfoliate dry skin leaving skin feeling silky smooth. For example, you can add sea salt, oatmeal, and dried lavender. Here's the recommended amount for every 350g of soap:
- Around 90-120 grams of exfoliants, such as oatmeal, almond flour, coffee grounds, etc.
- About 50 grams of herbs containing low volatile oils, such as chamomile, calendula, and lavender. You can choose dried or fresh herbs.
- About 1-2 tablespoons of herbs that contain high volatile oils, such as rosemary. You can use dried or fresh herbs.
Part 3 of 3: Pouring Soap
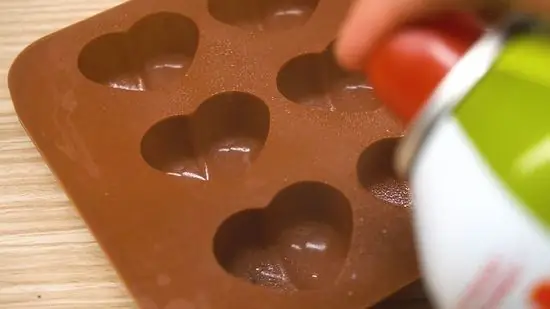
Step 1. Prepare the mold
Purchase a plastic mold for making soap. If the mold is standard and you want a more interesting shape, add a rubber stamp at the base of the mold, with the design facing up. If you want, you can lightly spray the inside of the mold with nonstick spray oil. Or, you can apply a small amount of petrolatum instead.
- You can buy rubber stamps and prints online or at arts and crafts stores.
- If not, you can even use a silicone ice cube mold or cookie cutter.
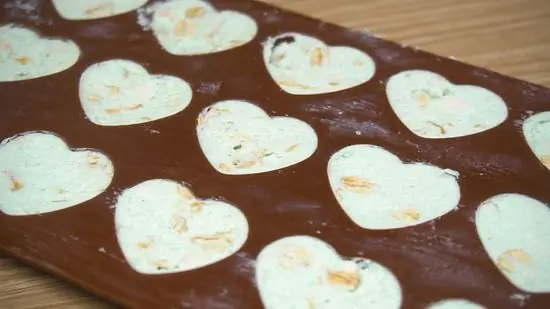
Step 2. Put the soap into the mold
Since the soap is quite thick, you may find it difficult to pour it into the mould. Use a wooden spoon or rubber spatula to scoop out the soap and pour it into the mold. Smooth the back of the soap with a spoon or spatula.
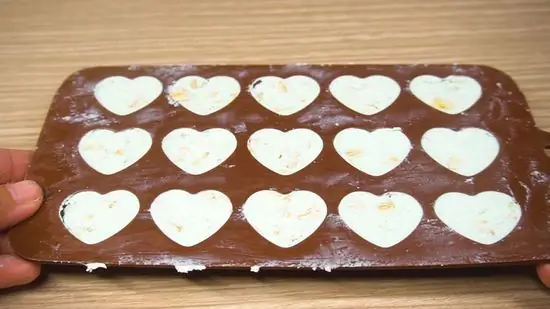
Step 3. Drop the soap mold
Hold the mold about 15-30 cm above the table, then drop it. This will solidify the soap and release any air bubbles. You may have to do this a few times.
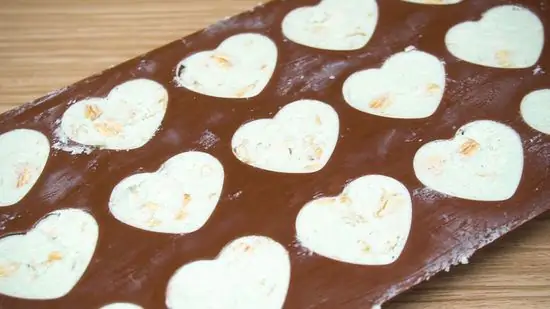
Step 4. Allow the soap to dry for 1-2 days before removing it from the mold
Once dry, carefully remove the soap from the mold. If you are using a rectangular mold, cut the soap into slices about 3 cm thick.
If you're in a hurry, put the soap in the freezer for 1-2 hours before removing it from the mold
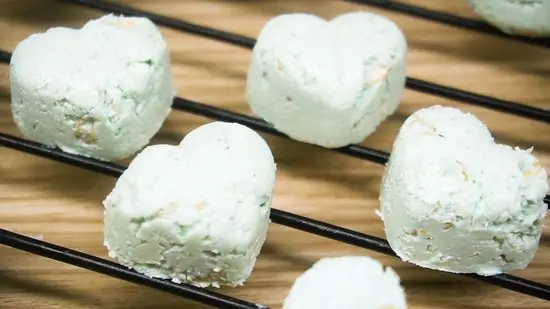
Step 5. Let the soap dry longer, if necessary
Depending on the type of base soap you're using, the recycled soap might still be a little mushy and sticky. If so, you can put the soap on a cooling rack, and let it dry on its own for 2-4 weeks. If you're using store-bought soap, you don't need to do this step, but if you're using a new cold- or hot-processed soap, you most likely should.
Some types of recycled soap (usually made from commercial soap) only require a drying time of 2 days
Tips
- Another very easy way to recycle leftover soap is to split a bath sponge and slip a piece of soap inside. When the sponge is wet, the foam will form well, absorb the soap and you can use up the remaining soap easily.
- You can also soak the remaining soap in water for a while until the soap becomes soft and pliable. Then press the pieces of soap until they stick together. Allow this new “soap” to dry a bit and harden. Now you have your new soap ready to use.
- There is another way to use up all the soap, which is when you are opening a new bar of soap, make sure the remaining soap is wet and apply it to the new soap. Let it dry until the next shower. At that time the two soaps will stick together tightly.
- Recycled soap is always rough in texture. Soap will not be as smooth as soap made by cold, hot, or melt-and-pour processes.
- Leave the window open or turn on the fan, especially if the soap has a scent.
- Some online shops sell the basic ingredients for “recycled soap”. This base tends to melt into a softer consistency, much like cookie dough.


