- Author Jason Gerald [email protected].
- Public 2023-12-16 10:50.
- Last modified 2025-01-23 12:04.
Microsoft Word offers many options for organizing documents. Unfortunately, this wealth of options can sometimes make it difficult for you to do simple things, like center-align text. Luckily, after remembering how to center align text, you can create one easily. You just need to click the "Center" option in the "Paragraph" label at the top of the screen, or press the Ctrl+E shortcut to move between center and left align text.
Step
Method 1 of 2: Creating Horizontal Center Aligned Text
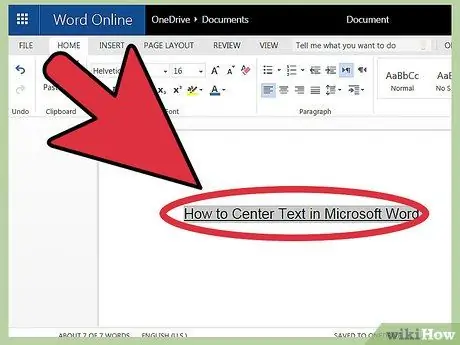
Step 1. Select the text you want to center align
If the document already contains text, you must select it first. Place the cursor at the beginning of the text, then click and drag the left mouse button. Move the cursor until you reach the end of the text. Now, your selected text will be marked with a transparent blue box..
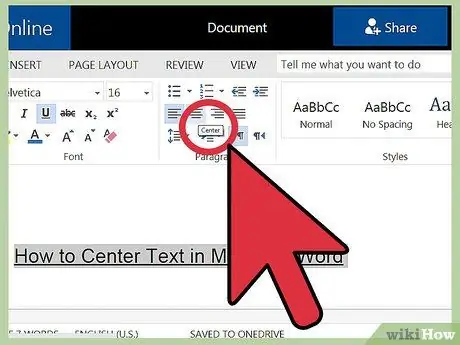
Step 2. Click the "Center" button on the toolbar at the top of the window
Follow these steps:
- Find the toolbar at the top of the Word window. This toolbar contains all the options available in Word. Select the "Home" tab in the upper-left corner of the window (by default, this tab will be selected immediately). If the tab is not selected, or if you are unsure, click "Home".
- Next, under the "Paragraph" header, you'll see three small buttons shaped like pages, with the text aligned left, center, and right. The "Paragraph" header is under "Home", to the right.
- Click the button that displays centered text.
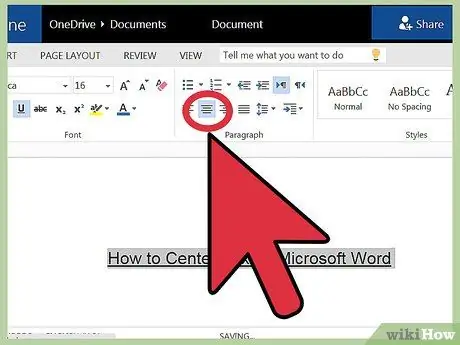
Step 3. Unselect the text
Now, the text you selected will be centered. Click the location where you want to continue typing, and then continue creating the body of the document.
If the text you selected doesn't appear centered, you may accidentally unselect it before clicking the center button. To center-align text, you must click the button after selecting the text. Don't click anywhere else on the page
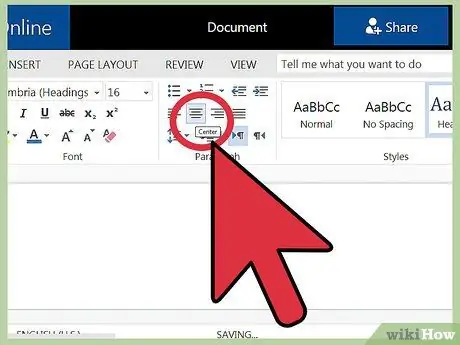
Step 4. If you haven't typed the document body yet, click the "Center" button to center the text
After clicking the button, the text you entered will be centered automatically.
If you want to add centered text at the end of the document, click at the end of the document, then press Enter/Return to start a new line and click the "Center" button
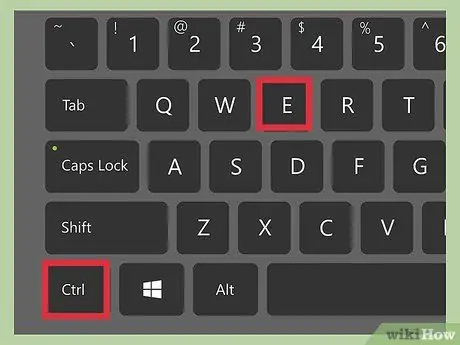
Step 5. Press the shortcut Ctrl+E alternatively to center align the text
This keyboard shortcut lets you switch between left and center aligned text. If you press a shortcut while selecting text, the text you selected will be centered (or re-aligned after pressing the shortcut again). If you press the shortcut on an empty line, the cursor will change direction so that the text you enter next is centered.
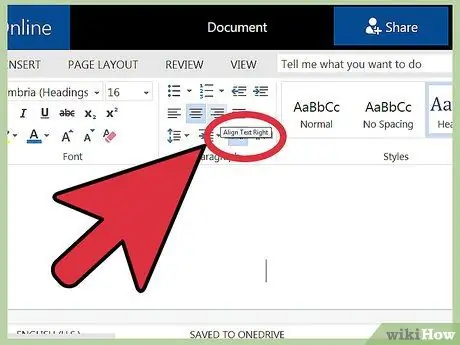
Step 6. Use other buttons to change the appearance of the text
The button next to "Center" allows you to arrange the text differently. The way the button works is also the same as the "Center" button. From left to right, the available buttons are:
- Left align button
- Center align button
- Right align button
- Justify button (similar to the center align button, but the text will be "shifted" to make it the same line width).
Method 2 of 2: Creating Vertical Center Aligned Text
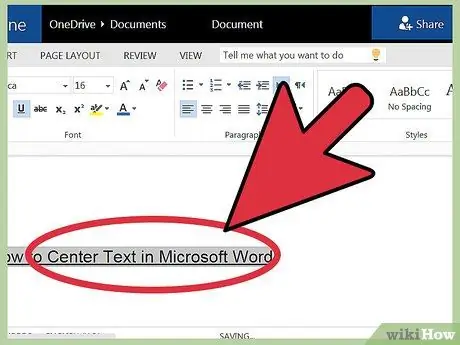
Step 1. Select the text you want to center align
This step will center the text between the top and bottom borders. To start, select the text you want to be centered in the above way, just like selecting text to be centered vertically.
If you haven't typed yet, skip this step. When you're done, your selected text will be centered vertically
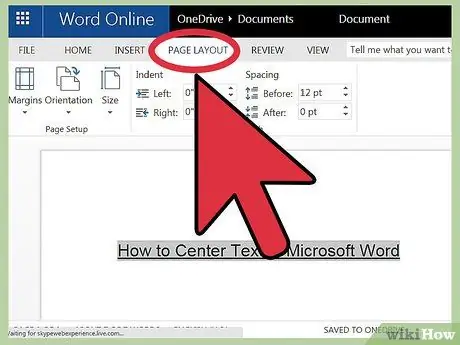
Step 2. Open the "Layout" menu by following these steps:
- Click "Page Layout" next to the "Home" tab on the toolbar. By default, the "Home" tab will be selected.
- Click the "Page Setup" button.
- In the window that appears, click the "Layout" tab.
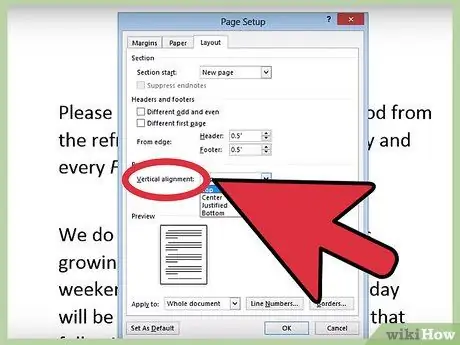
Step 3. Choose a vertical center alignment
On the tab you just selected, find the "Vertical Alignment" box, then click "Center".
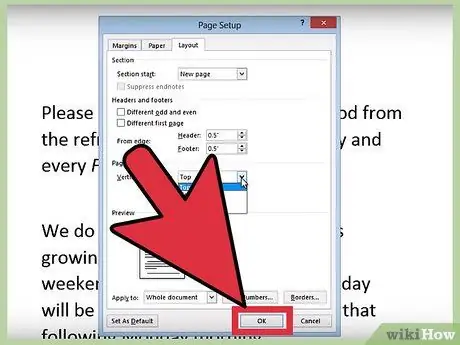
Step 4. Apply changes
After clicking "OK", the text arrangement will change, and you will be taken back to the document. If desired, you can use the "Apply to" option to select the portion of the document to be centered vertically.
For example, if you have selected text that you want to be centered, select the "Selected Text" option from the "Apply to" menu
Tips
- If you want to create a document title, you may want to increase the font size, in addition to center aligning the text. Read this guide for more information.
- If you want to emphasize important information, consider making the text bold, italic, or underlined, in addition to centering it. By default, the text formatting options are to the left of the placement options, at the head of "Font".


