- Author Jason Gerald gerald@how-what-advice.com.
- Public 2024-01-19 22:11.
- Last modified 2025-01-23 12:04.
There are several ways you can follow to add MP3s and other music files to your iTunes music library. You can drag and drop files into the iTunes window, or browse files and folders on your computer. Apart from that, you can also extract music (rip) from CDs directly to iTunes.
Step
Method 1 of 3: Adding Music from a Computer (MacOS)
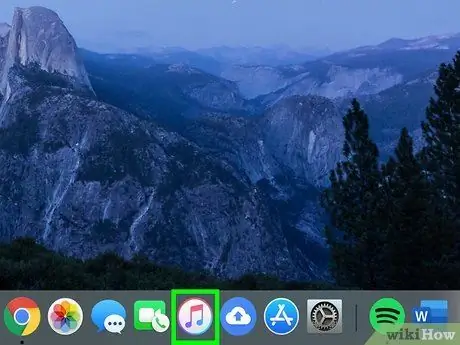
Step 1. Open iTunes
You can add music files and folders to iTunes by browsing your computer. Select iTunes from the Dock to open the program.
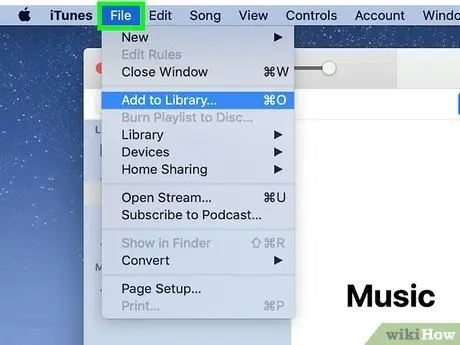
Step 2. Click the "File" menu
It's at the top of the screen, next to the " iTunes " menu.
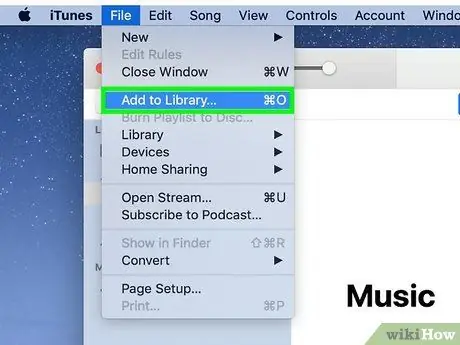
Step 3. Select " Add to Library " to open the file browsing window
With this option, you can search for music files stored on your computer.
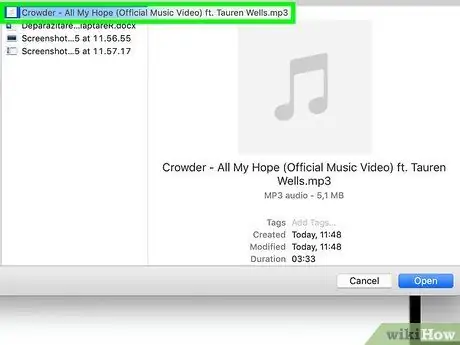
Step 4. Locate the file or folder you want to add
Use the file browsing window to search for music files. If you want to add multiple files from one folder (but not all of them), select the files individually by holding down Command and clicking each desired file. You can also do the same method to select multiple folders from one directory.
When you add a folder to iTunes, all the subfolders that are loaded are added as well
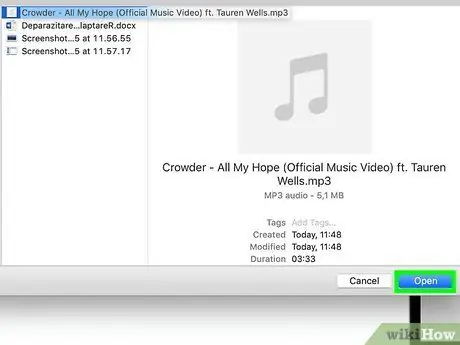
Step 5. Add the selected file or folder to iTunes
After selecting a file or folder and clicking " Open ", it will be added to the iTunes music library.
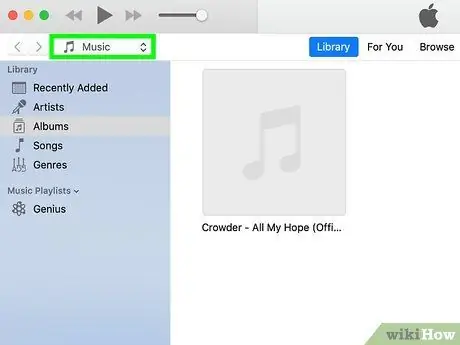
Step 6. Click the “Music” button at the top left corner of the window
These keys look like musical notes.
If you don't see the button, click the "…" button and select " Music"
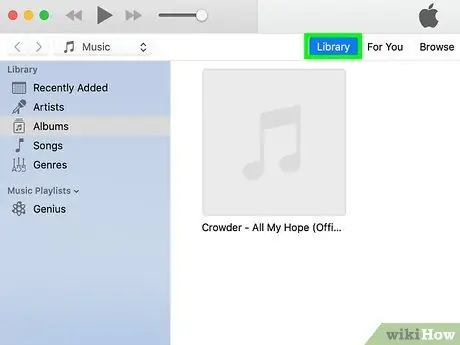
Step 7. Click the “Library” tab
This tab is below the Apple logo, at the top of the window. After that, the music library will be displayed.
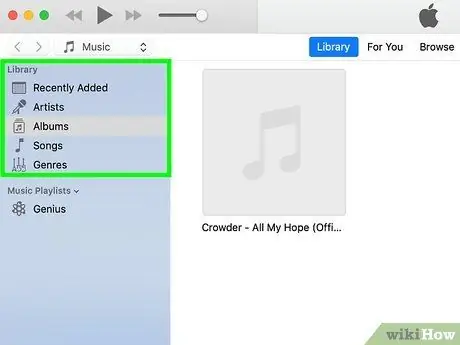
Step 8. Search for the music you just added
The selected song file will be added to the music library.
The "Recently Added" playlist on the "Playlists" tab displays all the music you've recently added
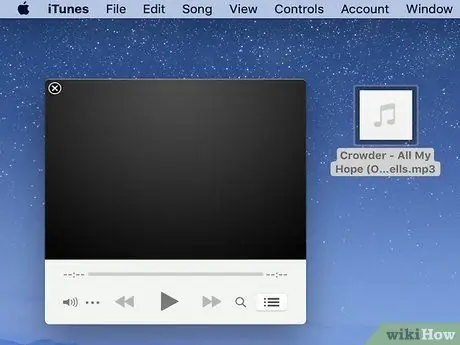
Step 9. Add music by dragging and dropping files into the iTunes window
You can add music to iTunes by dragging and dropping music files/folders directly into the iTunes window:
- Open the folder where you want to add the music file, then select it with the mouse.
- Make sure iTunes is showing the "My Music" tab.
- Click and drag the music into the iTunes window. When dropped, the music is added to the iTunes library.
Method 2 of 3: Adding Music from a Computer (Windows)
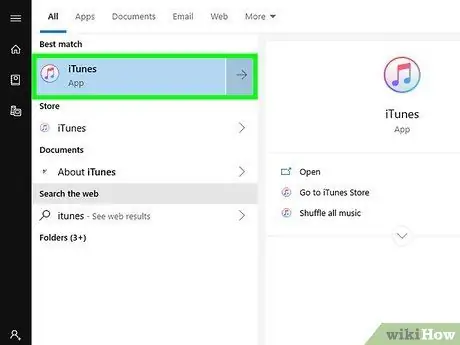
Step 1. Launch iTunes
You can find the iTunes program in the “Start” menu.
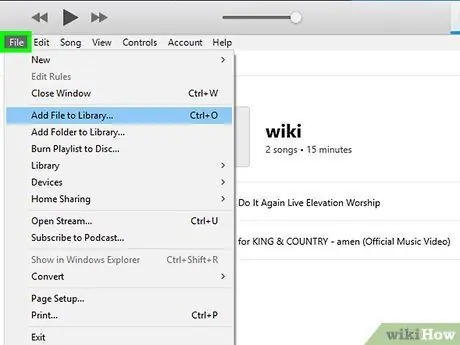
Step 2. Click the "File" menu
If you don't see the menu bar, press the alt=""Image" key to display it.
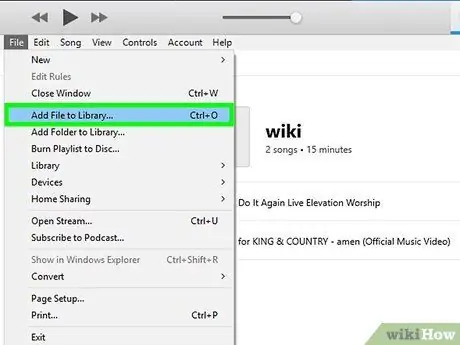
Step 3. Select “Add File to Library” or “Add Folder to iTunes”
When selecting " Add File ", you can add one or more files from one folder. If you select " Add Folder ", you can select one or more folders from one directory.
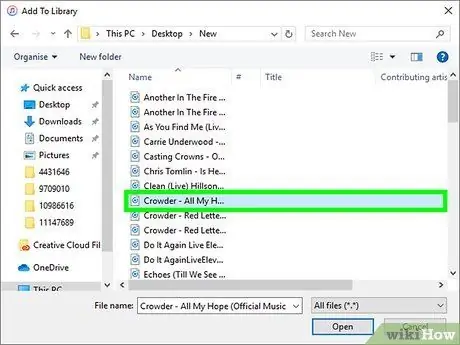
Step 4. Select the file or folder you want to add
Use the file browsing window to locate the file or folder that you want to add to the library. Hold down the Ctrl key and click some content to select it. However, make sure the selected files/folders are stored in the same main directory.
When you add a folder, all the music stored in the subfolders is added as well
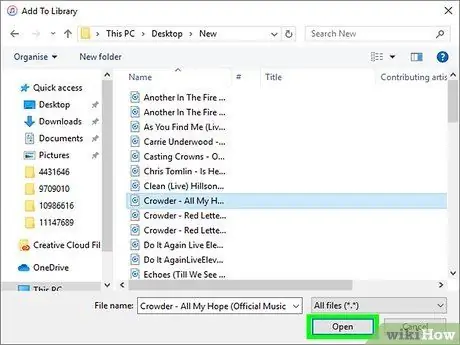
Step 5. Click the "Open" or "Select Folder" button to add the selected content
The content will be added to the iTunes music library afterwards.
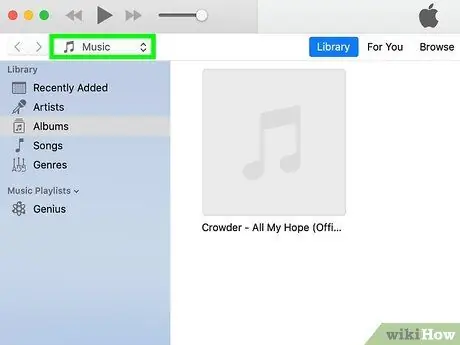
Step 6. Click the “Music” button at the top left corner of the window
This key is indicated by a musical note. After that, the “Music” section of iTunes will appear.
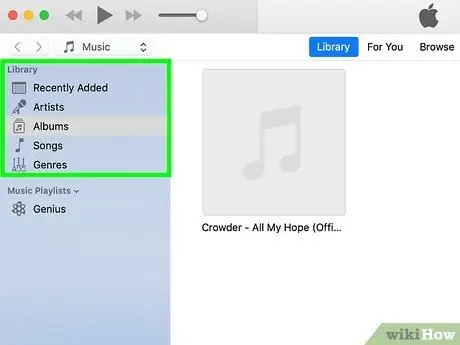
Step 7. Click the "Library" tab at the top of the window
Music stored in your iTunes library will be displayed, including music you've recently added.
You can also click the " Playlists " tab and select " Recently added " to see all the new music
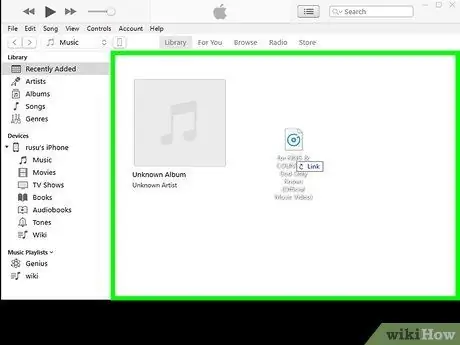
Step 8. Add music by dragging and dropping files into the iTunes window
You can also add music files/folders to iTunes by dragging and dropping them directly into the iTunes window:
- Open the folder where you want the music file to be saved.
- Go to the "Library" tab of iTunes.
- Drag and drop the files you want to add to the iTunes window. After that, the file will be directly added to the library.
Method 3 of 3: Extracting Music (Ripping) from an Audio CD
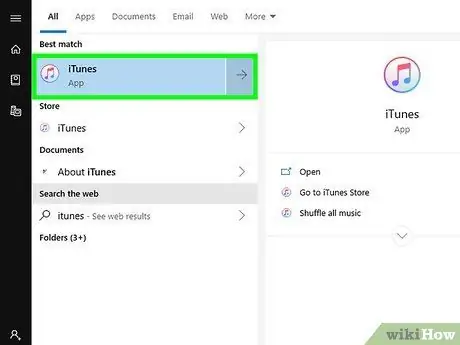
Step 1. Open iTunes
You can extract music (rip) from audio CDs to iTunes directly. This way, you can make digital copies of your entire physical music collection.
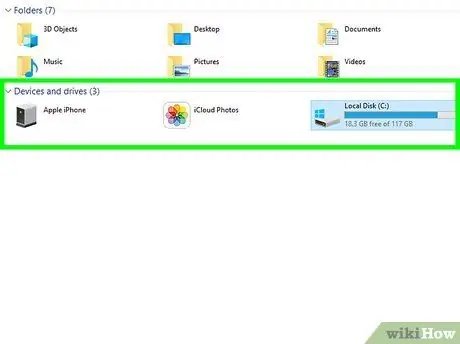
Step 2. Insert the CD you want to extract
Place the CD in the computer's disc drive. All disc drives can be used as long as they can read CDs.
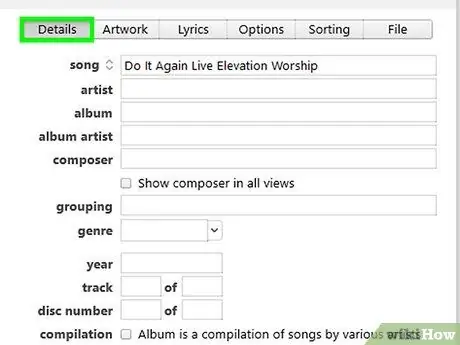
Step 3. Select the appropriate CD information if prompted
iTunes will automatically search for the inserted CD information, but sometimes multiple entries will be displayed for the same CD. When prompted, select the entry that best matches the CD you inserted.
If you insert a CD that was burned/created on another computer, iTunes may not be able to receive album information and you will need to enter the information manually
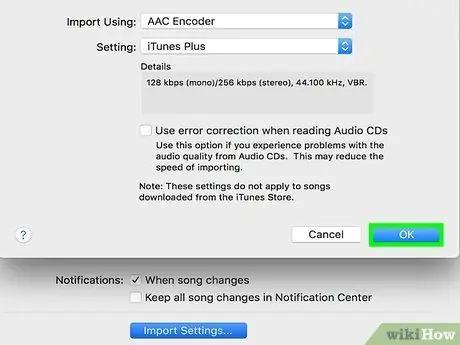
Step 4. Click "OK" when prompted to import music
If you have not disabled this setting, you will be prompted to import music when a CD is detected. Click " OK " to extract the audio files from the CD to the computer.
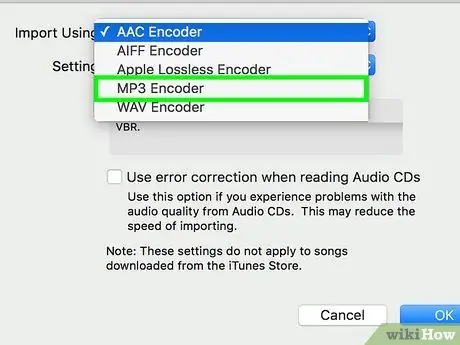
Step 5. Select the CD and click "Import CD" if not prompted
If you're not prompted to import a CD after it's detected, click the disc button at the top of the iTunes window and click the "Import CD" button. Click "OK" in the window that appears afterwards.
If you specifically want to get MP3 files, select " MP3 Encoder " from the " Import Using " menu. The default AAC format produces higher quality files (with smaller sizes) than iTunes-compatible MP3 files
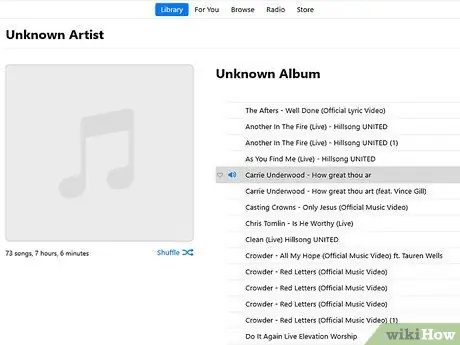
Step 6. Wait for the audio from the CD to finish extracting to the computer
The progress of the process is displayed at the top of the iTunes window.
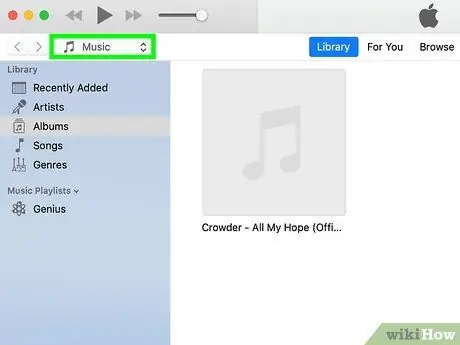
Step 7. Click the “Music” library button to view the extracted music
It's marked by the music icon and is in the upper-left corner of the iTunes window. You can find new tracks in the library based on the artist information you get. You can also click the " Playlists " tab and select " Recently Added " on the left side of the screen.


