- Author Jason Gerald gerald@how-what-advice.com.
- Public 2024-01-31 09:30.
- Last modified 2025-01-23 12:04.
iTunes is a great program for managing music files, but you might have a hard time using this program to manage videos. iTunes only supports a few video formats so you may need to convert your videos before adding them to your library. In iTunes version 12 and up, videos you add are saved in the Home Videos section of your Movies library.
Step
Method 1 of 2: Converting Video Files
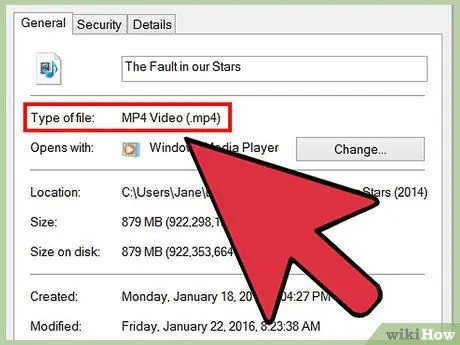
Step 1. Check the format of the video you want to add
iTunes only supports MP4 (M4V) and MOV files. Unfortunately, iTunes doesn't support many popular video formats, such as AVI, MKV, and WMV. If your video doesn't match the format, you can't add it to your iTunes library. Check the video format before proceeding. If your video is already in MP4, M4V, or MOV format, read the next steps.
- Windows - Right-click the video file and select "Properties". Check the "Type of file" line in the General tab for the file type.
- Mac - Press Ctrl, then click the file and select "Get Info". Check the "Kind" entry in the General section of the Show Info window.
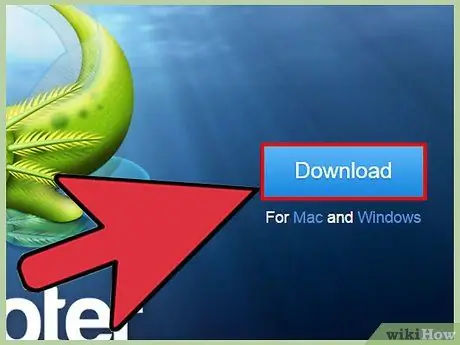
Step 2. Download Adapter from macroplant.com/adapter/, and install the program
This free program by Macroplant can be used to convert video files to files that are supported by iTunes. Adapters are available for Windows and Mac. The adapter also doesn't include adware, as long as you download it from the official site.
During installation, make sure you tick the "Download and install FFmpeg" option. This open source program is required to convert videos, and does not contain adware
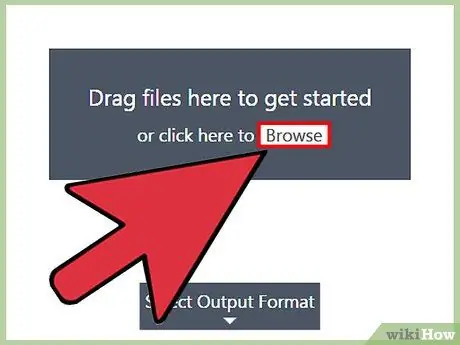
Step 3. Drag the videos to the Adapter window, either all at once or one by one
You can also click the "Browse" button in the Adapter window and select the files you want to add.
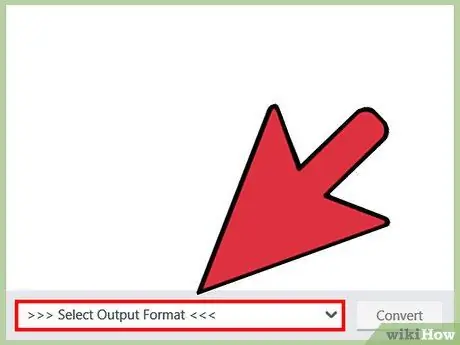
Step 4. Click the "Output" menu at the bottom of the window
In this menu, you can select the video format.
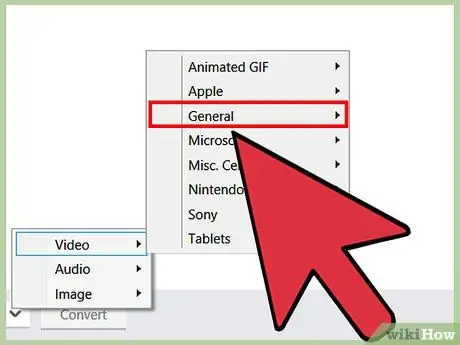
Step 5. Select "Video" → "General" → "Custom MP4
to set the format. This option will instruct the Adapter to convert the video to MP4 format, which is compatible with iTunes.
If you want to sync iTunes videos to your iOS device, select the appropriate preset for your iPad, iPhone, or iPod from the "Apple" section of the "Output" menu
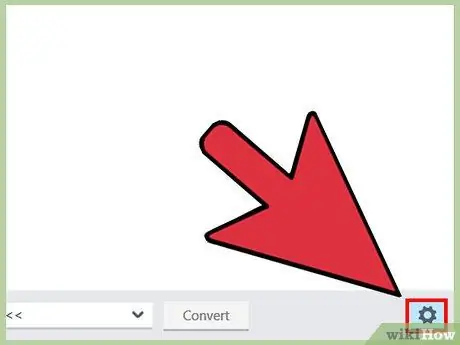
Step 6. Click the cog icon to access additional settings
This menu allows you to adjust some settings before the conversion process begins.
- You can change the converted video storage folder at the top of the menu.
- The "Quality" menu in the Resolution section allows you to set the video quality after conversion. "Medium" is the program's default setting, which results in small-sized videos with minimal loss of quality. If you want to keep the video quality, select "Very High (Lossless)".
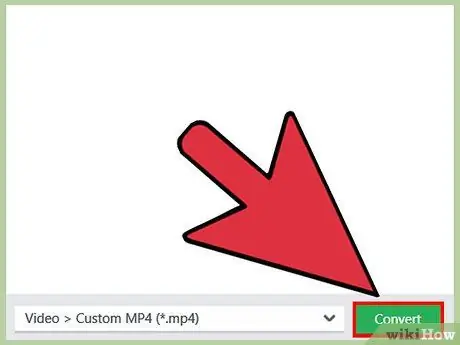
Step 7. Click Convert to start converting the video
The conversion process may take a while, depending on the speed of your computer and the length of the video.
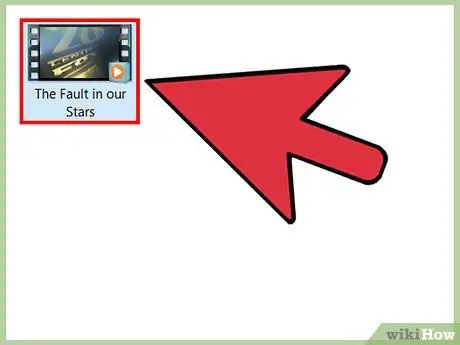
Step 8. Find the converted video
Generally, the converted video will be saved in the same folder as the original folder. Find the folder so you can add videos to iTunes.
Method 2 of 2: Adding Videos to iTunes
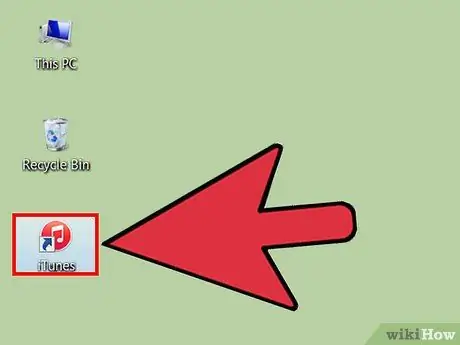
Step 1. Open iTunes
If your video is in iTunes-compliant format, you can add it to your library. Make sure your iTunes is up to date for smooth video playback.
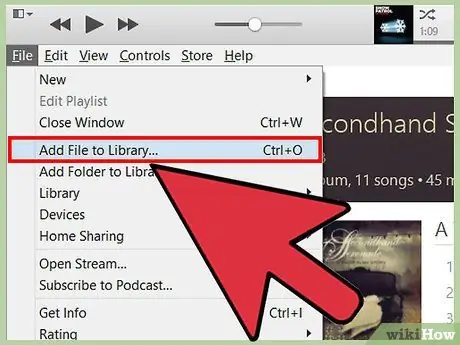
Step 2. Add video files to the library
The way to add videos differs between Windows and Mac.
- Windows - Press alt=""Image" to display the menu bar, then click "File" > "Add File to Library" or "Add Folder to Library". Select the video or folder containing the videos you want to add.</li" />
- Mac - Click the iTunes menu, then select "Add to Library" and select the video or folder containing the videos you want to add.
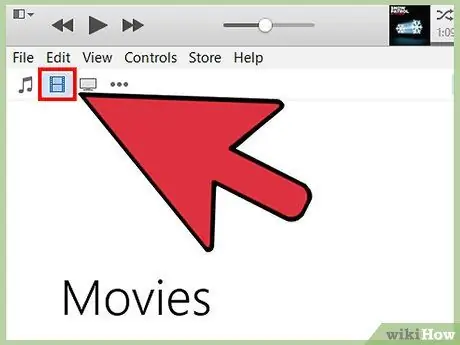
Step 3. Select the Movies section of iTunes by clicking the film strip button at the top of the window
Don't worry if the video file you added doesn't appear in the menu. Your video is still hidden in another subcategory.
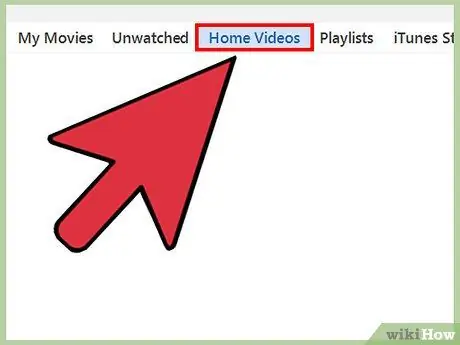
Step 4. Select the "Home Videos" tab in the line above the iTunes window
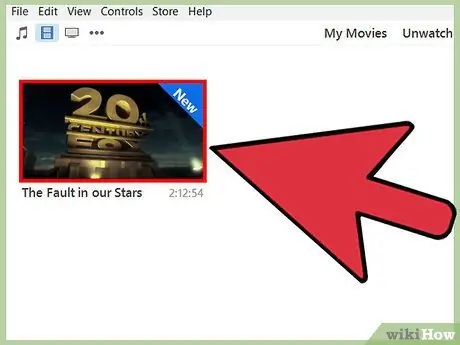
Step 5. Find the video you want to add
Videos added by you will appear in the Home Videos section. If the video does not appear, it has an incompatible format. Do the conversion process first before adding the video to the library.
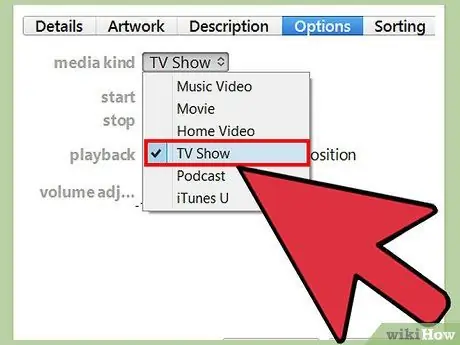
Step 6. Move videos from Home Videos to Movies or TV Shows
Now, you can sort new videos into the appropriate folders so they can be found easily.
- Right-click the video in the "Home Videos" tab, then click "Get Info".
- Click the "Options" tab, then use the "Media Kind" menu to change the video sorting.


