- Author Jason Gerald gerald@how-what-advice.com.
- Public 2023-12-16 10:50.
- Last modified 2025-01-23 12:04.
iTunes has become more than just a simple music player over the years. It can be the primary way to manage music and videos on your iOS device, as it is one of the most popular music stores in the world and you can even use it to burn CDs. Mastering the basic features as well as some of its hidden capabilities will help you to get the most out of iTunes as a media file manager and player.
Step
Part 1 of 5: Browsing iTunes
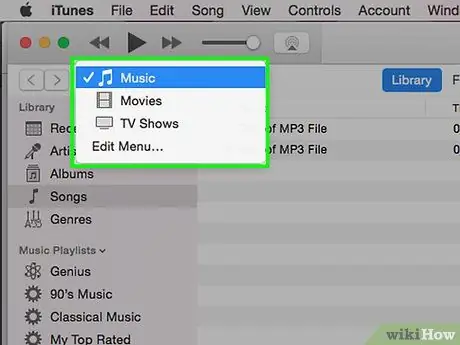
Step 1. Use the buttons at the top to switch between music, movies, TV shows, and other files
Below the playback controls you'll see several media buttons, including the music notation button, the film strip, the TV, and the "…" button. Clicking one of these buttons will switch the view to the appropriate "library", or collection of files.
- Click the "…" button to view other libraries that are not shown by default. You can click "Edit" and tick the things you want to always show.
- When you insert a CD or connect an iOS device to your computer, a button for it will also appear in this row.
- You can quickly switch between different libraries by holding down Ctrl (Windows) or Cmd (Mac) and pressing a number key. For example, Ctrl+1 in Windows will open the Music library.
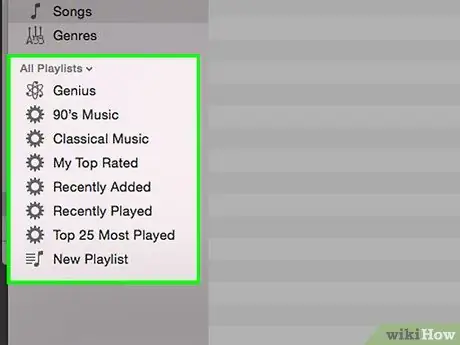
Step 2. View your playlists by selecting a library, then clicking the "Playlists" tab
This will display the library of that media along with all your playlists in the sidebar. You can drag and drop items to and from the playlist using this view.
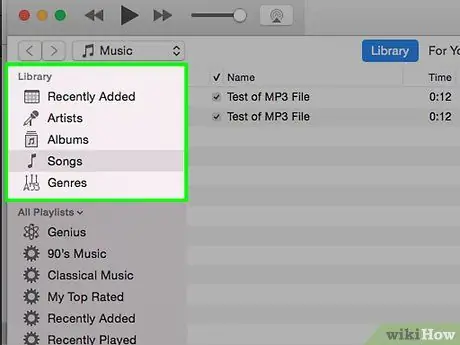
Step 3. Change the way the library is currently displayed by clicking the "View" button in the upper right corner
This allows you to change the way you manage your media files. For example, if you are in your music library, the default view is "Albums". Click "Albums" to switch to a different sorting method, such as by "Songs" or "Artists".
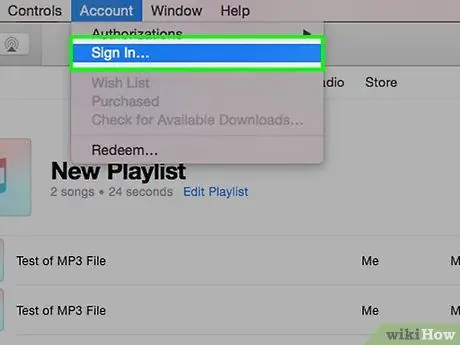
Step 4. Sign in with your Apple ID
You can use your Apple ID to sync all your purchases and connect the iTunes program to your iOS device. If you don't have an Apple ID, you can create one for free.
- Click the User button, which is to the left of the Search field.
- Sign in with your Apple ID. If you don't have one, click Create Apple ID to create one for free.
- If you want to create an Apple ID but don't have a credit card, click here for instructions on how to create an alternative account.
Part 2 of 5: Adding Music, Movies and More
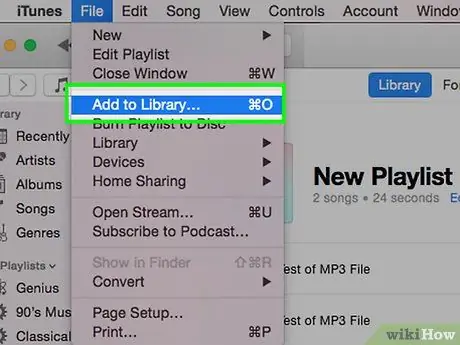
Step 1. Add the folder containing the music files to your iTunes library
To listen to music files or sync them to your iOS device, you'll need to add them to your "iTunes Music" library. You can add an entire music folder at once, and all the music files contained therein, as well as the music in subfolders, will be added to your "iTunes Music" library.
- Click the File (Windows) or iTunes (Mac) menu. If you don't see the File menu, press the Alt key.
- Select "Add Folder to Library" (Windows) or "Add to Library" (Mac).
- Browse to the folder containing the music file you want to add. iTunes supports music files .mp3, .aiff, .wav, .aac, and .m4a.
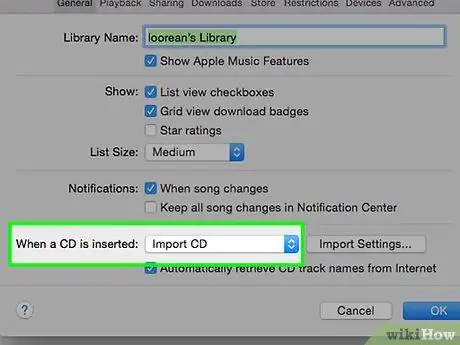
Step 2. Convert audio CDs to iTunes tracks
If you have a large collection of CDs, you can easily convert them into digital audio that you can load onto your iOS device or play whenever you want.
- Insert the music CD into your computer's disc drive.
- Click the CD button at the top of the window if the CD doesn't open automatically.
- Uncheck the songs you don't want to import.
- Click the "Import CD" button in the upper right corner of the window. The songs you selected will begin to be copied to your computer.
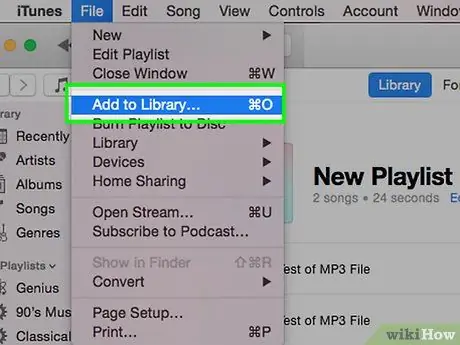
Step 3. Add video files to your iTunes library
You can use iTunes to manage your video files, including movies, TV shows, and home videos. If you want to add your DVD collection to iTunes, click here.
- Click the File (Windows) or iTunes (Mac) menu. If you don't see the File menu, press the Alt key.
- Select "Add File to Library" (Windows) or "Add to Library" (Mac).
- Browse to the video file that you want to add. iTunes supports video files .mov, .m4v, and .mp4.
- Look for the file you added. Any video files you import into iTunes will be added to the "Home Videos" section of your "Movies" library. Click the "film strip" button to open the Movies library, then click the "Home Videos" tab to view the movie files you've added.
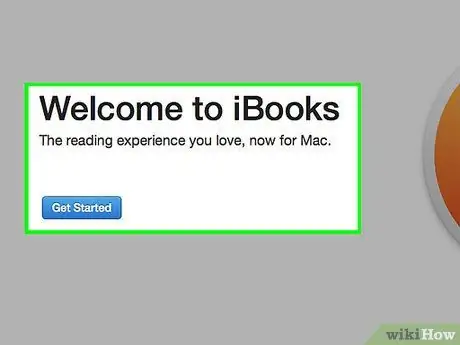
Step 4. Add your ebook library to iTunes
iTunes supports some of the most common ebook formats, including .pdf and epub.
You can open the Books section of iTunes by clicking the "…" button and clicking the "Books" option. Note: Mac users should use the iBooks program instead of iTunes, but the process is pretty much the same.
- Click the File menu. If you don't see the File menu, press the Alt key.
- Select "Add Files to Library".
- Browse to the ebook file that you want to add.
- Look for the file you added. Books you add to iTunes will appear in one of these two places if you open the Books section of your library: "My Books" or "My PDFs"..epub files will appear in the "My Books" tab, while.pdf files will appear in the "My PDF" section.
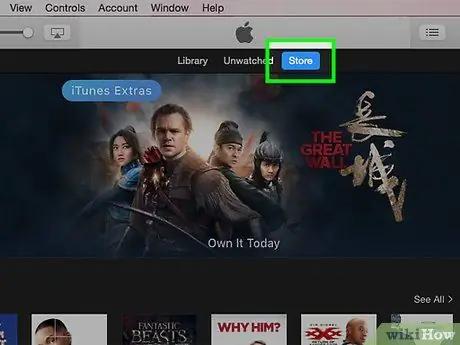
Step 5. Purchase content from the iTunes Store
The iTunes Store offers music, movies, TV shows, books, and apps that you can purchase to add to your library and sync to your iOS device.
- Sign in with your Apple ID. Click the profile button next to the search field and enter your Apple ID information. To make purchases in the iTunes Store, you must have a payment method associated with your account, such as a credit card. You can create an account without a payment method if you only plan to download free content from the store.
- Select the type of content you want to browse in the iTunes Store. The iTunes Store is divided up the way it is shared in your library. If you want to browse the Music store, click the Music button at the top of the iTunes window.
- Click the "iTunes Store" tab. This tab will appear after you select your library, and will load the iTunes Store.
- Search, buy and download the content. You can browse popular items or search for something specific. If you find something you want, click on the price to start the buying process. If the content is free, click the "Get" button. After completing the purchase, the content will be downloaded to your library.
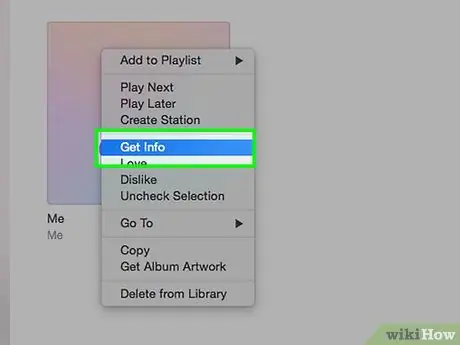
Step 6. Edit the information for the items in your library
You can edit the information for your media files so that they can be sorted and cataloged according to your desired preferences.
- Open the media view for the file you want to edit.
- Right-click the file you want to edit and select "Get Info".
- Enter the information you want into the "Details" and "Sorting" tabs. This will help you to manage your music, movies and other media files. If you can't edit the details on a file, it means the iCloud file hasn't been downloaded to your computer.
Problem solving
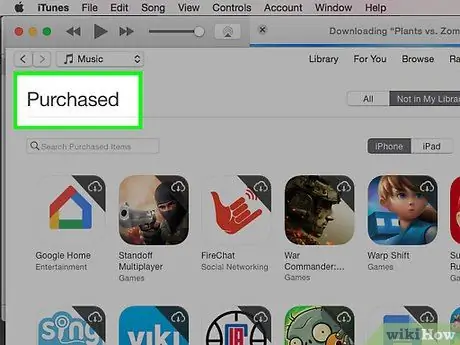
Step 1. I want to download my previous purchases to my computer
If you've previously purchased content from the iTunes store, you can download it to your computer as long as you're signed in with the same Apple ID.
- Click the profile button next to the search field and sign in with your Apple ID.
- Open the iTunes Store.
- Click the "Purchased" link on the right side of the Store front page.
- Find the content you want to download. By default, iTunes will display all files that are not currently in your library. You can switch between different types of media by clicking the button to the right of the "Not in My Library" tab.
- Click the "iCloud" button next to the content you want to download. You can also download all of your purchased files at once by clicking "Download All" in the lower-right corner of the window.
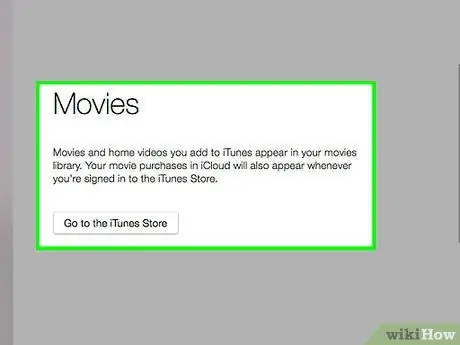
Step 2. Movies I added to iTunes don't appear in my Movies library
If you try to add a video file to iTunes and it doesn't appear, the movie may not be in an iTunes-compatible format. Click here for instructions on how to convert a video file to a format that can be added to iTunes.
Also keep in mind that movies you've added to iTunes from your computer will always appear in the "Home Videos" tab of your Movies library. You can use a tool for videos called "Get Info" to move your video to the "Movies" or "TV Shows" tab
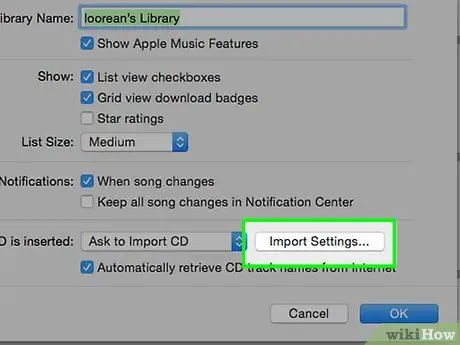
Step 3. I tried to add a.wma music file but the file doesn't appear
iTunes doesn't support the.wma format, but the Windows version of iTunes can automatically convert all.wma files to.mp3 files. If you're using a Mac, you can use a free program like Adapter to handle the conversion. You must remove the copyright protection from the.wma file if the file is copyrighted.
Click here for detailed instructions on how to add a.wma file to iTunes, either copyrighted or unprotected
Part 3 of 5: Playing Music, Movies and TV Shows
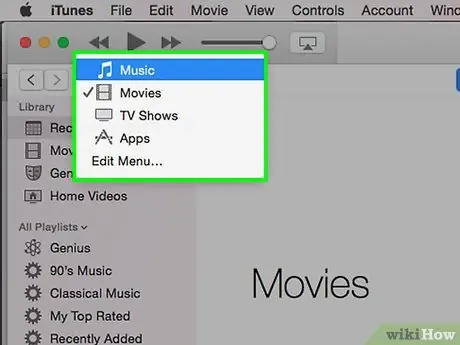
Step 1. Select the library containing the files you want to play
Use the buttons at the top of the iTunes window to select the library containing the songs, movies, or TV shows you want to play in iTunes.
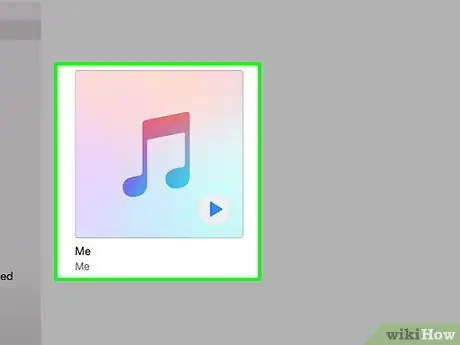
Step 2. Find the file you want to play
You can change how it looks so that the files are organized in a different way by clicking on the current view in the upper right corner. For example, if you're viewing your Music library, click "Albums" to switch to a different view.
You can also use the Search field in the upper right corner to quickly find a specific item
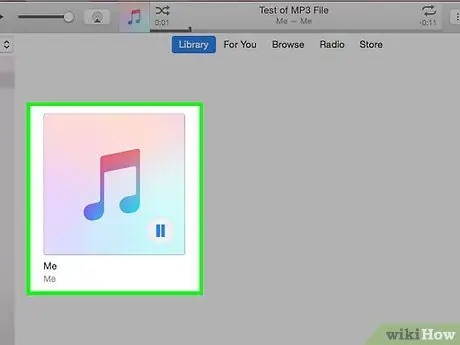
Step 3. Double-click the file you selected to start playing it
You can double click anything to start playing it. For example, double-clicking an album will play that album from the beginning, double-clicking a TV show will start playing the first available episode, and double-clicking a playlist will play songs starting from the first track sequence.
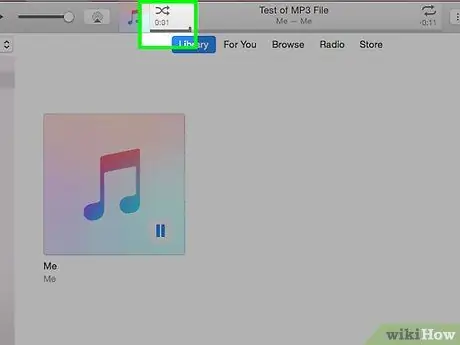
Step 4. Randomize your current selection
While a song is playing, you can turn on "Shuffle" by clicking the Shuffle button next to its album image in the playback controls. This will shuffle all the songs that are in your current selection.
For example, if you're in the "All Songs" view and start playing a song, turning on Shuffle will shuffle all the music tracks in your library. When you play a playlist, Shuffle shuffles the order of the songs in your playlist (don't worry, this doesn't affect the original order of the songs), and shuffling an album will shuffle only the songs in that album
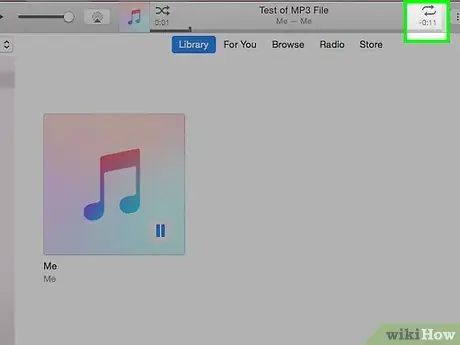
Step 5. Repeat the song
If there's a song or music selection you want to keep listening to, you can turn on Repeat. You can also repeat a single song, or repeat everything in your current selection (albums, playlists, etc.).
- Right-click the Shuffle button and select your Repeat option. This makes the Repeat button appear on the playback controls.
- Click the Repeat button to cycle through the Repeat options.
Problem solving
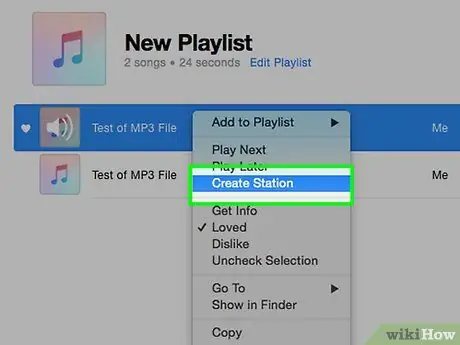
Step 1. I can't play.aac music files
Usually this is because the AAC file was not created in iTunes. You can fix this by creating a new version of the file that works in iTunes.
Right-click the unplayable file and select "Create AAC Version". After a while, the new version will appear under the original file
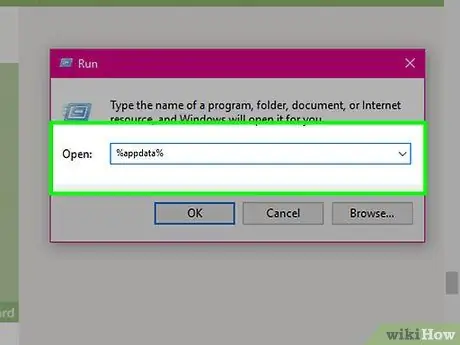
Step 2. My songs won't play in iTunes for Windows
If you're trying to play a song but it won't play, there may be a problem with your iTunes Preferences file.
- Press Win+R to open the Run box.
- Type %appdata% and press Enter.
- Move one directory above it in the window that opens so you are in the AppData folder.
- Go to Local\Apple Computer\iTunes
- Click and drag the iTunesPrefs file to the desktop and restart iTunes. Sign in if prompted, then try playing the music again.
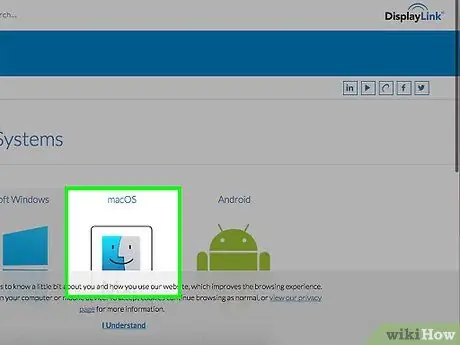
Step 3. My movie file won't play on OS X Yosemite
This problem is usually accompanied by an error related to "HDCP". This could be due to an error in the DisplayLink driver on your Mac.
- Download the latest DisplayLink installer from the DisplayLink site (displaylink.com/support/mac_downloads.php).
- Run the installer and select "DisplayLink Software Uninstaller". Follow the instructions provided to remove the DisplayLink software.
- Reboot your computer and try playing the video file again.
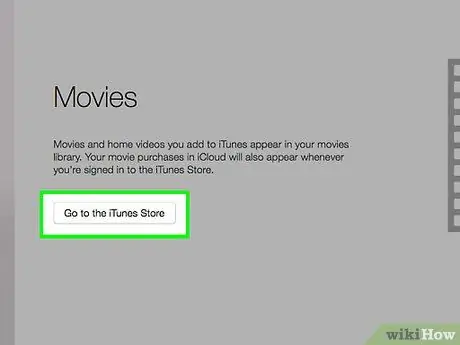
Step 4. My movie file won't play in Windows
Sometimes you may have trouble playing movie files in iTunes. This is usually because an older version of QuickTime is causing the problem, or your video card drivers need updating.
- iTunes no longer uses QuickTime for iTunes, so you can usually safely delete it. Click here for instructions on how to remove programs in Windows. Note that you may still need QuickTime if you want to view old videos made especially for it.
- Click here for instructions on how to update the video card driver. This action has solved the problem for many users when watching HD videos on iTunes 12.
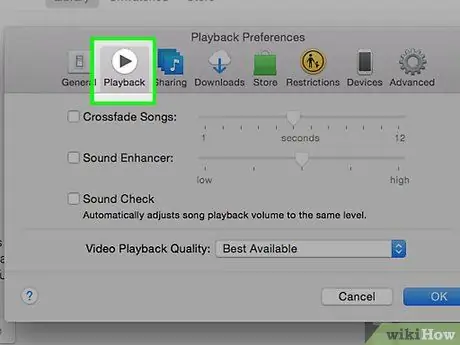
Step 5. Audio playback emits a wavy sound in iTunes for Windows
iTunes 12 for Windows users have reported bumpy sound playback when updating to the latest iTunes version. Apparently, the most reliable fix is to install a 64-bit version of iTunes.
- Visit support.apple.com/kb/DL1784?viewlocale=en_US&locale=en_US to download the 64-bit installer.
- Delete the current version of iTunes that you have installed.
- Run the new installer to install the 64-bit version of iTunes.
- Launch a new iTunes and click "Edit" → "Preferences" → "Playback" and select the appropriate audio device. Now your song should be able to play without any problem.
Part 4 of 5: Syncing iOS Devices
Step 1. Understand the basics of synchronization
You can connect your iOS device (iPod, iPhone, iPad) to your computer and as long as that computer is signed in to the same Apple ID as iTunes, you can copy or "sync" any content from your library to your iOS device for travel. This is the only official way to transfer content from a computer to an iOS device.
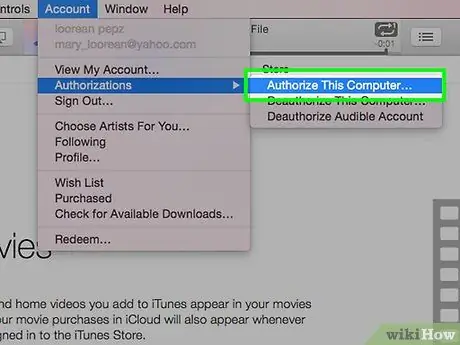
Step 2. Connect your iOS device using a USB charging cable
If you are connecting to a Windows PC for the first time, press the "Trust" button that appears on the screen of your iOS device.
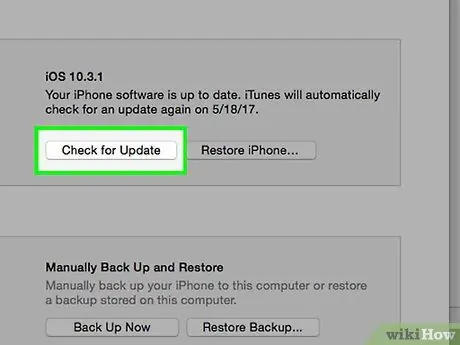
Step 3. Follow the prompts that appear
There are several prompts that may appear before you can interact with your device, depending on the state of the device and whether or not you've connected before.
- If you connect your iOS device to your computer for the first time, iTunes will ask you to set up the new device. Don't worry about your data being lost, it is only used to name your device when it is connected in the future.
- If a new iOS update is available, you will be prompted to update before you can access your device. You can click the Download and Update button to update your device, or you can click Cancel to do so later.
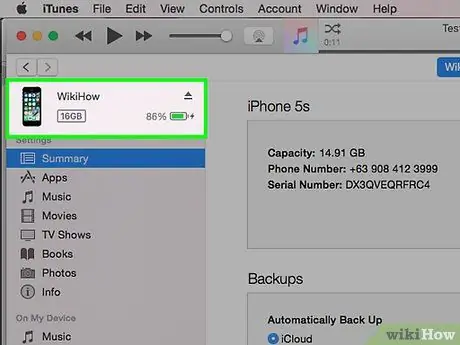
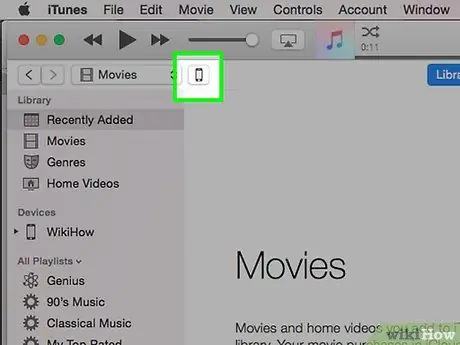
Step 4. Click the button for your device that appears on the top row
It may take a while for the button to be clicked. The Summary page of your device will be displayed after you press the button.
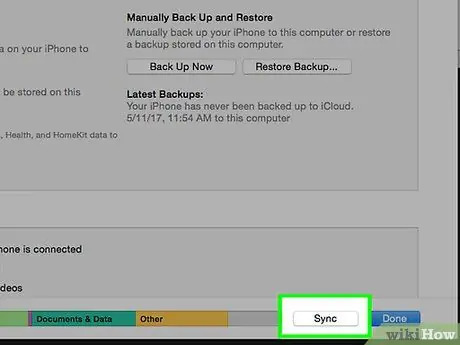
Step 5. Select the library you want to sync from the menu on the left
You can sync your iTunes library to your iOS device, including Apps, Music, Movies, TV Shows, Podcasts, Books, and Photos. Clicking a tap in the left menu after selecting your device will open the sync page for that library.
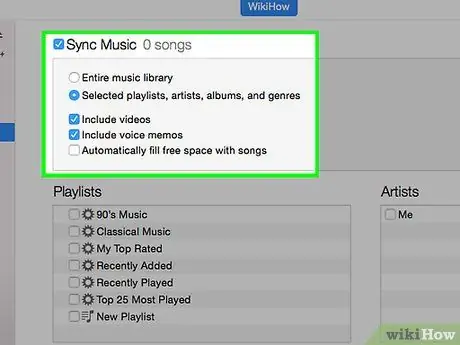
Step 6. Enable sync for the library to which you want to add files
At the top of the page, you'll see a "Sync Library" box that you can check to enable sync for that media type. For example, if you select the Music tab, you'll see a "Sync Music" box.
If your iOS device already has media files from another iTunes library, you will be notified that the content on that device will be deleted if you sync your current library. The only way to avoid this is to transfer your previous library to your new iTunes library
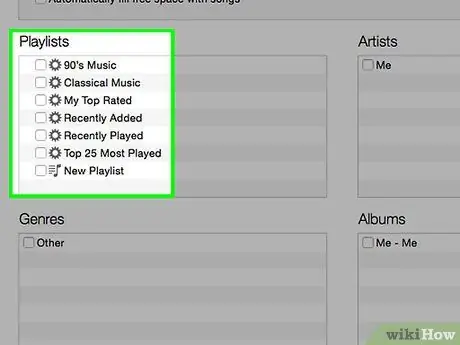
Step 7. Select the files you want to sync
After enabling sync for a library, you can choose what you want to sync from that library. The options vary depending on the media type.
- Apps - You can easily move apps to and from your device by dragging them between your "Apps" list and your device's "Home Screens".
- Music - You can sync playlists, artists, albums or entire genres.
- Movies - You can select a single movie to sync, or you can use the "Automatically include" menu to have your device automatically sync a selection of unwatched movies or new movies each time you sync.
- TV Shows - Just like the Movies section, you can select an episode or let iTunes automatically enter certain episodes based on recently added episodes or unwatched episodes.
Problem solving
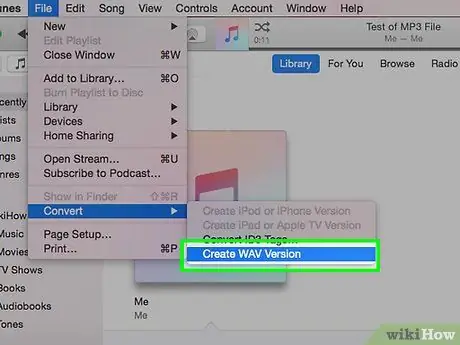
Step 1. The movies I synced couldn't be copied to my iOS device
This is usually caused by the movie not being properly formatted for your iOS device. While you can play the movie in iTunes, it may not play on the device you synced the files to. iTunes allows you to create new versions that can be played on your device.
- Select the video you want to sync to your iOS device.
- Click the File menu. If you don't see the File menu, press the Alt key.
- Select "Create New Version" and select the device you want to sync the file with.
- Wait for the conversion process to complete. Make sure to sync the new version when syncing your device.
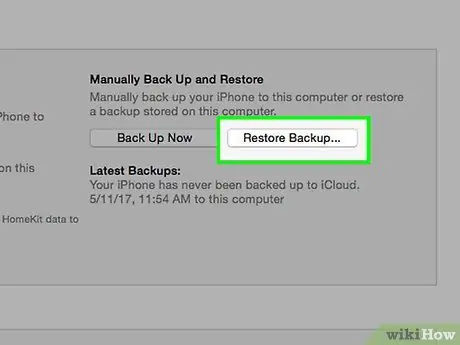
Step 2. The sync process doesn't finish, or it's stuck at "Waiting for changes to be applied"
This is usually caused by a problem occurring on your iOS device. The easiest way to solve this problem is to completely restore your device to factory settings.
Click here for detailed instructions on how to restore an iOS device
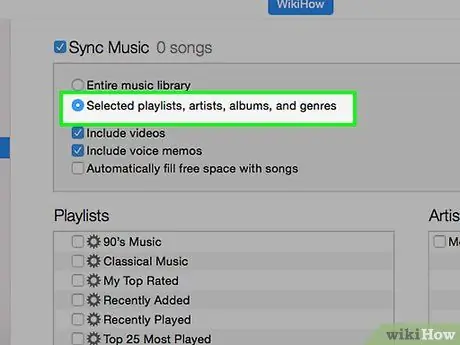
Step 3. I'm having trouble syncing a large number of music files
If your iOS device is having trouble syncing a large collection of music, you may get better results if you sync incrementally. Start with one playlist or album and sync your devices, then sync the next, and so on until all the music you want moves to that device.
Another suggestion to fix this problem is to disable music sync, then sync the device to delete all the music on it, then turn on music sync and select the music you want to transfer as usual
Part 5 of 5: Performing Other iTunes Tasks
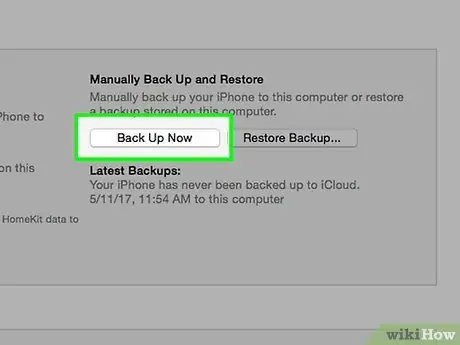
Step 1. Backup your iOS device to iTunes. You can use iTunes to make a backup of your iOS device. This allows you to restore the device along with all settings and data without causing any problems.
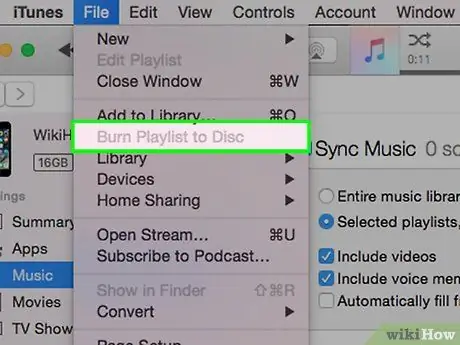
Step 2. Burn a music CD
If you want to make a CD for a trip or a mixtape for a friend, you can use iTunes to burn a CD using the music in your library.
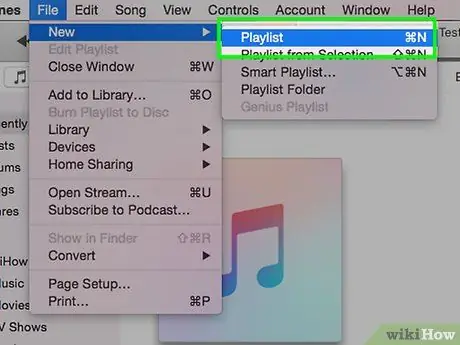
Step 3. Create a playlist
Playlists allow you to create the mix of songs you want and organize the music the way you want. Playlists also make syncing the music you want to your iOS device a lot faster.
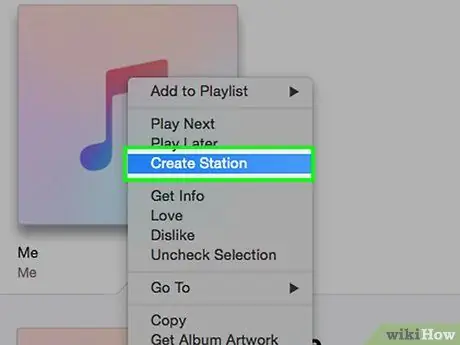
Step 4. Make a ringtone
Tired of ringtones on your iOS or Android device? You can use iTunes to create ringtones from any song in your library.
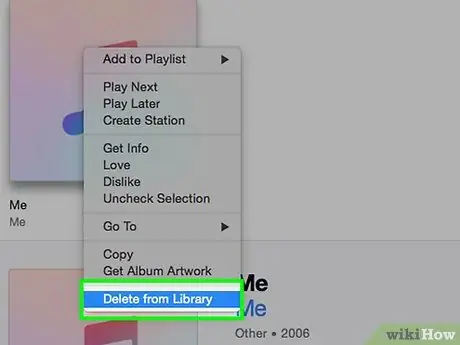
Step 5. Delete the songs from your iTunes library
Tastes do change, and you may already be disliking some of the songs in your iTunes library. You can easily delete them so they don't appear in iTunes anymore, or you can delete them completely from your computer.
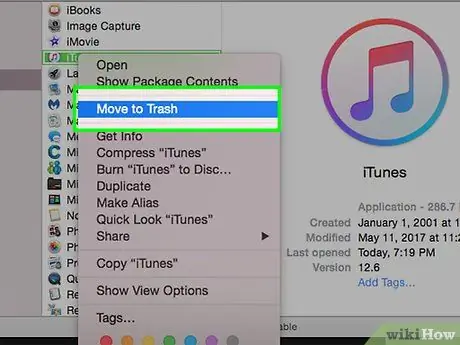
Step 6. Delete iTunes
When you're done dealing with iTunes, you can completely remove it from your computer by uninstalling it. You can choose to leave your library preferences and settings on your computer in case you decide to reinstall at a later date.


