- Author Jason Gerald [email protected].
- Public 2024-01-19 22:11.
- Last modified 2025-01-23 12:04.
This wikiHow teaches you how to view and show hidden files and folders on Mac OS X using the Terminal application. If you don't have a hidden file on your computer, you can create one.
Step
Part 1 of 2: Showing Hidden Files
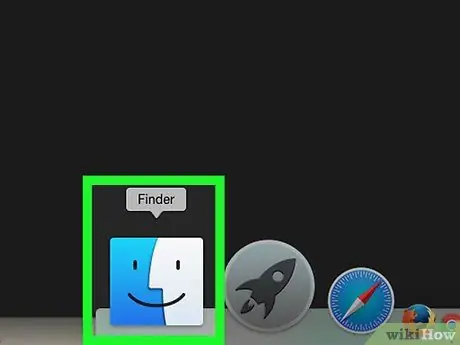
Step 1. Open the Finder app
This application is indicated by a blue face icon that appears in the computer's Dock.
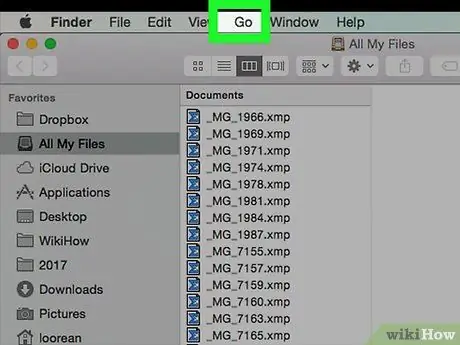
Step 2. Click the Go button
It's in the top-left row of the menu bar. After that, a drop-down menu will be displayed.
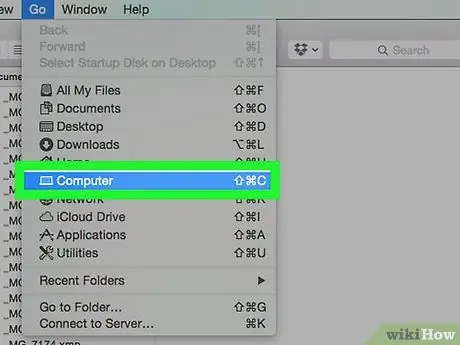
Step 3. Click Computer
It's in the bottom half of the drop-down menu Go ”.
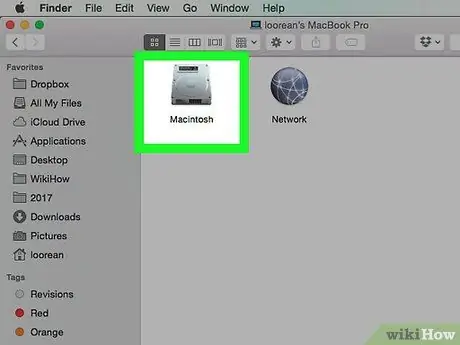
Step 4. Double click on the hard disk icon
This icon resembles a gray box.
On most versions of Mac, the hard drive is labeled as "Macintosh HD"
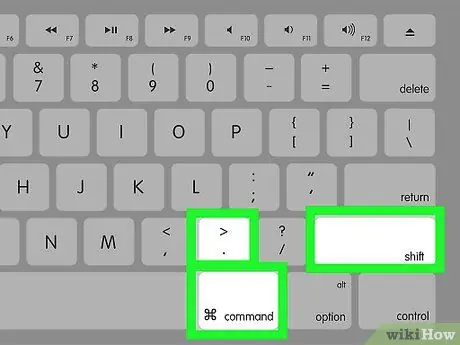
Step 5. Press the key combination Shift+⌘ Command+
This key combination will display all hidden folders on your computer's hard disk. Hidden folders and files will have a faded (greyish) appearance.
-
This keyboard shortcut can be used through any Finder window.
The main folder on the hard drive usually contains system files and folders so you can now see them better once they are displayed (they still look faded/grey).
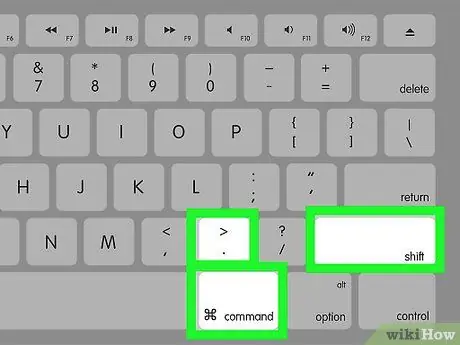
Step 6. Press the key combination Shift+⌘ Command+. again
After that, the hidden files will be hidden again so they can't be seen on the computer.
Part 2 of 2: Converting Hidden Files To Viewable Files
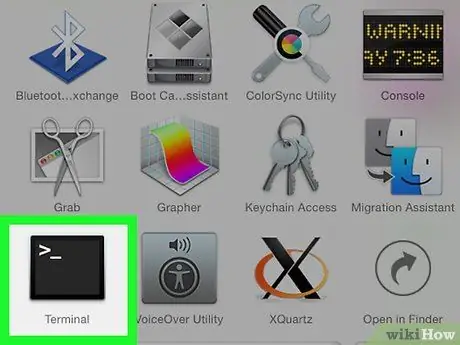
Step 1. Open the Terminal program
Click "Spotlight"
type in terminal, and click Terminal
when displayed in search results.
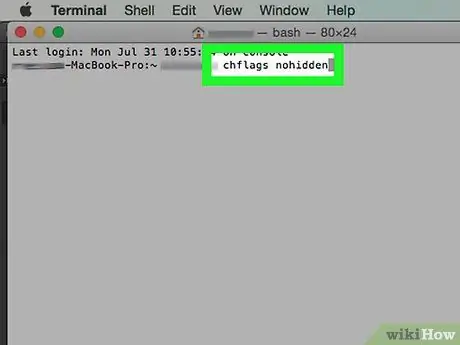
Step 2. Type
chflags nohidden
on the Terminal window.
Make sure you leave one space after
nohidden
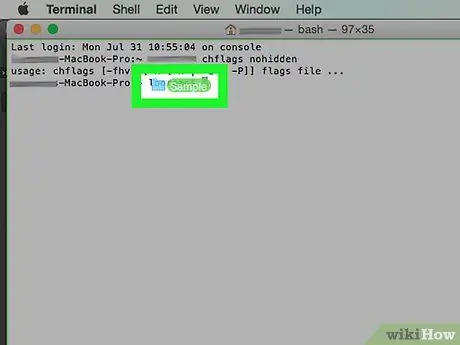
Step 3. Click and drag a hidden file or folder into the Terminal window
By dropping content into a Terminal window, the content address (in this case, the content storage directory location) will be placed after the " chflags nohidden " command.
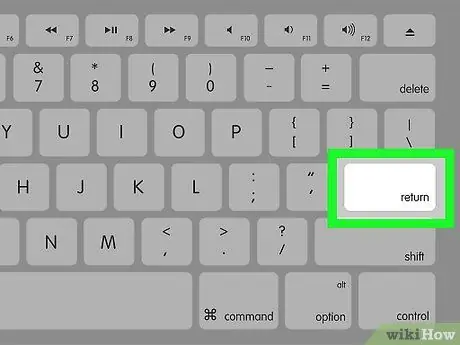
Step 4. Press the Return key
After that, the command will be executed and the “hidden” status will be removed from the content.
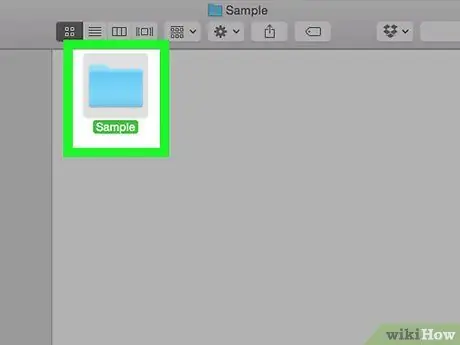
Step 5. Double click on the content
Now, the content can be opened like a normal file or folder.


