- Author Jason Gerald [email protected].
- Public 2024-01-19 22:11.
- Last modified 2025-01-23 12:04.
Adding a microphone to your computer will further enrich its functionality. In the market, there are various types and brands of microphones, and users also use the microphone in different ways. Therefore, in order to find suitable microphone settings, it is recommended that you test the microphone and adjust the settings accordingly. Fortunately, Windows 8 provides a variety of features that can be used to adjust the microphone.
Step
Method 1 of 3: Connecting the Microphone Correctly
If you already know the microphone type and connected it correctly, read the next steps to learn how to set up the microphone.

Step 1. Connect a microphone or USB headset to a USB port on the computer
Find the USB port by finding its logo on the computer. The USB logo is triangular with arrows, circles and squares.

Step 2. Connect a microphone with a single audio connector to the microphone jack on the computer
These plugs generally have a small microphone icon next to it, or a pink ring around it.
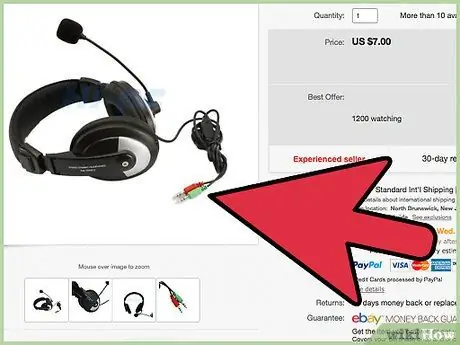
Step 3. Pay attention to the headset with two types of plugs
The pink connector or labeled microphone plugs into the microphone jack on your computer.
If you wish, you can connect the sound connector to the sound jack on the computer. However, you can skip this step if you have connected speakers to the computer and do not want all sound output to be transmitted through the headset
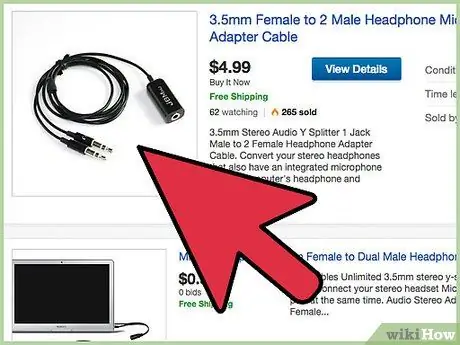
Step 4. Find the custom input if you are using a headset with a single, triple-striped connector
Your computer must have a supported input to use this headset. Generally, these plugs have the label headset or microphone and headphones. Adapters that can convert a single plug into a separate plug are available, but are sold separately.
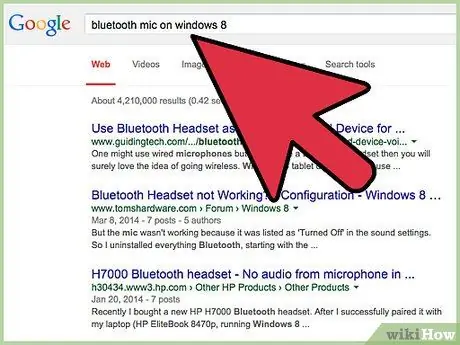
Step 5. Know how to connect a microphone or Bluetooth headset
If you're using a Bluetooth microphone, make sure your computer has a Bluetooth receiver, then follow the instructions that came with your headset or microphone purchase.
Method 2 of 3: Setting the Microphone
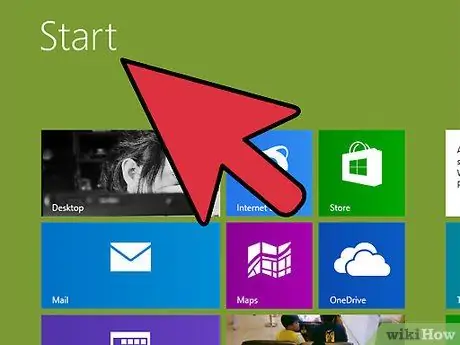
Step 1. Open the Start screen
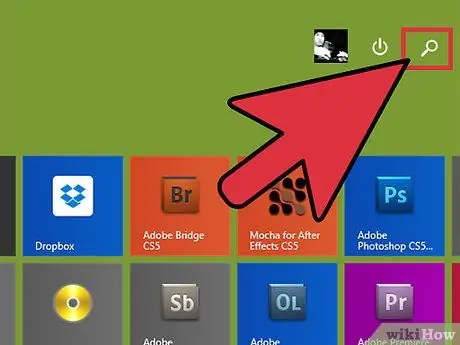
Step 2. Click the search button, then enter the keyword manage audio devices
After that, click “Manage audio devices” in the search results to open the sound control panel.
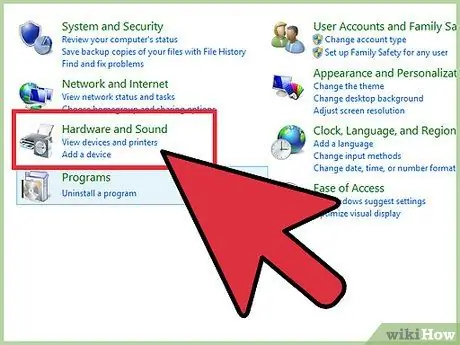
Step 3. Find your microphone
In the sound control panel, click the Recording tab. If you have connected the microphone correctly, it will appear in this tab with a check mark in the right corner of its icon. If you're looking at multiple devices at once, blow on the microphone you're using and watch the green bar move. The green bar indicates that the microphone is picking up sound. Once you've made sure that the microphone is performing and can pick up sound, you can use the microphone.
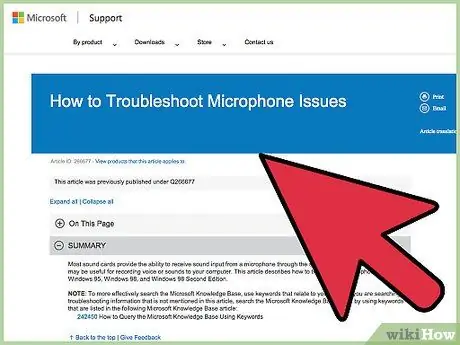
Step 4. Troubleshoot microphone "disappearing"
If you are sure that a microphone is connected to the computer, but the microphone is not showing, right-click the list and select Show Disabled Devices. Turn on all disabled devices, then test the microphone again by blowing on it.
Method 3 of 3: Adjusting the Microphone Volume Level
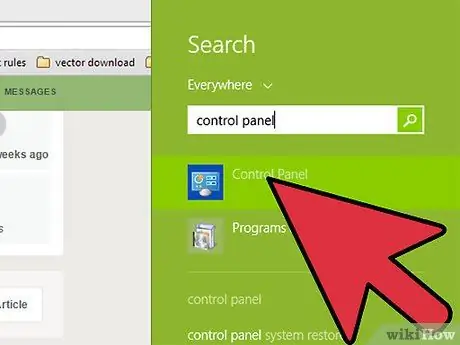
Step 1. Open the voice control panel
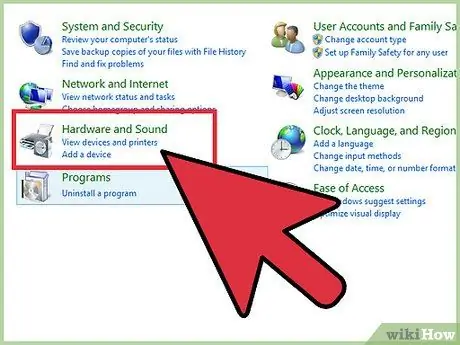
After using the microphone for a while, you may want to increase or decrease the input volume. You can adjust this volume from the application you are using, or via the sound control panel if the input always feels low or loud. On the Start screen, enter the keyword manage audio devices. After that, click “Manage audio devices” in the search results to open the sound control panel.
Step 2. Go to the properties page of the microphone you are using
In the sound control panel, click the Recording tab, select your microphone, and click Properties.
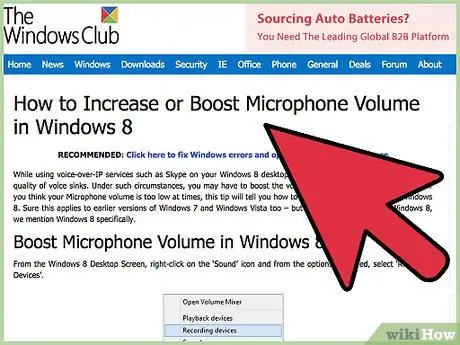
Step 3. Adjust the volume level
In the Microphone Properties window, click the Levels tab, then slide the knob to adjust the volume. Swipe left to decrease the sound, or right to increase it.


