- Author Jason Gerald gerald@how-what-advice.com.
- Public 2023-12-16 10:50.
- Last modified 2025-01-23 12:04.
If your computer is running Windows XP and you want to use a different language, you can do this in several ways. Changing the display language is a bit tricky, as you'll have a hard time changing it once Windows is installed. You can also change the input language, so you can use the keyboard to enter characters from other languages.
Step
Part 1 of 2: Display Language
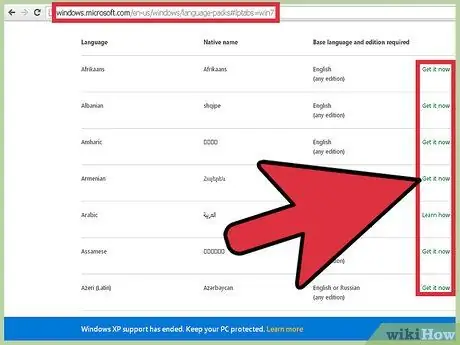
Step 1. Try using the Language Pack
You can get various Language Packs from the Microsoft site that you can install without having to reinstall Windows. To use this language pack, you must have Service Pack 3.
- Click here and find the language you want in the list. If the language you want is listed, and you are currently using the required base language, click the "Get it now" link to download the language pack. Refer to the next step if the language you want is not in the list, or if you are not using the correct base language.
- Run the installer you downloaded and follow the instructions given to install the language pack. When the installation is complete, restart your computer to see the changes.
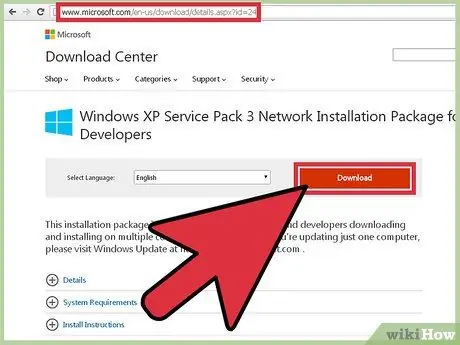
Step 2. Understand the process
While changing the base language without reinstalling Windows is technically impossible, you can use a method to change most of the interface to the language you want. You will need to download the Service Pack 3 update (even if you have it installed on your computer) and change some registry values.
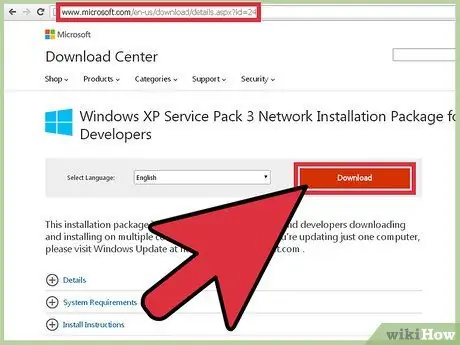
Step 3. Download the Service Pack 3 update in the language you want to use
Visit the Service Pack 3 download page here. Use the drop-down menu to select the language you want to use. If you have selected a language, click the "Download" button and then select the second option in the window that appears. Ignore the additional options and click the blue button in the lower right corner to download the file.
Do not rush to install the SP3 update. The update will not work until you change the registry
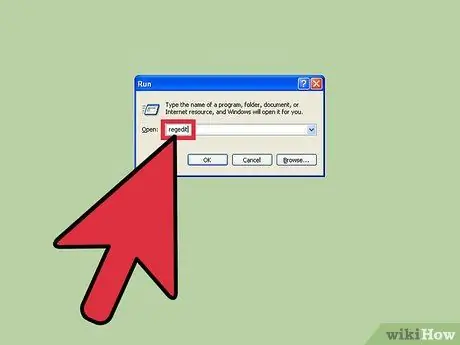
Step 4. Run Registry Editor
You have to make a small change in the system registry in order to change the language. The Registry is the system that controls Windows, so you should be careful when making any changes here.
You can launch the Registry Editor by pressing Win+R, typing regedit, then pressing Enter
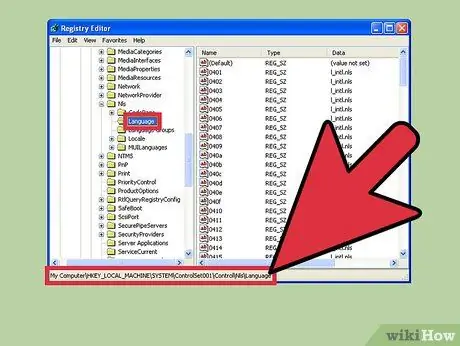
Step 5. Use the column on the left to perform a search
You can expand the directory to see subdirectories. If you select a directory, any keys in that directory will be displayed in the right-hand frame.
Navigate to HKEY_LOCAL_MACHINE/SYSTEM/ControlSet001/Control/NIs/Language
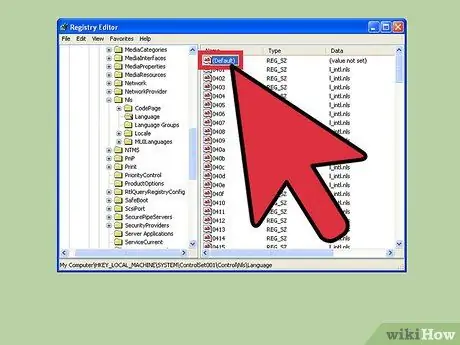
Step 6. Double click the "(Default)" key
This key is at the top of the list. A new window will appear that you can use to change the value.
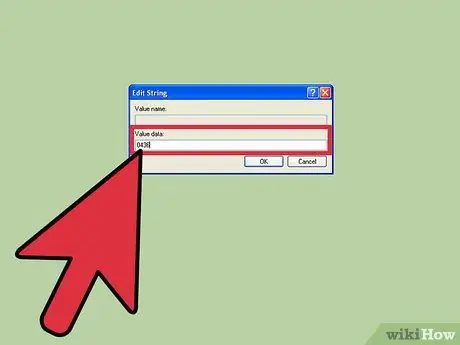
Step 7. Enter the code for the language you want to use
Each language has a four-digit code that must be entered in the "Value data" field. Refer to the list below to find the language you want to change and enter the correct code. Make sure you have selected the same language as the SP3 file you downloaded.
Language Code
|
Language Code
|
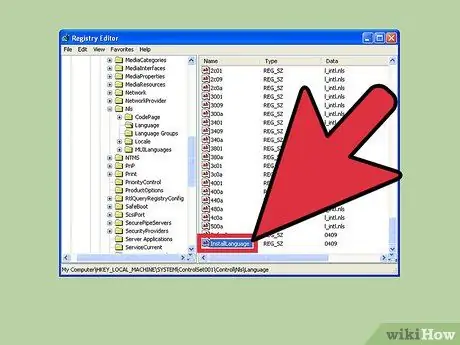
Step 8. Repeat the process for the "InstallLanguage" key
Usually this key is at the bottom of the list of keys. Use the same code you used for the "(Default)" key.
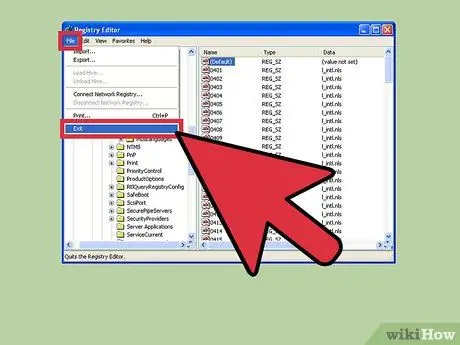
Step 9. Close Registry Editor and restart the computer
Service Pack 3 installation will fail if you do not restart the computer before proceeding to the next step.
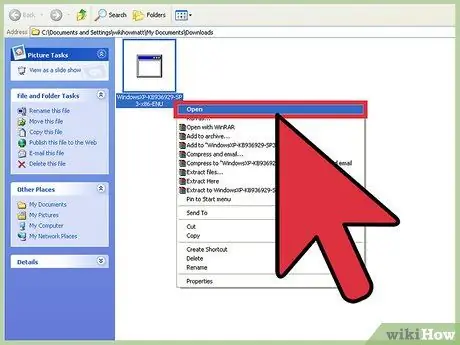
Step 10. Run the Service Pack 3 installer after you restart the computer
After the computer has restarted, run the Service Pack 3 installation. It doesn't matter if you have Service Pack 3 installed, because the installer will just overwrite the system files with new ones in the correct language. Follow the instructions for installing the Service Pack.
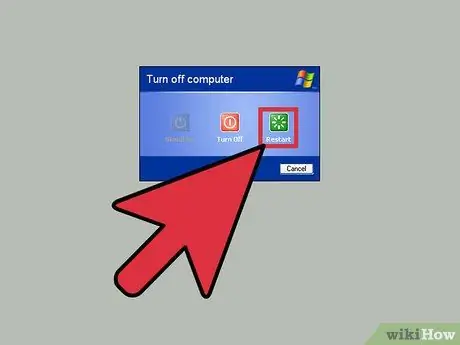
Step 11. Restart the computer once again after you finish installing Service Pack 3
When the installation is complete, you will need to restart the computer for the changes to take effect. After restarting, you can see the changes in your computer's display language.
Some elements may remain in the original. This limitation cannot be overcome. The only way that the computer can actually display a different language is to reinstall Windows XP and choose the correct language when you install
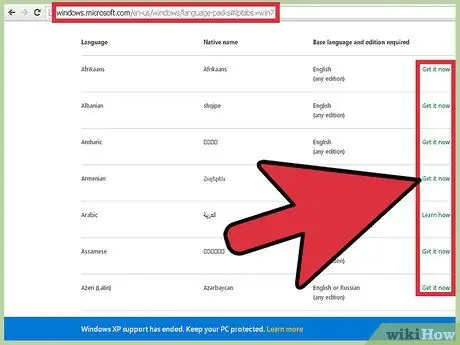
Step 12. Download the Language Pack after you change the base language (optional)
If you performed the steps above to change the base language so you can install the Language Pack, you can download and install it now. See Step 1 of this section for more details.
Part 2 of 2: Input Language
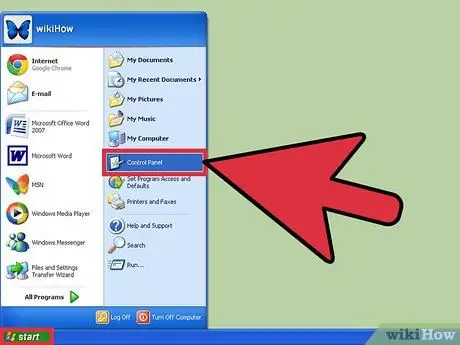
Step 1. Open Control Panel
You can find this in the Start Menu. To view Control Panel options in older versions of Windows XP, select "Settings".
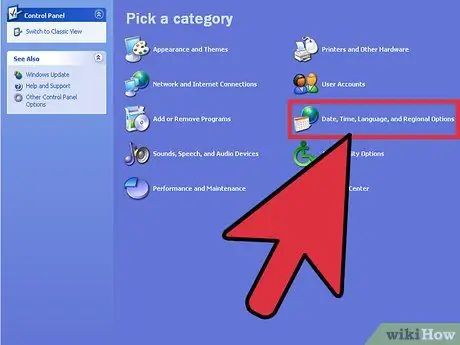
Step 2. Select "Date, Time, Language, and Regional Options"
When you are in the Classic View view, select "Regional and Language Options".
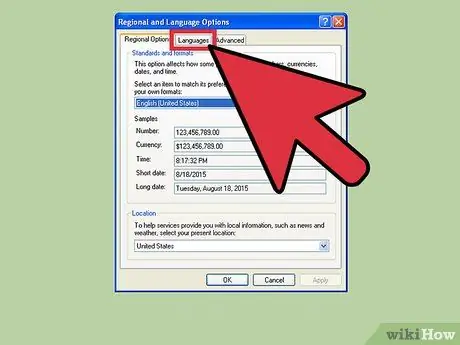
Step 3. Click the "Languages" tab
This allows you to change the options for the input language on your computer.
If you change the input to an East Asian language or a complex scripting language, check the appropriate boxes and then click "Apply" to download the additional files required
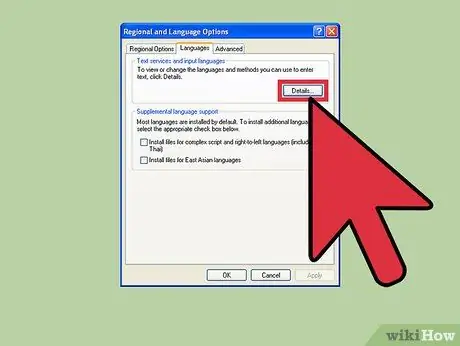
Step 4. Click the "Details" button
The Text Services and Input Languages menu will open.
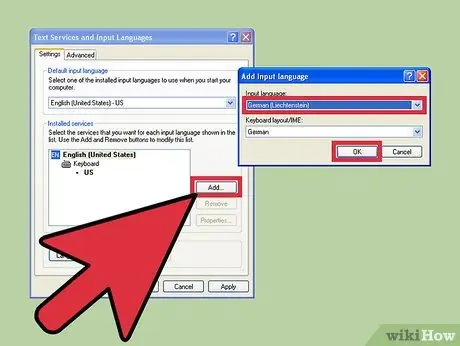
Step 5. Click the "Add" button
Select input and language and keyboard layout from the drop-down menu. Click "OK" when finished.
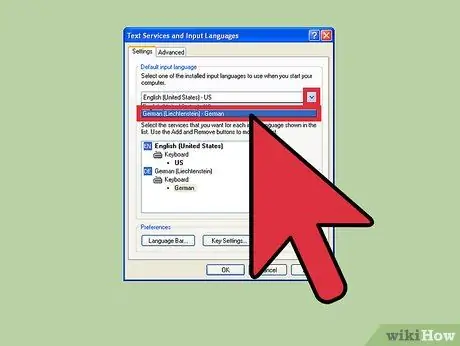
Step 6. Select your new default language from the drop-down menu
The new language you added will appear as an option in the "Default input language" drop-down menu. Select the language if you now want to change the input language. Save your changes by clicking "Apply".

Step 7. Use the Language Bar to switch between the installed input languages
The Language Bar will automatically appear if you install more than one input language. You can find the Language Bar in the taskbar, next to the system tray. Click the active language to see a list of all your installed input languages.


