- Author Jason Gerald [email protected].
- Public 2023-12-16 10:50.
- Last modified 2025-01-23 12:04.
Isn't it annoying when you're typing and the new words you're typing erase the ones that are already on the page? You may suspect that your computer has been hacked, but this problem usually occurs because you press the “ Ins ” (Insert) on the keyboard. This wikiHow teaches you how to enable or disable overtype mode, a mode where new letters replace existing letters or words, and how to turn it off permanently in Microsoft Word.
Step
Method 1 of 2: Disabling Overtype Mode with “Insert” Key
Step 1. Press the Insert button or Ins one time.
This button is usually in the upper-right corner of the keyboard. By pressing this button, you can enable or disable the “Insert” function in any application on the computer.

Step 2. Press the shortcut Ctrl+Z to restore accidentally deleted text
You may need to press this key combination to recover all text that was accidentally replaced.
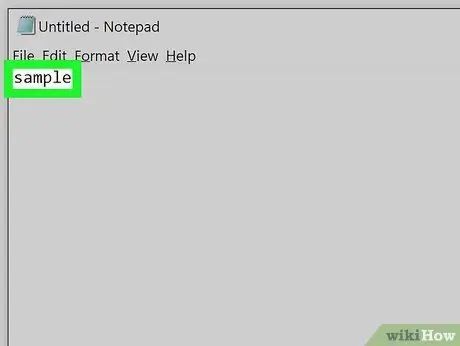
Step 3. Retype the text
After pressing the “Insert” button, you can type text without deleting what is already on the page.
- If you use Microsoft Word and frequently press the Ins key by accident, you can turn off overtype mode. Read Microsoft Word's method of deactivating overtype mode to learn how.
- If you still can't enter new text, save the job and close the app. After restarting the application, you should be able to type text as usual.
Method 2 of 2: Disabling Overtype Mode in Microsoft Word
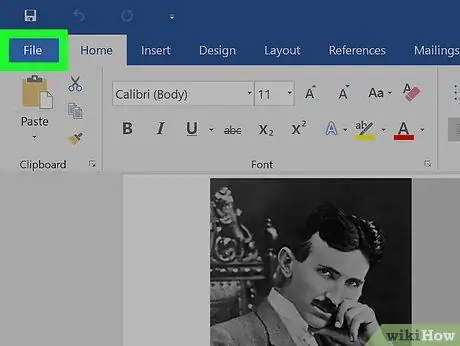
Step 1. Click the File menu
It's in the upper-left corner of the Word window.
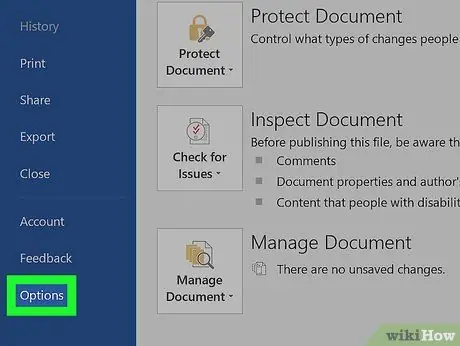
Step 2. Click Options
This option is at the bottom of the menu.
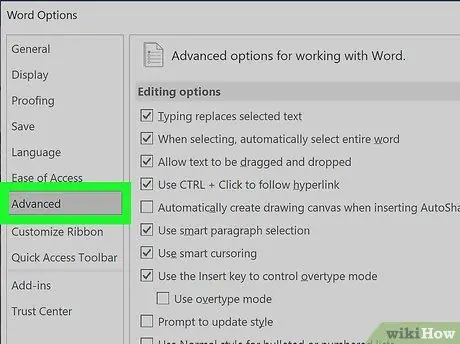
Step 3. Click the Advanced tab
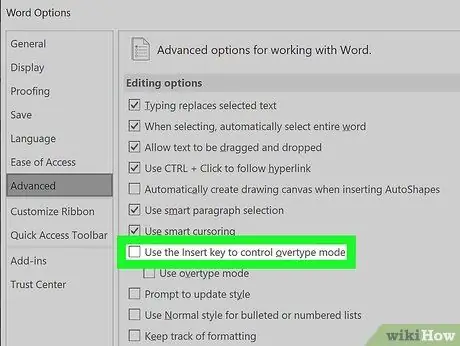
Step 4. Uncheck the "Use the Insert key to control overtype mode" box
This box is under the " Editing Options " heading.
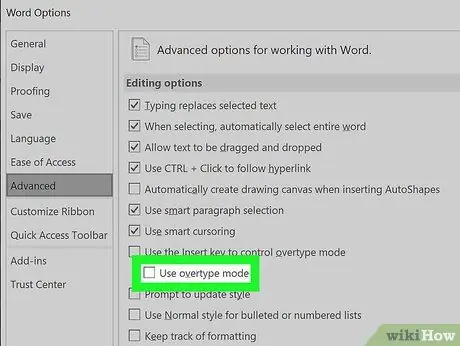
Step 5. Uncheck the "Use overtype mode" box
This box is directly below the last box you unchecked.
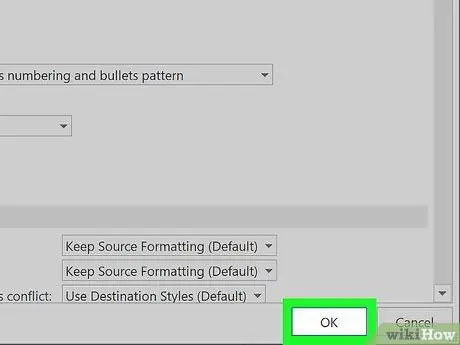
Step 6. Click OK
Now, when you press the Ins key in Microsoft Word, overtype mode will no longer be enabled or disabled.


