- Author Jason Gerald gerald@how-what-advice.com.
- Public 2024-01-19 22:11.
- Last modified 2025-01-23 12:04.
Printed photos are fragile objects that capture precious memories and historic moments. Oftentimes old photos are the only copies available, so it's sad to find them damaged. Photos can become damaged after years of exposure to moisture, water, sunlight, and dirt. But sometimes, even new photos can be damaged if stored in an improper way. Learn ways to update old photos, improve them yourself at home, and properly store photos afterwards to ensure they last for generations to come.
Step
Method 1 of 3: Digitally Fix Minor Photo Damage
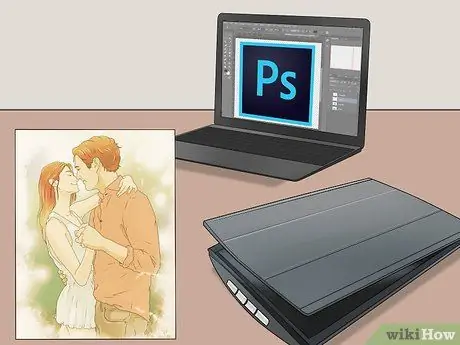
Step 1. Prepare the right equipment for digital restoration
Purchase a high-quality scanner and photo editing software for your home computer so you can do your own digital restoration. Purchase a photo editing program such as Photoshop and a high-quality scanner that can scan photos at a high dpi (or dots per inch, which is a unit that indicates the level of resolution of an image). The higher the dpi, the more detail the scanner can record data. The recommended number for most photos is 300 dpi.
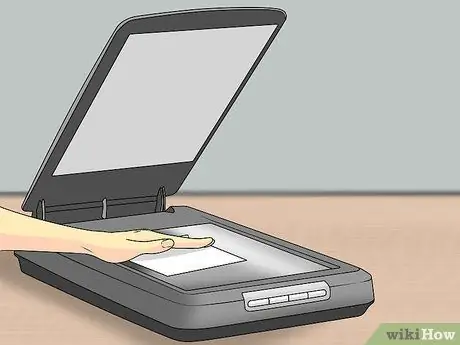
Step 2. Scan the photo
Place the photo carefully on top of the scanner and select the option to scan the photo at high resolution in order to record the photo data as detailed as possible. If you have a choice, save the photo in a TIFF file and not a JPEG. This TIFF file is indeed larger, but it retains the detail and quality of the photo better. Once the photo is saved on the computer, open it in photo editing software.
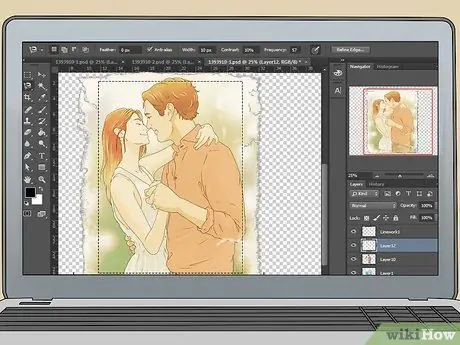
Step 3. Crop the photo
Use the “Crop Tool” to remove the damaged edges. The edges of old photos often curl when exposed to water or moisture. If the edges of the photo are damaged, just crop it to fix the problem.
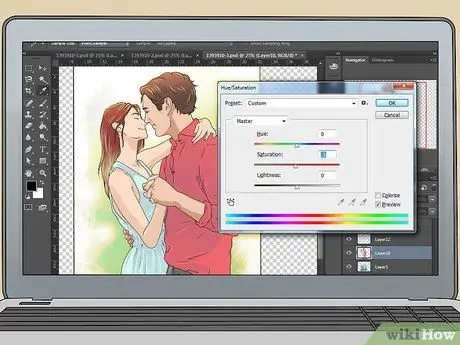
Step 4. Adjust the tone of the photo
Correct the color, brightness (brightness), and contrast before fixing any other damage. The tones can be adjusted by opening the editing tools within Photoshop or other photo editing software. The level can be changed by sliding the cursor on the scale, until the resulting effect is to your liking.
- Increasing the brightness level can lighten a dark photo, while increasing the intensity of the contrast can make a faded photo appear more contrasting.
- Modify the color slider to remove unwanted tints.
- Save each version you create under a different file name so that you can compare them later and choose the best restoration.
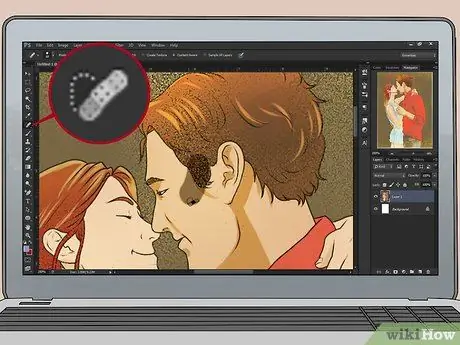
Step 5. Repair scratches and dust marks
The “Dust and Scratches” filter or the “Spot Healing Brush” in Photoshop or a similar tool in another photo editing program, can easily repair the damage right away. Zoom in on the photo and use the cursor to edit the damaged area. Work slowly and then zoom out to check your progress as you go along. This filter works by removing some details, so make sure this feature is not overused.
Open the photo window in full-screen mode so you can observe the changes while improving them
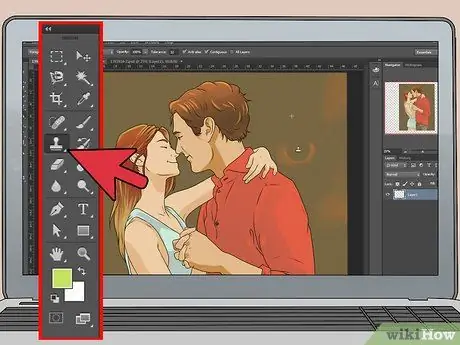
Step 6. Fill in the torn or erased areas
If any part of the photo is scratched, torn, or erased, use the “Clone Stamp Tool” to repair the part and fill in the damaged area. After opening the tool, make a selection outline on the part of the photo you want to clone or retouch, then click once. Move the cursor to the area you want to fix with the material you just copied.
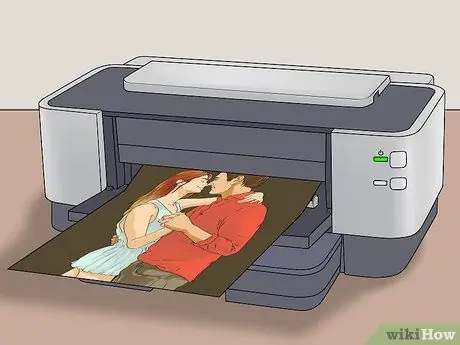
Step 7. Print the photo
After the photo has been restored, use an inkjet printer or a photo printer with glossy paper to print the photo.
Method 2 of 3: Manually Restoring Old Photos
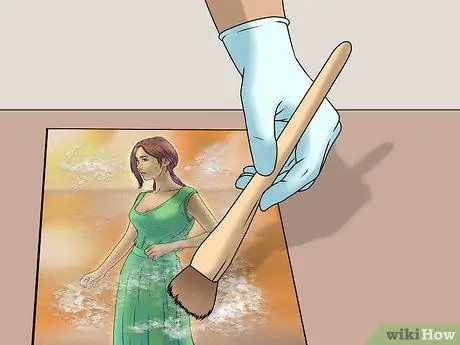
Step 1. Clean photos
If an old photo has dirt, grit, or residue on it, just clean it by hand. Wear rubber gloves and carefully remove dirt with a soft brush or soft-bristled toothbrush. If there is a lot of dirt, the photo can be washed gently under lukewarm running water. Use your finger to gently sweep away the dirt and be careful not to scratch the surface of the photo. Dry the photo in a dark place that is safe from distractions. You can hang it on a string to dry using clothespins, or just place the photo face up on newsprint or a washcloth.
If your photo turns red, yellow, or white while cleaning, you need professional help. The damage to the photo was too severe to repair on its own
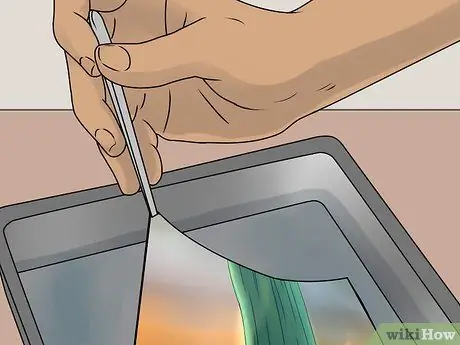
Step 2. Use water to separate sticky photos from other photos
If you find a bunch of photos sticking to each other, don't rush to separate them by hand. Soak in distilled water (distilled water). Photo coated with gelatin. When immersed in water, the gelatin will soften and the photos will be easier to separate.
Purchase a bottle of distilled water from your nearest grocery store or pharmacy. Let the water come to room temperature and pour it into a container large enough to submerge the photo. Insert the photo in the face up position and soak for 20 to 30 minutes. Use your fingers to separate the photos from each other or use a rubber spatula. Dry on a towel with the position facing up. Cover all edges of the photo with a book or magazine so it doesn't curl when dry
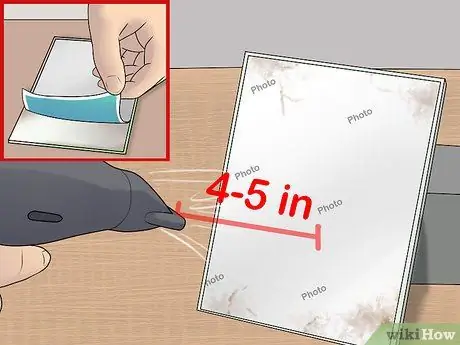
Step 3. Peel off the sticky photo to the glass by heating it
Before releasing a photo, make a copy first. You can release the photo by heating it. Hold the hair dryer 10 to 13 cm from the back of the photo. After a few minutes, try to remove one of the corners and peel off the photo carefully.
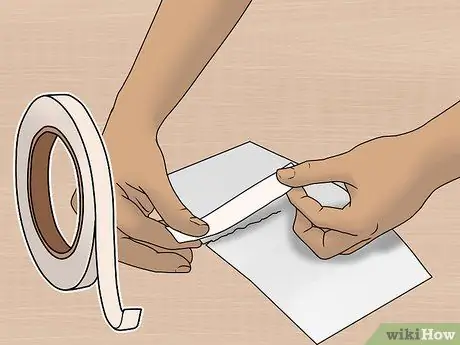
Step 4. Fix the torn part with acid-free tape
You can repair torn or torn photos with acid-free tape. Ordinary tape that contains an acidic adhesive can damage photos over time. Look for special filing tape or acrylic-adhesive tape at a book or stationery store to fix and protect photos. Cut a piece of tape and glue it to the back of the photo.
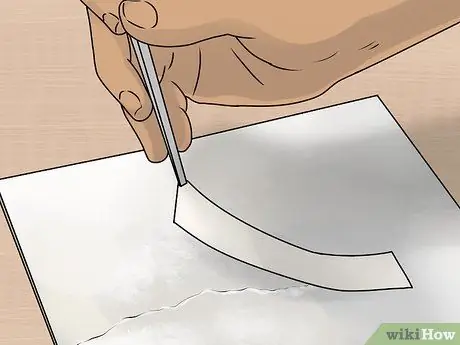
Step 5. Use a piece of paper to repair the torn photo
Torn photos can also be repaired by using a strip of acid-free paper glued together with acid-free glue. Both can be purchased at a craft and arts store or at a stationery store. Apply a small amount of glue to a piece of paper and then glue the paper to the back of the torn photo. Remove the remaining glue with the cotton swab. Allow the photo to dry face down on a towel, and place a weight like a booklet on top of the photo to prevent it from curling.
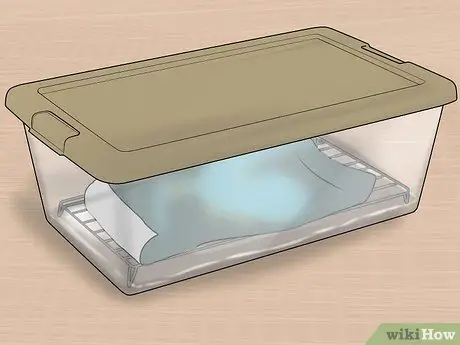
Step 6. Make a humidification container for photos with curly edges
If you have an old photo that has curly edges or curled corners, place the photo in a homemade humidifier to bring it back straight. The water in this container will help hydrate dry, stiff photos, so that the edges soften and straighten again.
Fill a plastic container with a few inches of room temperature water. Place the steamer rack in it. The top surface of the shelf should not be submerged in water. Place the photo on the steamer rack and close the container. Leave it for a few hours. Check the photo periodically and wipe away any water droplets that form over the photo. After a few hours, when the roll is flat again, remove the photo and dry it on a towel facing up. Cover the photo with blotting paper or parchment paper, and place a weight with a book
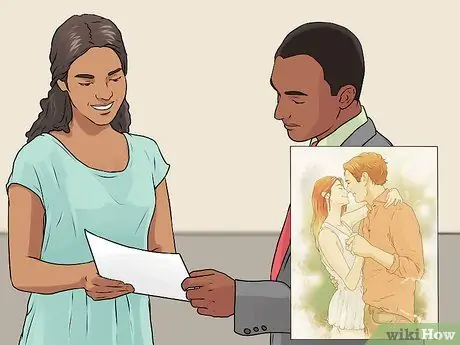
Step 7. Seek professional help
If your photo is badly damaged, very old, or very fragile, seek professional help to restore the photo. In addition to being able to restore photos that have been torn, smudged, or damaged by water or sunlight, they can also digitally improve the overall quality and color of a photo. Many photo labs provide this service. They will rate your photo and give you an estimate of how much it will cost, depending on the damage and how much repair needs to be done.
Most professional services will work on repairs to the digital copy of the photo and leave the print of the original photo in its original state and safe. When you're done, you'll get the restored photo as well as the original photo
Method 3 of 3: Saving Correct Photos
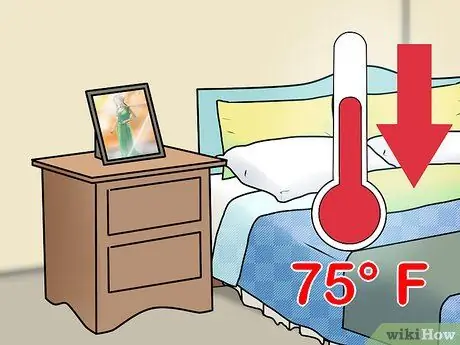
Step 1. Save the photo in a climate controlled environment
Photos can be damaged if exposed to water, sunlight, heat, and moisture in the air. Humidity can cause photos to stick to one another, and hot temperatures can make photos very fragile. Store photos in an environment with low humidity, not exposed to direct sunlight, and not subject to extreme temperature fluctuations. Ideally, the room temperature should be below 24°C.
Do not store photos in a hot attic, in a garage, or in a basement where they may be exposed to water. Store it in a temperature-controlled room in the house, such as a bedroom or in a hallway closet
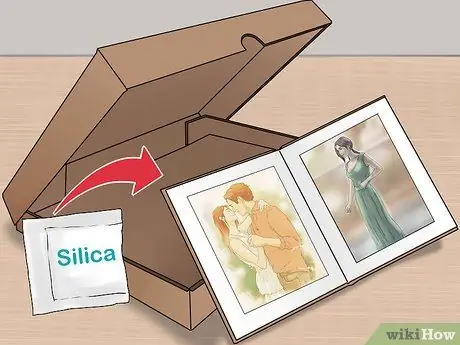
Step 2. Save photos in archive boxes and albums
File boxes and albums will provide a safe environment where photos will be protected from moisture, vermin, and dust. You can buy file boxes and albums at a stationery store or online. When looking for file boxes or albums, make sure they are made specifically for storing photos and free of acids and PVC (polyvinyl chloride).
Place a packet of silica gel in the box to help compensate for excess moisture
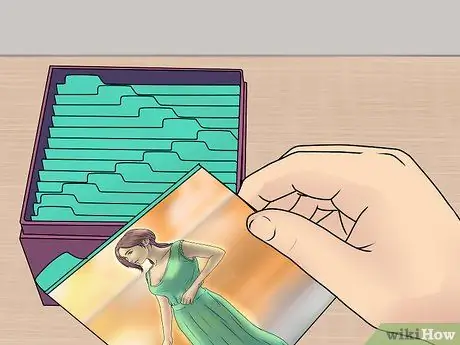
Step 3. Store photos well in boxes or albums
Albums or storage boxes filled with too many photos of course cannot be closed properly, so photos will be vulnerable to exposure to environmental damage. Boxes that are too empty can also damage photos. If there is only a small amount of content, the photo can slip and slip, causing the edges to be damaged. Secure the photos properly and close the storage box properly.


