- Author Jason Gerald [email protected].
- Public 2023-12-16 10:50.
- Last modified 2025-01-23 12:04.
In Adobe Illustrator, there are two ways to change the background color on your artboard. Creating a background layer will permanently change the color of your artboard. If you change the color of the artboard itself, be aware that this change will only appear in Adobe Illustrator. Changes will not appear in the export file or the printed copy of your project.
Step
Method 1 of 2: Creating a Background Layer
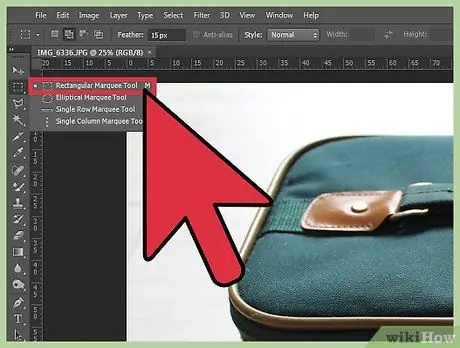
Step 1. Create a rectangle according to the size of the artboard
One way to change the background color is to create a separate background layer. If you only change the background color, the changes will be lost when the image is printed. Here are the steps to create a background layer:
- Select the “Rectangle Tool” in the toolbar on the left. (Right column, fourth icon from top).
- Place the cursor in the top left corner of the artboard.
- Click and drag the cursor to form a rectangle that is exactly the same size as the artboard.

Step 2. Fill the rectangle with color
Locate the “Fill Tool” tool (fourth column from the bottom of the toolbar). Double-click this tool to bring up the “Color Palette” dialog box. Choose a color from the color palette. Click “Ok” to set the background color.
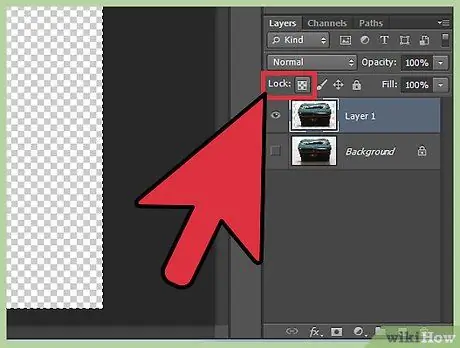
Step 3. Lock the layer in place
When creating works, the background should not move. To do this, you need to lock the background layer.
- Look for the “Layer” panel on the right of the screen. If it doesn't appear, click “Window” and select “Layers” from the drop-down menu.
- The rectangle should have the name “Layer 1”. When adding layers, “Layer 1” should remain at the bottom of the list.
- Click the empty square next to the “Eye” icon to lock the layer in place.
Method 2 of 2: Changing Artboard Color
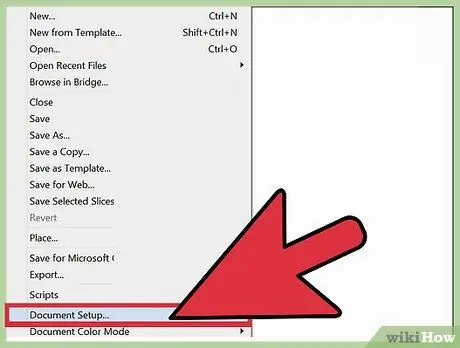
Step 1. Open “Document Setup”
Although the color of the artboard can be changed by itself, the changes will only be visible in the digital version of the file. Artboard color changes will not appear in the printed version of your work. Click “File” and select “Document Setup” from the drop-down menu.
This change is only in Adobe Illustrator. When your work is printed or exported the artboard will return to its original color. To change the background color permanently, you must create a separate background layer
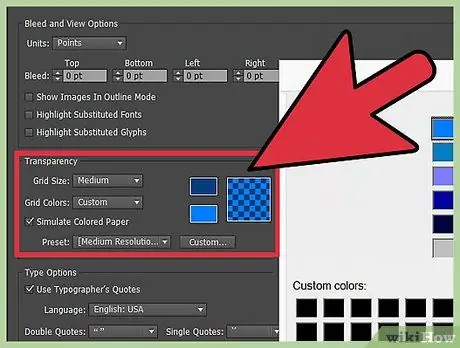
Step 2. Change the transparency settings
Find the “Transparency” section. Check the box next to “Simulate Colored Paper”.
The “Simulate Colored Paper” option mimics the real card. The darker the paper, the darker your work will appear. If you set the background color to black, your work will disappear because it is not visible on the original black paper
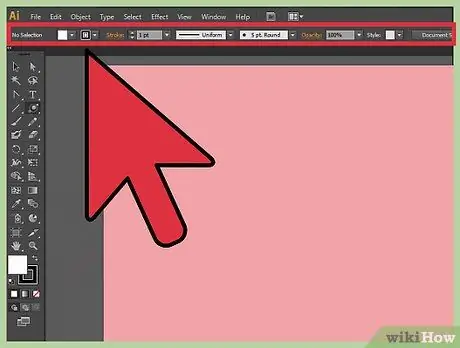
Step 3. Change the background color
In the “Transparency” section, look for the white rectangle. Click this white rectangle to open the “Color Palette” dialog box and click “Ok”. To save the changes made to the artboard, click “Ok” again.


