- Author Jason Gerald gerald@how-what-advice.com.
- Public 2024-01-19 22:11.
- Last modified 2025-01-23 12:04.
Most email clients won't let you attach regular folders, but you can easily get around this. With compression, your folder will become a file, and its size will be reduced so that it doesn't exceed the attachment size limit. Read the guide for compressing folders below, according to the operating system you are using.
Step
Method 1 of 3: Windows 10, 8, 7, Vista, or XP
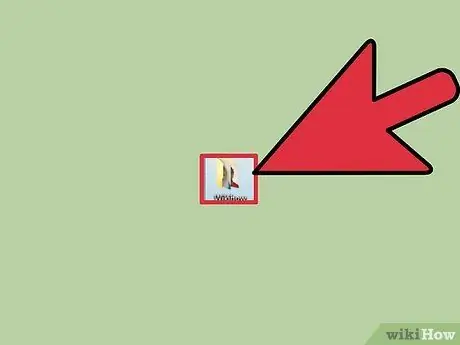
Step 1. Find the folder you want to attach
If there are multiple folders you want to attach, move them to the same location by holding down Shift and selecting one folder at a time. You can also select entire folders at the same time.
In addition, you can also create a new folder to place all the files you want to attach, then compress the folder
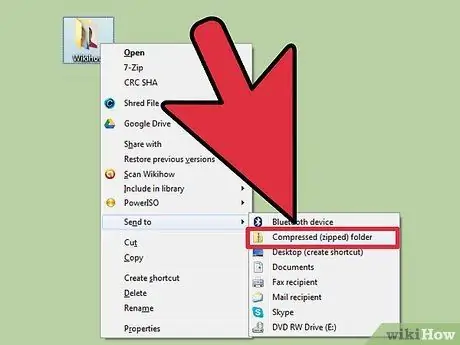
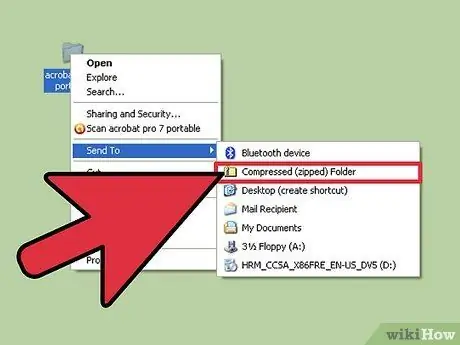
Step 2. Compress the folder by right-clicking the folder and selecting Send To > Compressed File from the menu
Once compressed, the file size will be reduced, and the files in the folder will be collected in a single file, or compressed archive.
- If you're using Windows 8 and 10, you can select the file, then tap the Share tab and select the Zip menu at the top of the screen.
- Some versions of Windows XP do not provide compression options. If you don't find any compression options, right-click on any folder and select New > Compressed (zipped) Folder. Enter a folder name, press Enter, then drag files into this compressed folder.
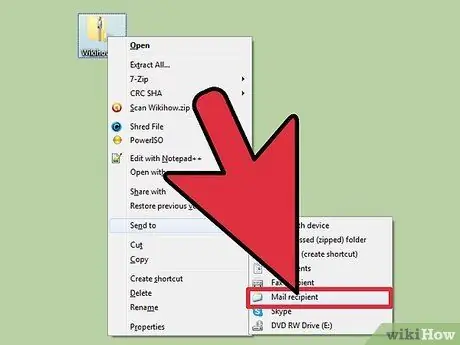
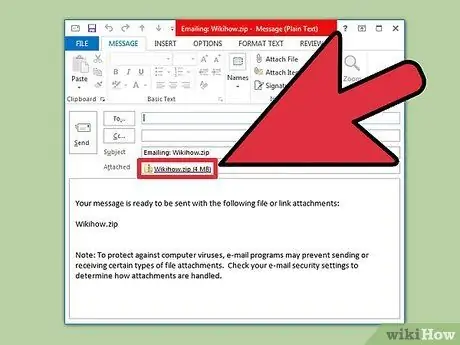
Step 3. Attach the compressed folder to the email by opening the email client or the email web address
Click Attach (or the paperclip icon), then select a compressed folder like a regular file. Wait for the folder to finish uploading, then send the email as usual.
- In Windows 10, you can click on a file and choose Send to > Mail Recipient.
- The recipient of the file must first click the attachment to download the compressed file. To edit (or sometimes, view) a file, the recipient must extract the file by double-clicking the file, or right-clicking the file and selecting "extract" or "uncompress".
Step 4. Resolve problems sending email
Most email service providers limit the size of the files you can send. If you get an error message and the email is not being sent, do the following:
- Upload files to free cloud services.
- Separate the contents of the file, then attach the (compressed) file in a separate email.
- Download WinRAR, then use the program to split large files. Then, send each file fragment separately. If necessary, send file attachments in a different email.
Method 2 of 3: Mac OS X
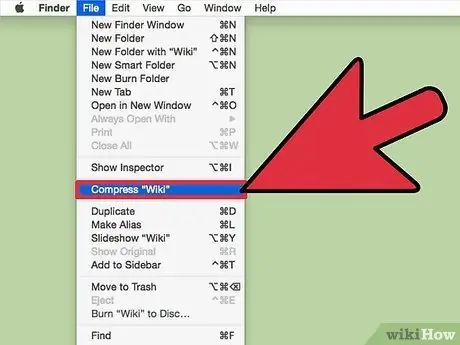
Step 1. Compress the file you want to send by selecting the file and clicking File > Compress from the menu at the top of the screen
You can also select a file by holding down control and selecting the file, then right-clicking the file (or clicking with two fingers on the touchpad). After that, select Compress on the menu that appears
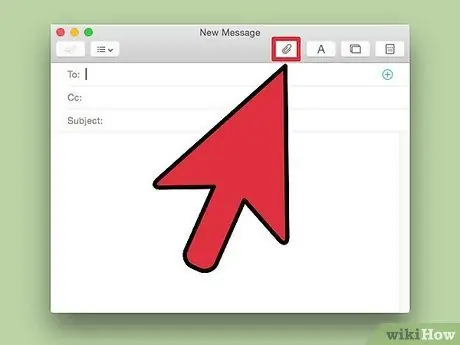
Step 2. Select the compressed folder, then attach the folder to your email like a normal file
Some users report that the Mail app selects a folder with the contents of your compressed folder. If you experience this error, use the List view view and try again
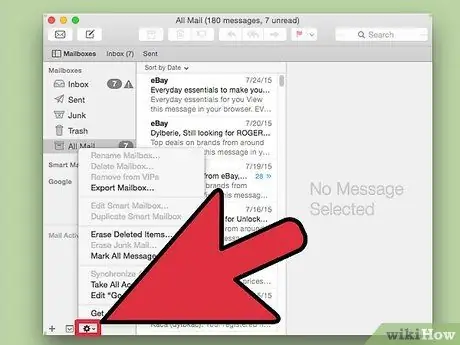
Step 3. Resolve problems sending email
If the compressed folder size still exceeds the maximum email attachment limit, perform the following steps:
- If you're using iCloud Mail, click the cog icon in the sidebar of the screen, then select Preferences. In the Composing option, select Use Mail Drop when sending large attachments. Now, you can attach files up to 5GB in size, but the files are only stored for 30 days.
- Separate the contents of the folder, then send the files in a separate email.
- Upload files to a free cloud storage service.
Method 3 of 3: Other Operating Systems
Step 1. Download compression software for older operating systems
If you're using Windows 2000 or earlier, you'll need to download a compression software like Winzip to compress the files, and if you're using Mac OS 9, download StuffIt Expander.
Step 2. Find a guide to compressing files on Linux
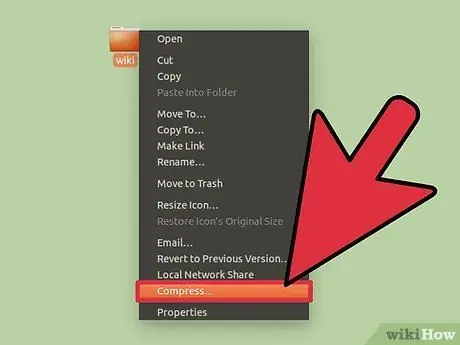
Most Linux distributions provide file compression facilities. For example, if you are using Ubuntu, right-click on the folder you want to compress, then select Compress… from the menu that appears. You will be asked to select a name and location for the compressed file. Once the file is compressed, send the file via email.
Tips
- Keep in mind that there are several types of compressed file extensions. Generally, compressed files are stored as zip, rar, or tar.gz. Zip files are the most common compressed files. To open compressed files in other formats, you may need to download additional software.
- Compression works by removing excess data, and replacing it with instructions to restore that data later. Most common files, such as JPEG or MP3, are already compressed, so they won't shrink when re-compressed.
- If you're using a fairly new Microsoft Outlook, you can select a regular folder via the Attach dialog box. When prompted, click Compress to prepare the file before sending.


