- Author Jason Gerald gerald@how-what-advice.com.
- Public 2023-12-16 10:50.
- Last modified 2025-01-23 12:04.
This wikiHow teaches you how to calibrate the compass on your iPhone or iPad. This can help improve the accuracy of location detection on Google Maps. While Google Maps doesn't have a specific setting for compass calibration, the Settings app on iOS has a “Compass Calibration” option that helps your iPhone or iPad detect your location more accurately.
Step
Method 1 of 3: Enabling Location Services
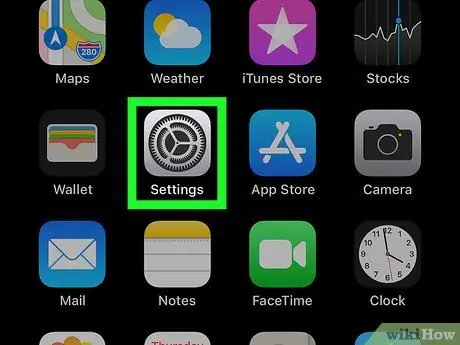
Step 1. Open the Settings app on your iPhone or iPad
This app icon is gear-shaped
and can be found on the home screen.
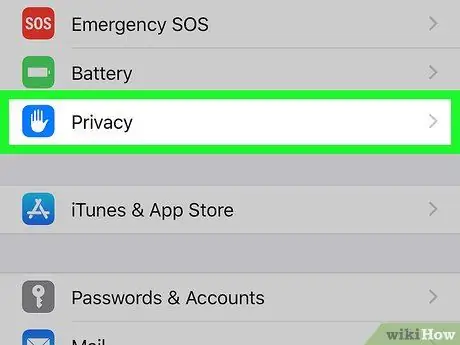
Step 2. Scroll down and tap Privacy
This option is at the bottom of the Settings menu.
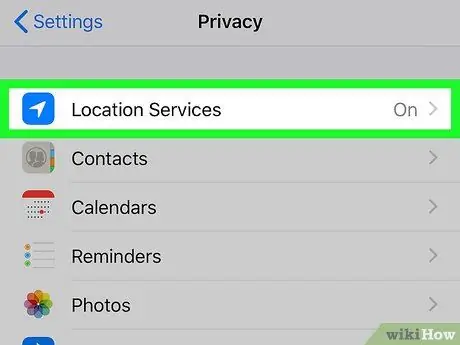
Step 3. Tap Location services
It's at the top of the screen.
-
If the “Location Services” button is disabled or white, tap the button to enable it
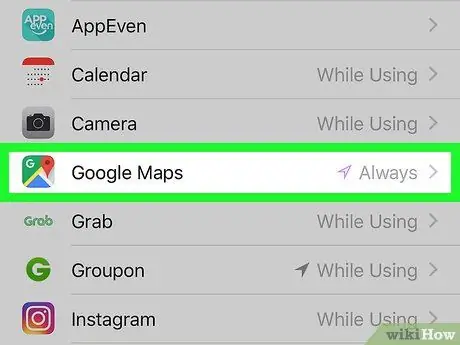
Step 4. Move the screen down and tap on Google Maps
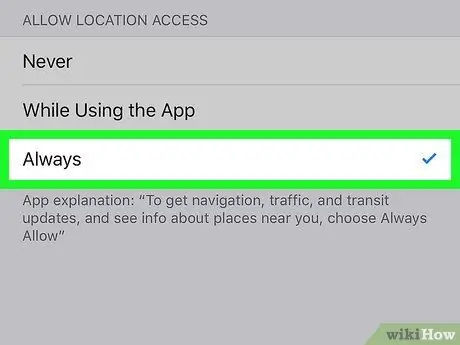
Step 5. Choose a location preference
Tap Always if you plan to use Google Maps to find routes, get information regarding public transportation, and search for places near you. Tap While Using the App when you want to use Google Maps to get directions or find the location of a place.
Method 2 of 3: Performing Compass Calibration
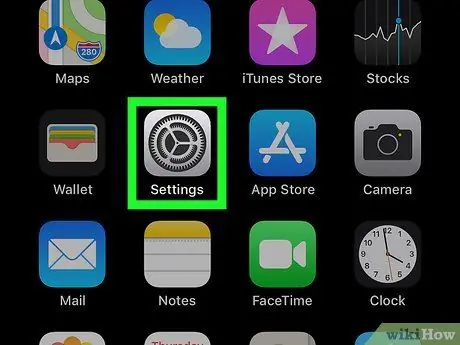
Step 1. Open the Settings app on your iPhone or iPad
This app icon is gear-shaped
and can be found on the home screen.
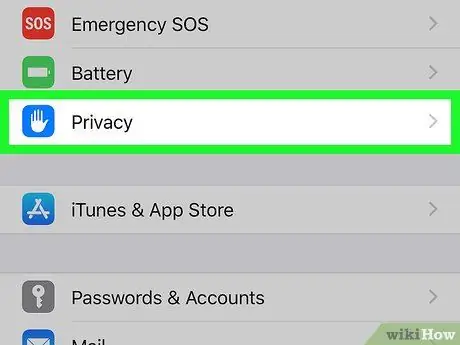
Step 2. Move the screen down and tap Privacy
This option is at the bottom of the Settings menu.
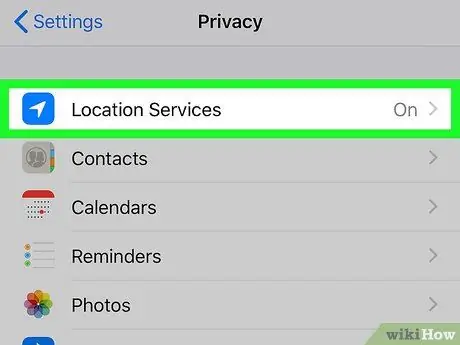
Step 3. Tap Location services
This option is at the top of the list.
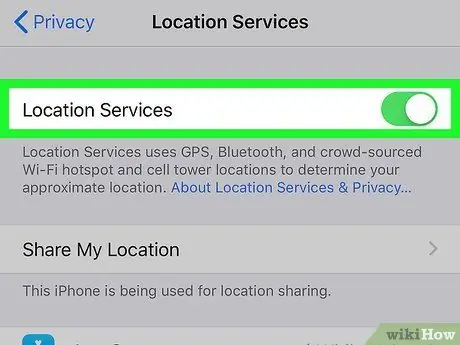
Step 4. Tap on “Location Services” button to enable it
If the button is already activated or is green, you don't need to tap it.
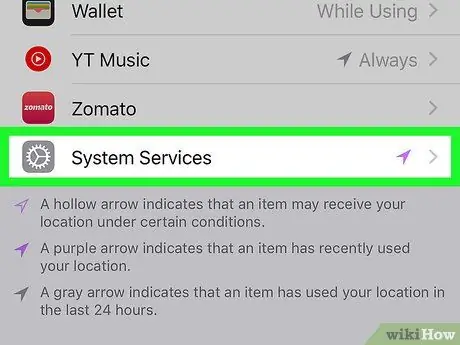
Step 5. Move the screen down and tap on System Services
This option is at the bottom of the list.
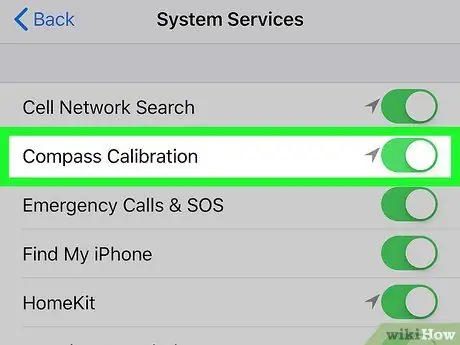
Step 6. Tap on “Compass Calibration” button to enable it
When the button is activated, the iPhone or iPad is automatically calibrated.
If you can't find the option, skip this step and move on to the next step. Usually this option is not available on older iPhones or iPads
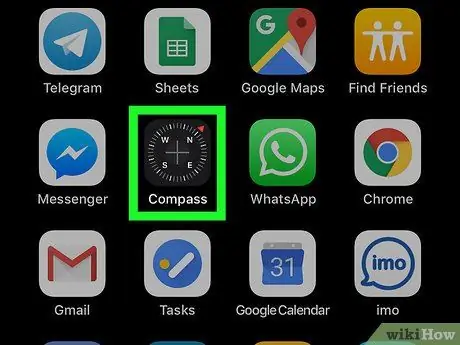
Step 7. Open the Compass app
The app icon is a compass shape on a white background and a red arrow. Usually this icon can be found on the home screen. If the compass is calibrated successfully after following the previous steps, your current position will appear on the screen. You do not need to follow the next steps if the compass has been calibrated. However, if the compass needs to be calibrated manually, the “Calibrate” screen will appear with instructions.
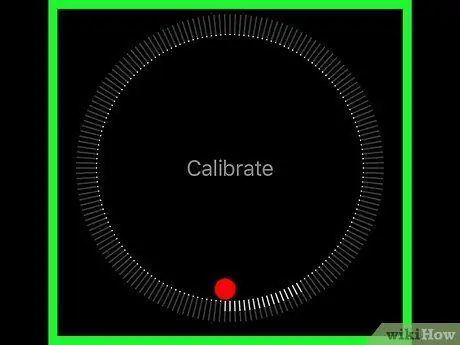
Step 8. Tilt the screen to move the red ball around the circle
Follow the instructions on the screen to tilt your iPhone or iPad so that the red ball moves around the circle. When the ball has circled the circle and reached back to its initial position, the compass will be calibrated.
Method 3 of 3: Finding Your Position
Step 1. Open Google Maps on your iPhone or iPad
The app icon is a map with the text “Google Maps.” You can find it on the home screen.
- If you haven't enabled Location Services or calibrated the compass, you should do these two things first.
- In addition to GPS or compass, Google Maps also uses Wi-Fi networks and cell towers to find your position. Therefore, to get more accurate results, connect your iPhone or iPad to a Wi-Fi network and/or a cellular network.
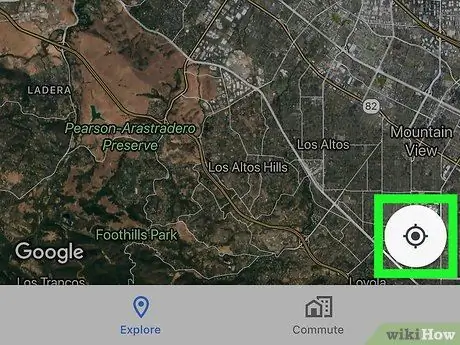
Step 2. Tap on the My Location icon
This icon is at the bottom right of the screen. Look for a gray dot surrounded by a gray circle with four waypoints. After tapping the My Location icon, the map will move towards your current position. On Google Maps, your position is shown as a blue dot surrounded by a white circle.
Your position icon displays a dark blue highlight. The highlight shows which way your iPhone or iPad is facing
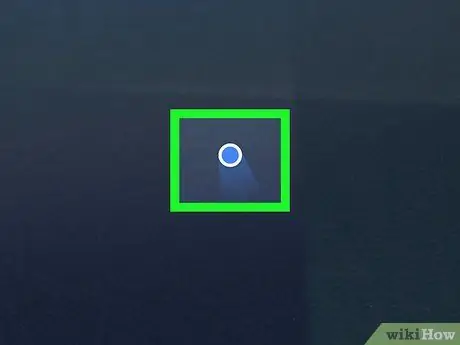
Step 3. Fix the problem that appears in your position
- If your position icon doesn't appear or is grayed out, it means that Google Maps couldn't find your position. Make sure that Location Services is turned on and that your iPhone or iPad is connected to a Wi-Fi network or cellular network.
- If your position is incorrect, the cell tower may not be able to find your position. This may be caused by tall, large buildings near you, such as skyscrapers. We recommend that you restart your iPhone or iPad to resolve this issue.


