- Author Jason Gerald [email protected].
- Public 2024-01-19 22:11.
- Last modified 2025-01-23 12:04.
This wikiHow teaches you how to reset a forgotten system administrator (System Administrator or SA) password on a Microsoft SQL server. Reset can be done using Windows authentication login, Command Prompt program, or Single-User Mode.
Step
Method 1 of 3: Using Windows Authentication
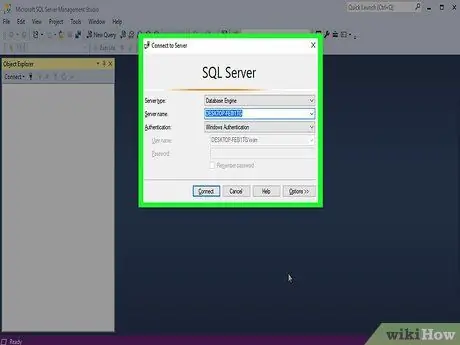
Step 1. Understand how this method works
If Windows authentication is enabled on the server, you can use it to log in to the server without having to enter a password. Once logged in, you can change SQL server password easily.
If Windows authentication is not enabled, you will need to use single user mode or the Command Prompt program to reset the password
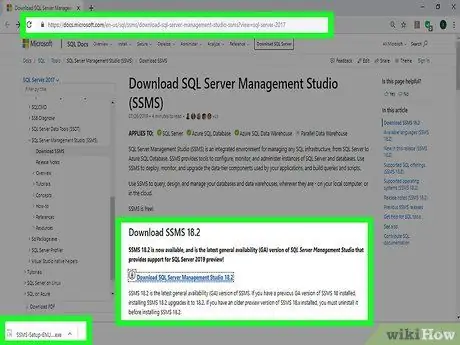
Step 2. Make sure SSMS is installed
SSMS is a user interface that allows you to change various aspects of SQL server settings in a single window, rather than through the Command Prompt. If SSMS is not already installed, follow these steps:
- Visit the SSMS installation page via a browser.
- Click the link " Download SQL Server Management Studio 17.6 ”.
- Double-click the downloaded SSMS installation file.
- Follow the on-screen prompts to install SSMS.
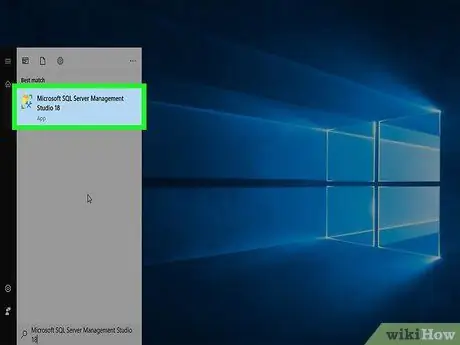
Step 3. Open SSMS
Type sql server management studio into the "Start" menu, then click " Microsoft SQL Server Management Studio 17 ” at the top of the “Start” window.
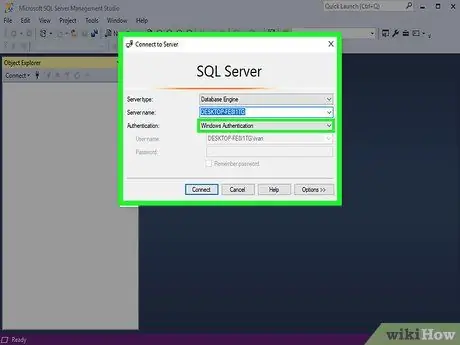
Step 4. Choose the right authentication
Click the " Authentication " drop-down box, then select " Windows Authentication ” from the menu.
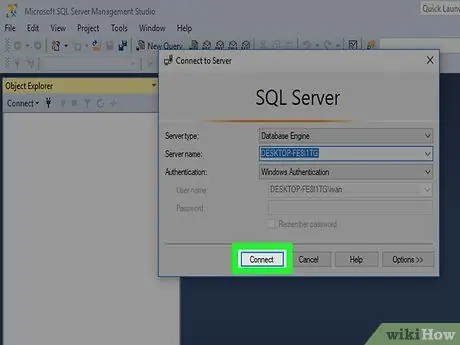
Step 5. Click Connect
It's at the bottom of the window. If Windows authentication is enabled and allowed on the account, you can go directly to the server dashboard page.

Step 6. Expand the server folder
If the server folder on the top left side of the window doesn't have some options under it, click the “ + ” on the left side to expand the folder.
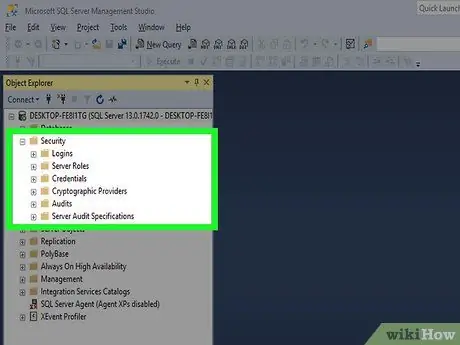
Step 7. Expand the "Security" folder
This folder is under the server name.
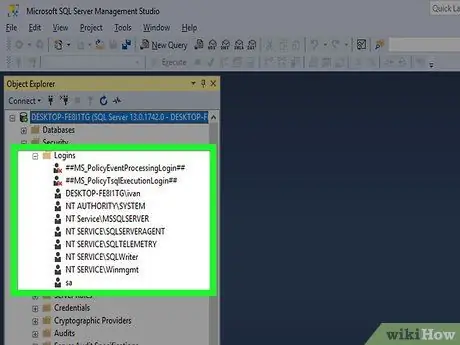
Step 8. Open the “Logins” folder
This folder is in the options group under the " Security " folder.
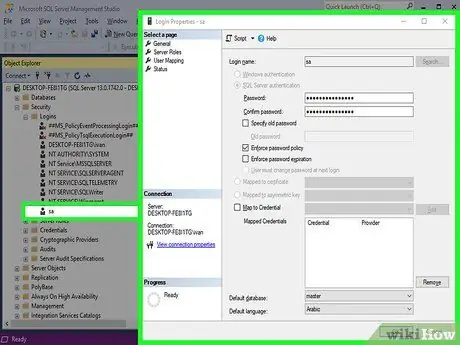
Step 9. Double click sa
This option is in the "Logins" option group. After that, the system administrator properties window will be opened.
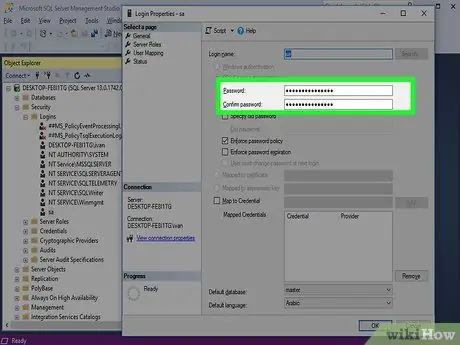
Step 10. Enter the new password
Type the new password into the " Password " and " Confirm password " fields at the top of the window.
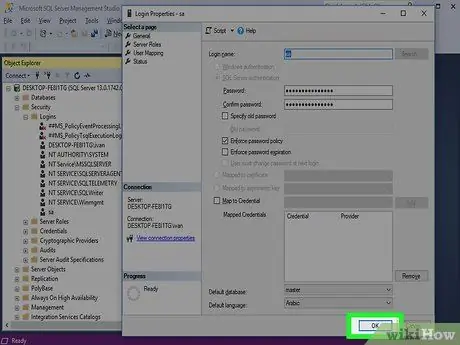
Step 11. Click OK
It's at the bottom of the window. After that the password will be changed and the properties window will be closed.
Method 2 of 3: Using Single-User Mode
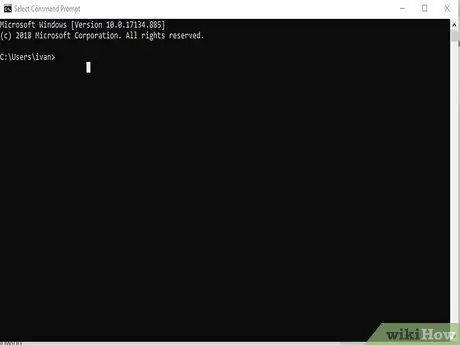
Step 1. Understand how this method works
If you are locked out of the only existing account, you can create a new user and grant administrator permissions through the Command Prompt program. After that, you can use the new user's login information to log in to the SQL server page, and then change the SA password.
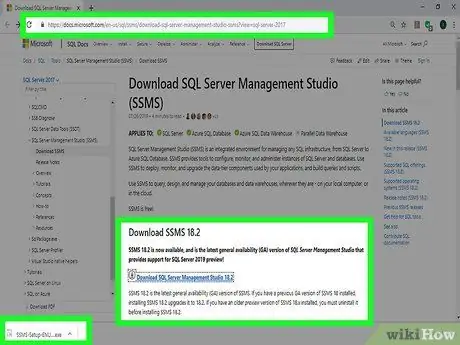
Step 2. Make sure SSMS is installed
SSMS is a user interface that allows you to change various aspects of SQL server settings in a single window, rather than through the Command Prompt. If SSMS is not already installed, follow these steps:
- Visit the SSMS installation page via a browser.
- Click the link " Download SQL Server Management Studio 17.6 ”.
- Double-click the downloaded SSMS installation file.
- Follow the on-screen prompts to install SSMS.
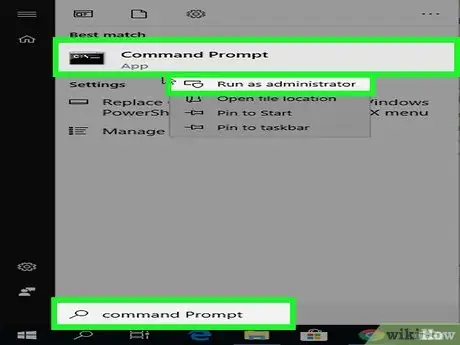
Step 3. Open Command Prompt in administrator mode
Access menu Start ”
then follow these steps:
- Type in command prompt
-
Right click
“ Command Prompt ”
- Click " Run as administrator ”
- Choose " Yes ' when prompted.
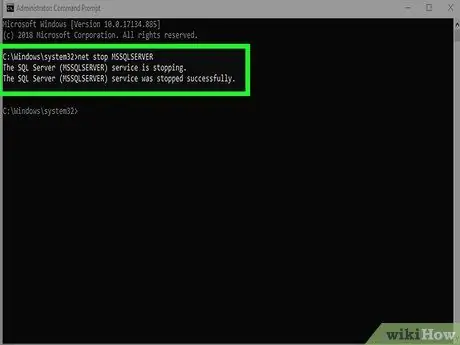
Step 4. Stop the SQL service running
Type net stop MSSQLSERVER and press Enter. The currently running SQL service will be stopped.
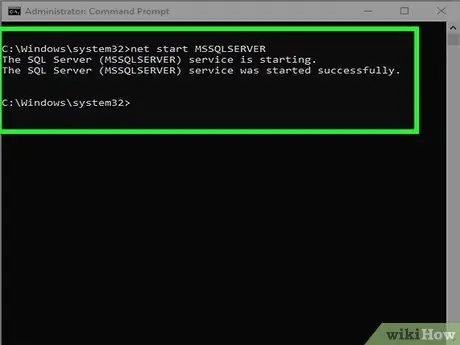
Step 5. Rerun SQL in Single-User Mode
Type net start MSSQLSERVER -m"SQLCMD" and press Enter.
You won't see any indication that single user mode is running at this stage, but you can see the phrase " The SQL Server service was started successfully"
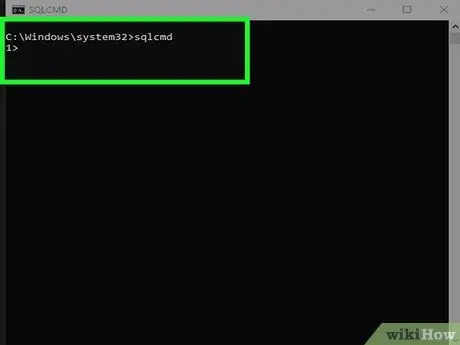
Step 6. Connect the computer to SQL
Type sqlcmd and press Enter. The SQL command line will open afterwards.
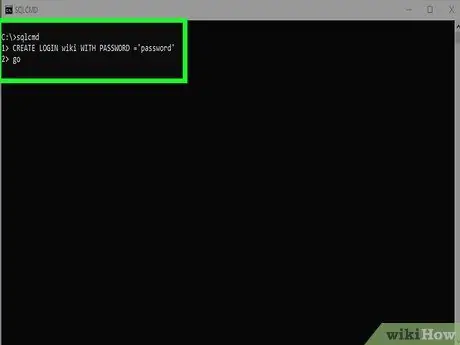
Step 7. Create a new user and password
You need to create it with command written in SQL command line:
- Type in the name CREATE LOGIN WITH PASSWORD='password', with "name" referring to the account name and "password" referring to the new password.
- Press the Enter key.
- Type GO and press Enter.
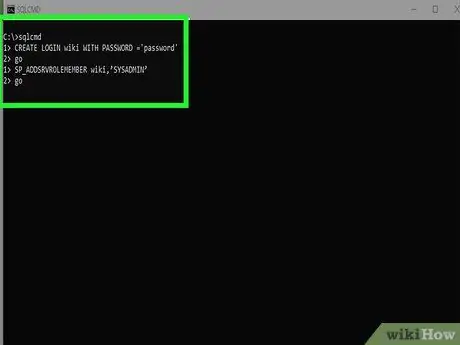
Step 8. Add the system administrator role on the new user
Type in the name SP_ADDSRVROLEMEMBER, 'SYSADMIN' ("name" refers to the account name), press Enter, type GO, and press Enter again.
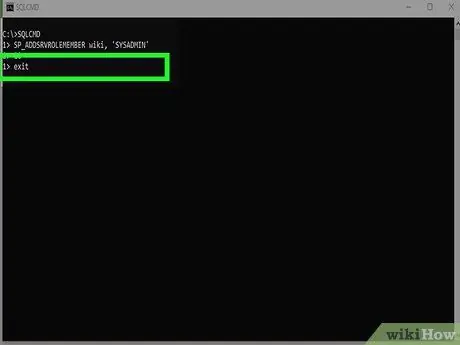
Step 9. Exit the SQLCMD command line
Type exit and press Enter.
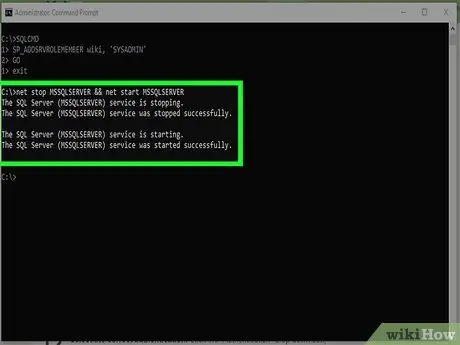
Step 10. Rerun SQL in normal mode
You can disable single user mode by typing net stop MSSQLSERVER && net start MSSQLSERVER and pressing Enter.
You can see the phrase " The SQL Server service was started successfully ". At this stage, the Command Prompt window can be closed
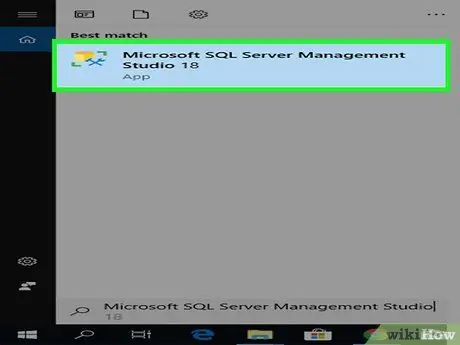
Step 11. Open SSMS
Type sql server management studio into the "Start" menu, then click " Microsoft SQL Server Management Studio 17 ” at the top of the “Start” window.
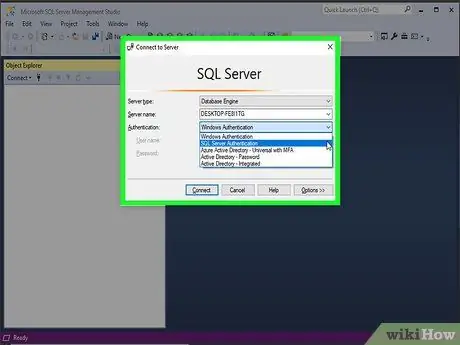
Step 12. Select the appropriate authentication
Click the " Authentication " drop-down box, then click " SQL Server Authentication ” from the menu.
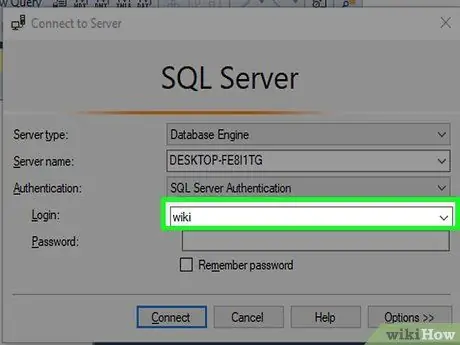
Step 13. Log in using the new user's login information
Click the "Login" drop-down box, then select the username you just created.
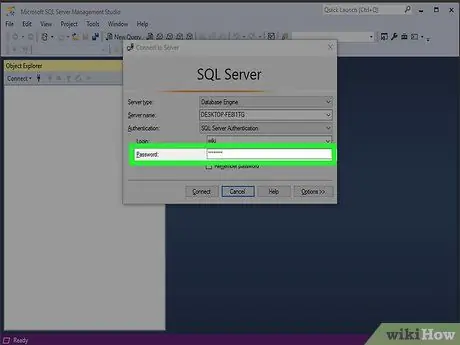
Step 14. Enter the password
Type the user's password into the "Password" field at the bottom of the window.
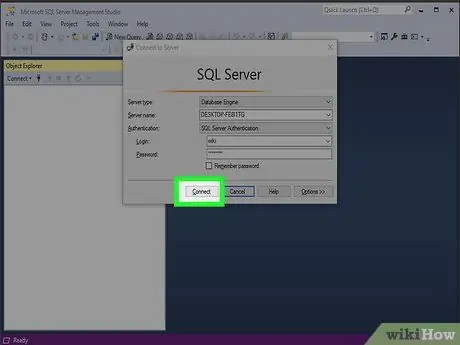
Step 15. Click Connect
It's at the bottom of the window. As long as the correct username and password are entered, the server dashboard page will be opened immediately.
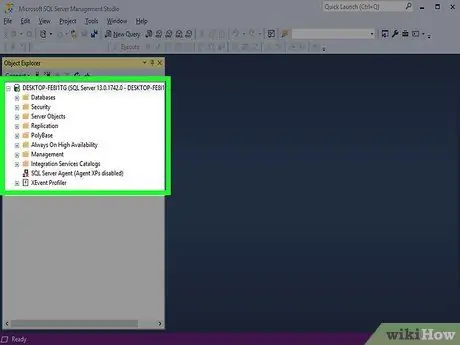
Step 16. Expand the server folder
If the server folder in the upper-left corner of the window doesn't show any of the options below it, click the “ + ” on the left side to expand the folder.
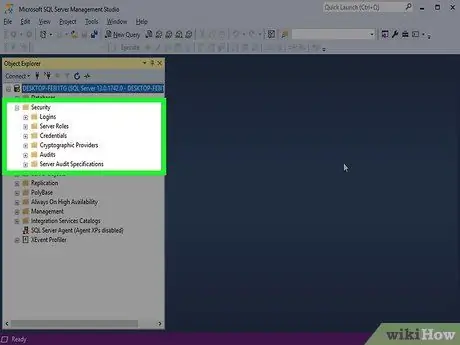
Step 17. Expand the "Security" folder
This folder is under the server name.

Step 18. Open the “Logins” folder
This folder is in the options group under the " Security " folder.
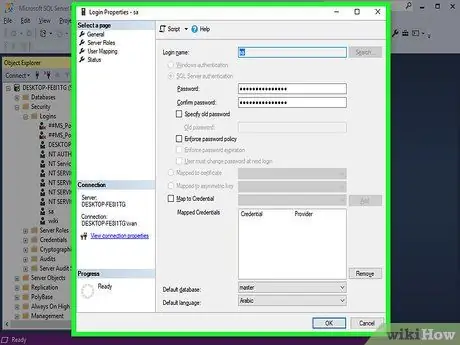
Step 19. Double click sa
This option is in the "Logins" option group. After that, the system administrator properties window will be opened.
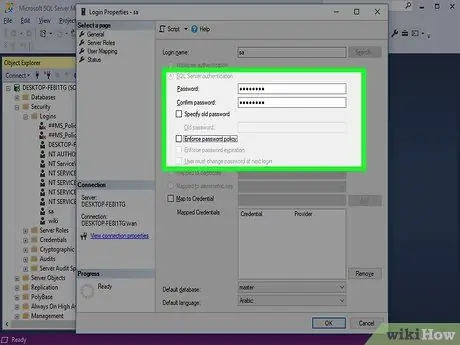
Step 20. Enter the new password
Type the new password into the " Password " and " Confirm password " fields at the top of the window.
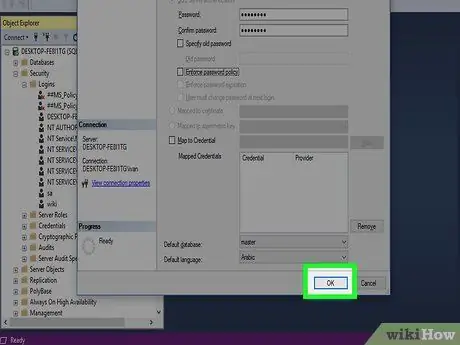
Step 21. Click OK
It's at the bottom of the window. After that the password will be changed and the properties window will be closed.
Method 3 of 3: Using Command Prompt
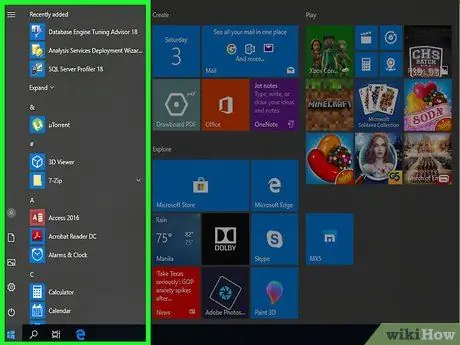
Step 1. Open the “Start” menu
Click the Windows logo in the lower-left corner of the screen. After that, the “Start” menu will be opened.
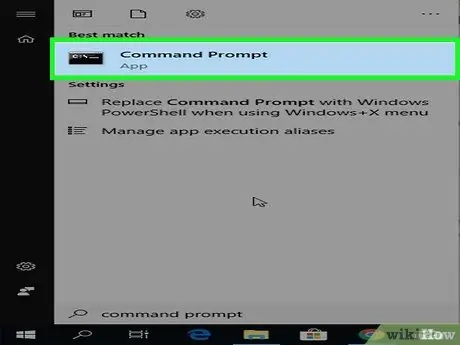
Step 2. Locate the Command Prompt program
Type in command prompt, then wait for the Command Prompt icon to appear at the top of the “Start” menu.
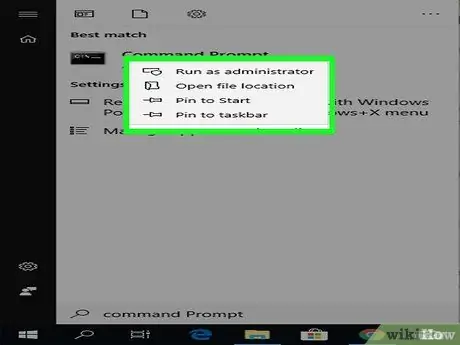
Step 3. Right click
"Command Prompt".
A drop-down menu will appear after that.
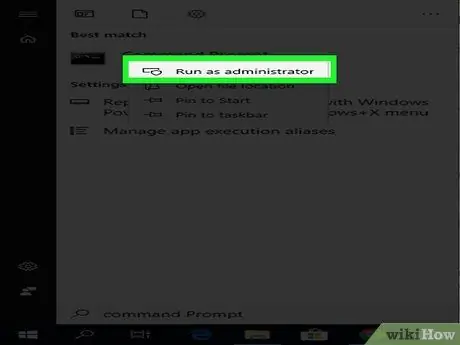
Step 4. Click Run as administrator
This option is in the drop-down menu.
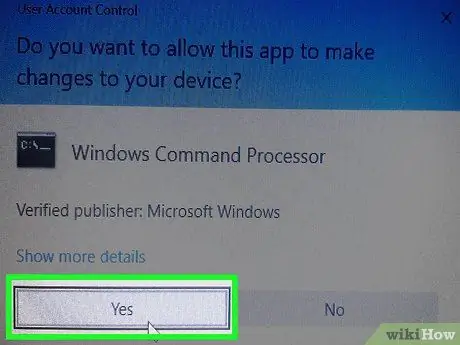
Step 5. Click Yes when prompted
The option to run Command Prompt in administrator mode will be confirmed. After that, the program window will open.
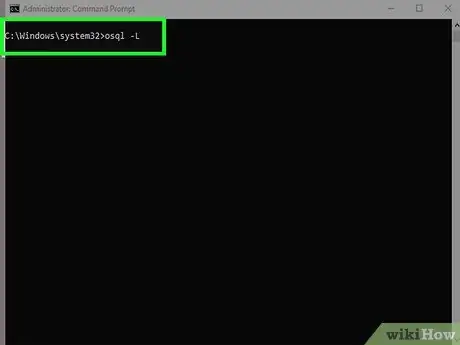
Step 6. Enter the first command
Type osql -L and press Enter.
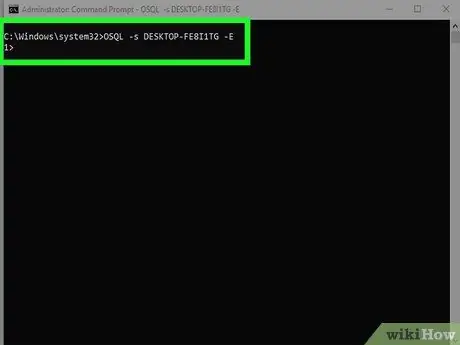
Step 7. Enter the second command with the server name
Type in OSQL -S server -E, with "server" replaced by your server name. After that, press Enter key.
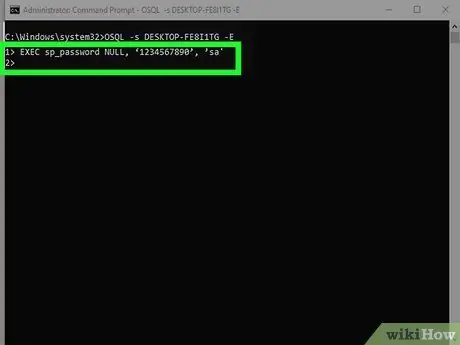
Step 8. Create a new password
Type in EXEC sp_password NULL, 'password', 'sa', with the entry "password" replaced by the password you want to use. After that, press Enter key.
For example, to change the password to "qwerty123", type EXEC sp_password NULL, 'qwerty123', 'sa' in the Command Prompt window
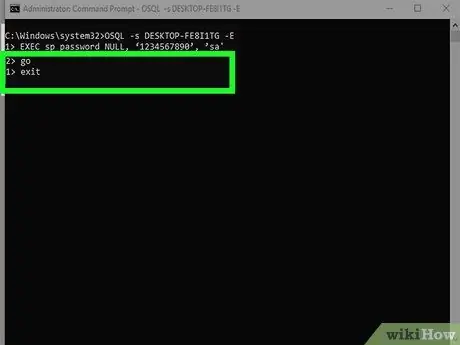
Step 9. Run the command
Type GO, then press Enter. Type exit and press Enter key to exit OSQL.
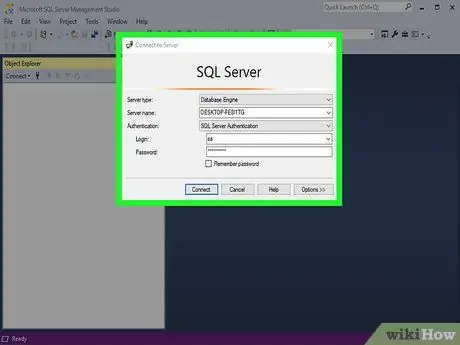
Step 10. Try logging in to the SQL server
Use the new administrator login information and password. If you can login to the SQL server, the account password has been changed successfully.


