- Author Jason Gerald gerald@how-what-advice.com.
- Public 2024-01-19 22:11.
- Last modified 2025-06-01 06:05.
Crystals that just appear in a glass of water will look magical. In fact, these crystals are formed from compounds that have been dissolved in water. Make your own salt crystal experiment and find out how it works.
Step
Method 1 of 3: Simple Salt Crystals
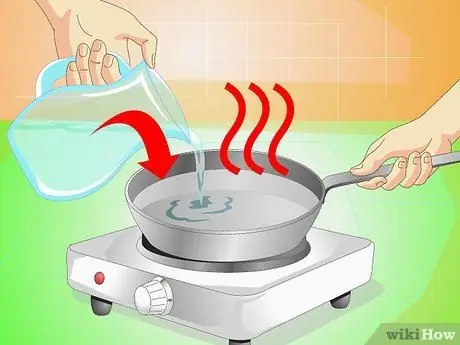
Step 1. Heat a pot of water
You only need a small amount of water, which is about 1/2 cup (120 ml). Heat the water until it starts to foam.
- For children, ask an adult for help when using hot water.
- Distilled water will give the best results, but tap water can also be used.
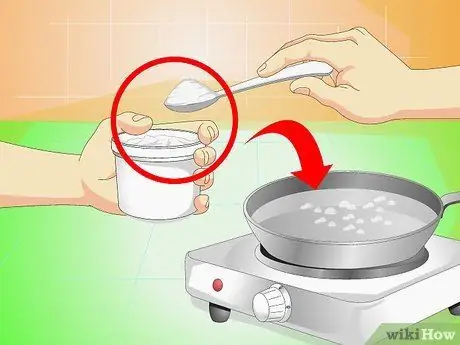
Step 2. Determine your salt
There are many types of salt. Each type of salt will form different crystals. Try the following salt and see what happens:
- Table salt takes a few days to form. Iodized salt won't form crystals as well, but it will still form crystals.
- Epsom salt forms smaller crystals with a needle-like shape, but takes less time than table salt. However, Epsom salt is a drug.
- Alum forms crystals quickly, sometimes even within a few hours. Look for it in the condiments section of the convenience store.
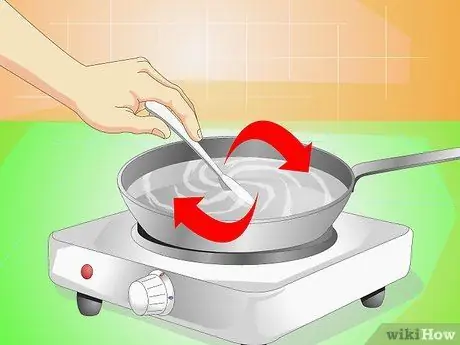
Step 3. Add as much salt as you can
Remove the pot from the stove. Pour in about - cup (60 - 120 ml) of your preferred salt, and stir until the water is clear again. If you no longer see grains of salt in the water, add another spoonful of salt. Keep adding salt until you see grains of salt that don't dissolve when you stir.
You just made supersaturated solution. This means that the solution (liquid) contains more salt than water can normally dissolve.
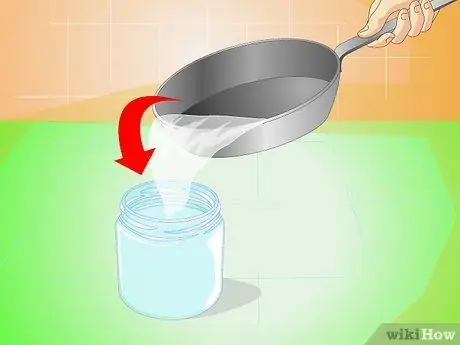
Step 4. Pour the water into a clean jar
Carefully pour the hot water into a jar or other clear heat-resistant container. The container you use should be as clean as possible, so that nothing interferes with crystal growth.
Pour slowly, stopping before the salt grains settle into the jar. If there are undissolved salt grains in the jar, crystals may form around the grains, and not on your string
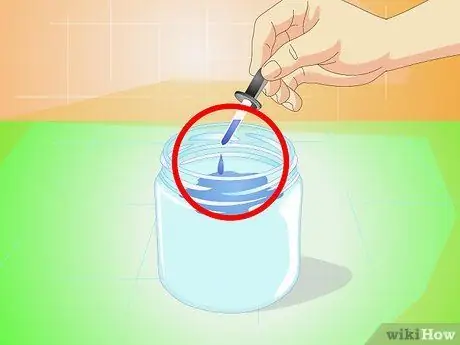
Step 5. Add food coloring (optional)
A few drops of food coloring will change the color of your crystals. The dye may make the crystals smaller or clump as well, but they usually don't have much of an effect.
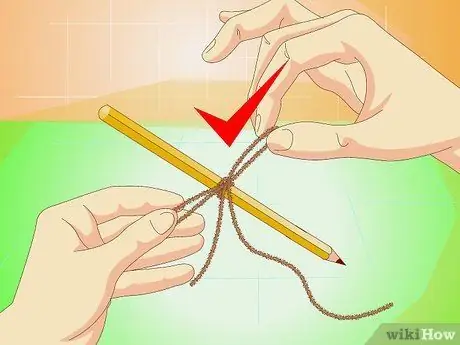
Step 6. Tie the thread around the pencil
The pencil should be long enough to be placed across the jar. You can use ice cream sticks or small sticks instead.
The tiny bends in the thread and the rough edges will be places for the salt to stick and grow. You can't use fishing line, because the texture is too fine
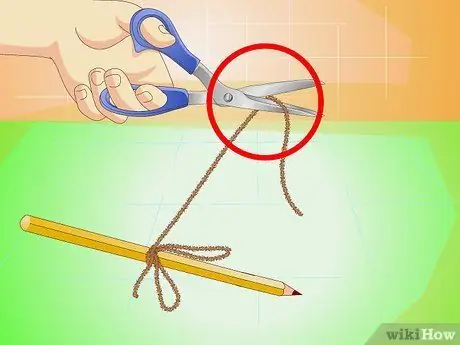
Step 7. Cut the thread so that it hangs into the water
Only the part of the thread that is submerged in water will be where the crystal grows. Cut the string short enough so it doesn't touch the bottom of the jar, or the crystals that form will clump together and become small.
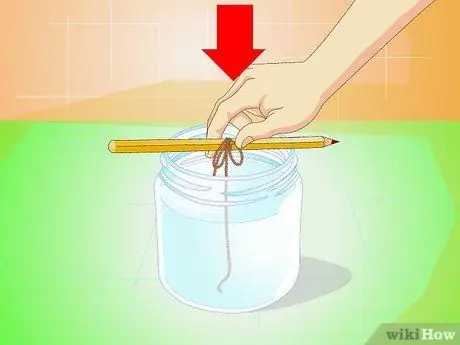
Step 8. Balance the pencil on top of the glass jar
This thread should hang in the jar, and stick out into the water. If the position of the pencil is difficult to stabilize, glue it with a jar.
Try not to touch the strings to the sides of the jar. Because this can make the crystals that form smaller, and clump on the sides of the jar
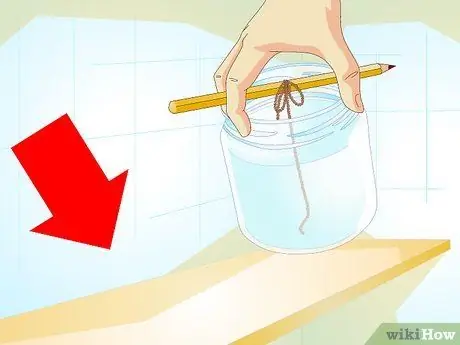
Step 9. Move the jar to a safe place
Store the jar in a place away from distractions from animals and children. Here are some tips for determining the right location:
- For quick clumps of crystal mass, place the jar in the sun and/or place a fan nearby setting the puff on the lowest level. These crystals may stop forming at a sufficiently small size.
- If you want to make large single crystals instead of clumps of crystals, store the jar in a cool place protected from sunlight. Place the jar on a styrofoam pad or similar material to dampen vibrations. (There's still a chance you'll get clumps of crystals, but there should also be large single crystals in between).
- Epsom salt crystals (and some types of salt that are less frequently used) will form in the refrigerator faster than in the sun.
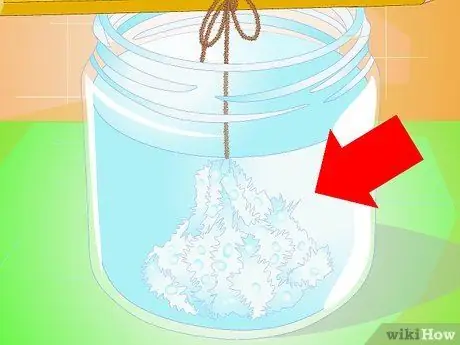
Step 10. Wait for the crystals to form
Check the jar regularly to see if crystals have formed on the string. Epsom salt or alum crystals can start to enlarge within a few hours, but may take up to a few days. Table salt crystals usually take a day or two to begin to form, and sometimes up to a week. Once you notice tiny crystals on the string, these will usually continue to get bigger and bigger over the next few weeks.
When the water cools, the salt content is greater than what ordinary cold water can dissolve. This makes it very unstable, so the dissolved salt will come out of the water and stick to the yarn if you get a little push. As the water evaporates, the salt will remain in it, making it more unstable and spurring the salt crystals to expand
Method 2 of 3: Making Large Single Crystals
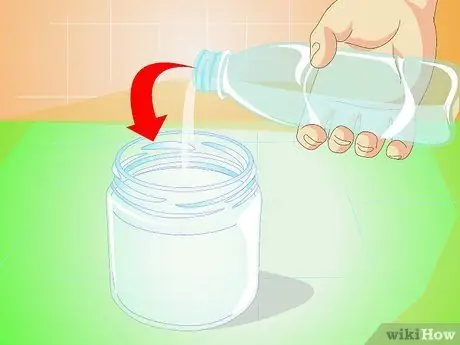
Step 1. Make lots of salt crystals
Follow the simple instructions above, however, use distilled water instead of string or pencil. Just leave the brine in the container. Over the next few days, a layer of tiny crystals will begin to form at the bottom of the container.
- Use a shallow container with a flat bottom instead of a jar. This will make it easier for single salts that are not attached to other crystals to form.
- Epsom salt is not suitable for use in this way. Try alum or table salt instead, or check out the variations below for other ideas.
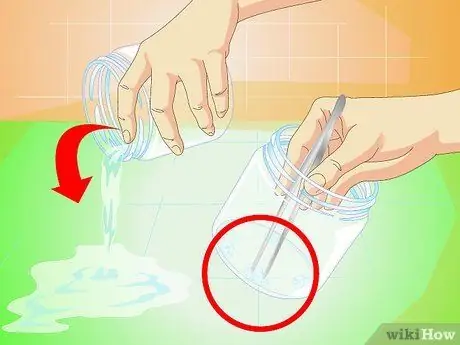
Step 2. Determine the seed crystal
Once the crystals are ready, pour the liquid out and watch the crystals. Remove the crystal and observe it with tongs. Choose one crystal seed that will become the core of your new, larger crystal. Look at the crystal, whether it matches the following description (in order from the most important to the least influential):
- Choose a single crystal, which is not in contact with other crystals.
- Choose a crystal with a flat, even surface and straight edges.
- Choose large crystals (at least the size of a pea).
- Ideally, find several crystals and place each in a separate jar as described below. Salt crystals often dissolve or fail to expand, so it is a good idea to stock up on them.
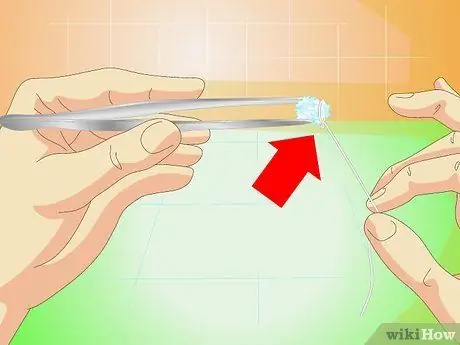
Step 3. Attach fishing line or fine wire
Glue it with superglue to one side of the crystal, or tie it around the crystal.
Do not use coarse thread or wire. You need a smooth surface so the crystals won't grow on the threads and not on the crystals
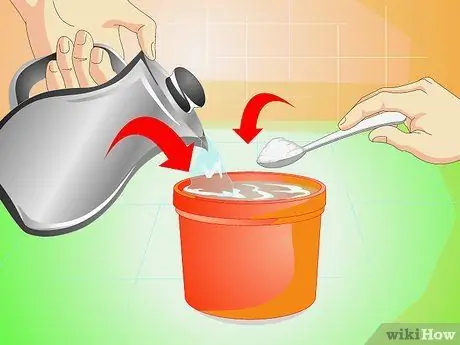
Step 4. Make a new solution
Use distilled water and the same type of salt. This time, warm the water to slightly above room temperature. The goal is to make the solution perfectly saturated. An unsaturated solution will dissolve your crystals, while a supersaturated solution will cover the crystals with salt grains and cause crystal clumps to form.
There are faster ways to solve this problem, but they are more difficult and may require some knowledge of chemistry
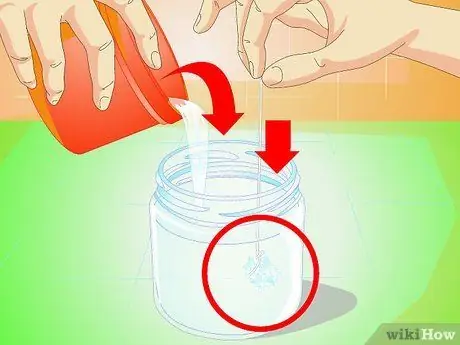
Step 5. Put the crystals and solution into a clean container
Clean a jar, and rinse thoroughly with distilled water. Pour the new solution into this jar, then place the crystal in the center. Store it under the following conditions:
- Place the jars in a cool, dark place, such as in a kitchen cupboard.
- Store it on a styrofoam pad or other vibration-absorbing material.
- Place a coffee filter, paper, or light cloth over the jar to protect it from dust. Do not use an airtight lid.
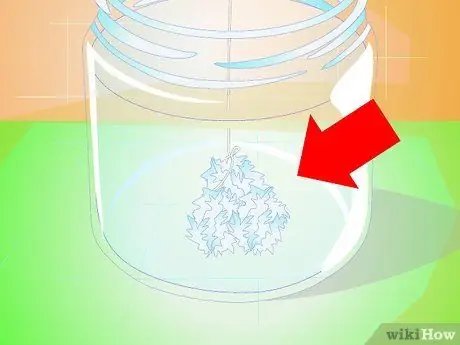
Step 6. Check the crystal regularly
Crystals will form more slowly this time, as some of the water has to evaporate before the salt grains are forced to stick to the crystals. If everything works out, the crystals formed will have the same shape as they enlarge. You can remove them whenever you like, but chances are, these crystals will continue to grow in size for a few weeks.
- Every two weeks or so, pour the solution through a coffee filter to remove any impurities.
- This process is quite difficult. Even experienced crystal makers sometimes dissolve crystals or get clumps of crystals. If you have a perfect seed crystal, you may need to try a bad crystal seed first to make sure this solution works.
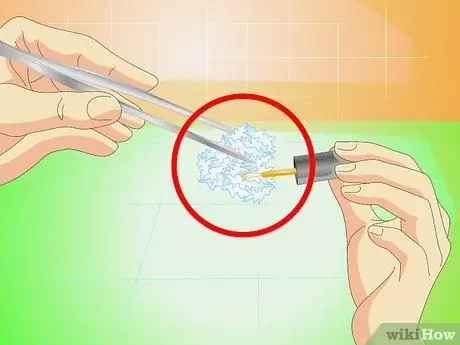
Step 7. Protect the finished crystal with nail polish
Once your crystals are large enough, remove them from the solution and let them dry. Apply a thin layer of nail polish all over the sides to prevent it from cracking over time.
Method 3 of 3: Variations
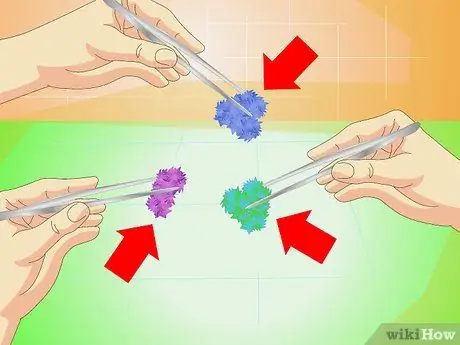
Step 1. Try other ingredients
You many materials can be crystallized using the above technique. You can buy it at a chemical store. Here are some of the options:
- Copper sulfate to make the crystals blue.
- Chromium alum to make purple crystals.
- Copper acetate monohydrate to make dark blue-green crystals.
-
Warning:
These chemicals are harmful if inhaled, swallowed, or handled directly with the hands. Read the safety information on the label, and do not allow children to use it unsupervised.
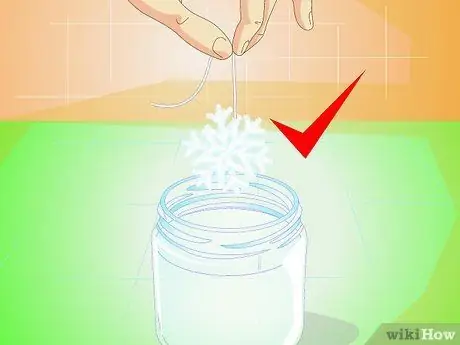
Step 2. Make a snow crystal
Tie a few strands of bottle cleaning wire or coarse wire together in a star shape. Dip it into your saline solution, and watch as the tiny crystals will coat it and turn it into sparkling snow crystals.
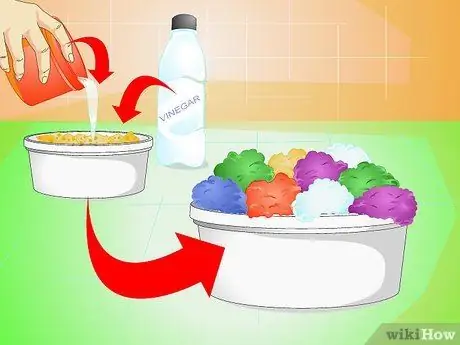
Step 3. Create a crystal garden
Instead of just making a single crystal, why not make multiple crystals at once? Make your salt solution, then pour it over the sponge pieces or charcoal briquettes placed in the jar. Add a little vinegar, and watch the crystals form overnight.
- Pour in the solution just enough to saturate the sponge, without soaking it.
- To make crystals of different colors, add food coloring to each sponge.


