- Author Jason Gerald [email protected].
- Public 2023-12-16 10:50.
- Last modified 2025-01-23 12:04.
Today, more and more printers support network connections. Printing files wirelessly is also easy. If you can connect the printer directly to the network, you will be able to print from both Windows and Mac computers. If you don't have a network printer, you can install the printer on one computer and share it with other computers on the network quite easily.
Step
Method 1 of 4: Before You Begin
Step 1. Check your printer
If you want to print from a laptop wirelessly, you can access a printer that is directly connected to the network, or access the printer from another computer on the network. The options you should choose will depend on the connections supported by your printer and your network settings.
Most modern printers can connect to a home wireless network. However, some network printers only support ethernet connections. An old printer or a cheap printer may need to be connected to one of the computers on the network via USB, and then share access
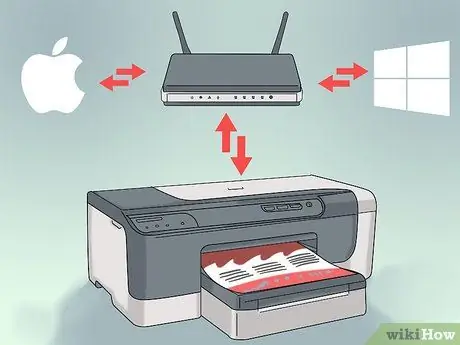
Step 2. Pay attention to your network settings and requirements
Printers that are directly connected to the network are generally easily accessible by Windows and Mac laptops. However, printers connected via computers on the network will be difficult to access by other operating systems. For example, you might have trouble accessing a shared printer from a Windows computer on a Mac laptop. Read the following guide to share the printer to different operating systems.
If possible, attach the printer directly to the network. Apart from making connectivity easier, the printer is always accessible. If you share the printer from a specific computer on the network, that computer must always be turned on for the printer to be accessible
Method 2 of 4: Printing with a Network Printer
Step 1. Connect the printer to the network
The process for connecting the printer to the network will vary depending on the printer type.
- If you are connecting the printer via ethernet, connect the ethernet port on the printer to an empty ethernet port on the router or network switch. Generally, you don't need to take any other steps to connect the printer via ethernet.
- If you connected the printer via Wi-Fi, use the screen on the printer to select the SSID of the wireless network. Enter the network password if required. Read the printer's manual for the exact steps for connecting your printer to the network.
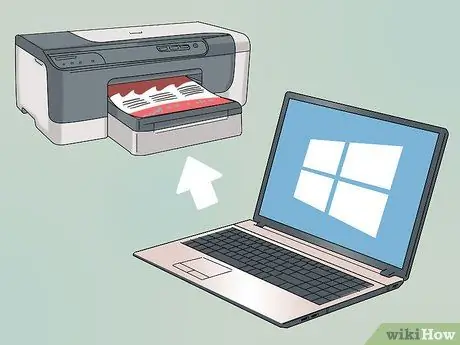
Step 2. Connect Windows based laptop to network printer
Once the printer is connected to the network, you can use it from your laptop. You can do the following steps in all versions of Windows.
- Open Control Panel from the Start menu, or press Win key and enter Control Panel if you are using Windows 8 or later.
- Select Devices and Printers or View devices and printers.
- Click Add a printer.
- Select Add a network, wireless or Bluetooth printer. Windows 8 and above users do not need to select any option.
- Select a network printer in the list, then follow the on-screen instructions to install the driver automatically. If Windows cannot find the appropriate driver, you may need to download the driver from the support section of the printer manufacturer's site.
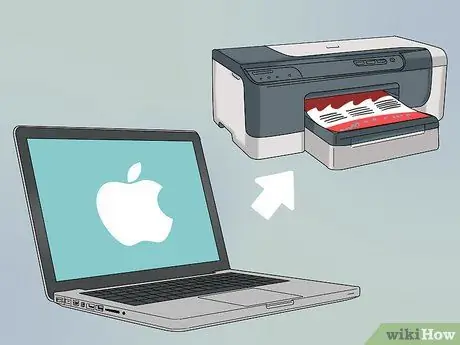
Step 3. Connect the Mac based laptop to the network printer
Once the printer is connected to the network, you can use it from your laptop. You can do the following steps on all versions of OS X. To use a network printer on a Mac, make sure it supports AirPrint or Bonjour. Most modern printers support one or both of these protocols.
- Click the Apple menu, then choose System Preferences.
- Select Print & Scan from the System Preferences menu.
- Click and hold the "+" button at the bottom of the printer list.
- Select a network printer in the list. If the printer does not appear in the list, you may need to download the driver from the support section of the printer manufacturer's site.
- Click the Download & Install button if there is one. Although OS X includes drivers for many types of printers, you may need to download additional software from Apple. If your printer requires additional software, you will be prompted to download it after adding the printer.
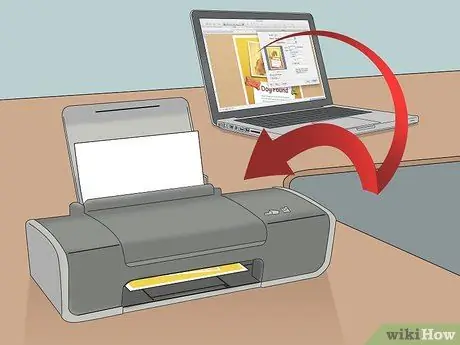
Step 4. Print the document from the network printer
Once you have a network printer installed, you can print documents directly, just like using a printer connected directly to a laptop. Open a Print window in any program, then select a network printer from the list of printers to use it.
Method 3 of 4: Sharing the Printer Between Windows Computers
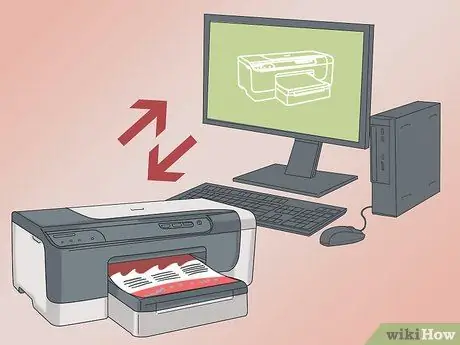
Step 1. Install the printer on the server computer
Choose a computer that is often or almost always turned on as the server because that computer must be on if you want to use the printer.
Most printers can be installed by connecting them directly via USB. Read the printer's manual if you are having trouble setting it up on the server computer
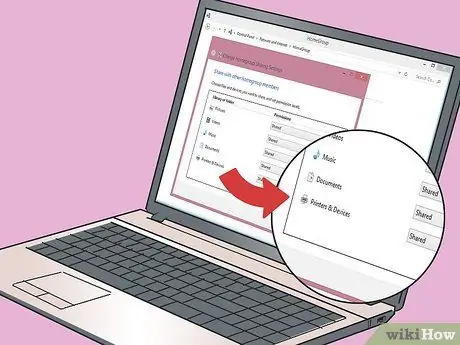
Step 2. If all of your computers are using Windows 7 and above, create a HomeGroup to make it easier for you to share printers
However, if you are still using Windows Vista or XP, read step 5.
- Create a HomeGroup on the server computer by accessing the HomeGroup menu in Control Panel. From the HomeGroup screen, click Create a homegroup.
- Follow the on-screen instructions to set up a HomeGroup. Make sure the Printers & Devices option is in the Shared position.
- Copy the password that appears on the screen.
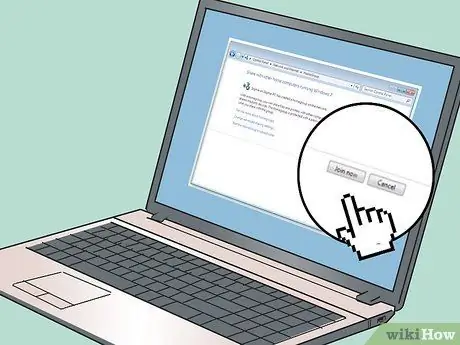
Step 3. Connect the laptop to the HomeGroup you just created
- Open the HomeGroup menu on the laptop from the Control Panel.
- Click Join now, then enter the HomeGroup password.
- Follow the on-screen instructions to connect the laptop to the HomeGroup. You'll be able to select objects to share, but you don't need to select anything to connect your laptop to the printer.
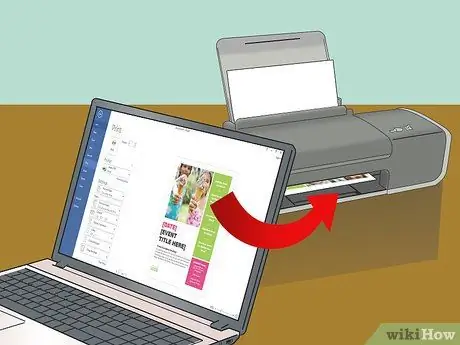
Step 4. Print the document from the printer connected to the server
Once you set up the connection, you can print documents directly, just like using a printer connected directly to a laptop. Before printing, make sure the computer connected to the printer is turned on.
- Open a Print window in any program, then select a network printer from the list of printers to use it.
- If you're using a HomeGroup, you don't need to follow the next steps. The steps below are steps for users who can't use HomeGroup.
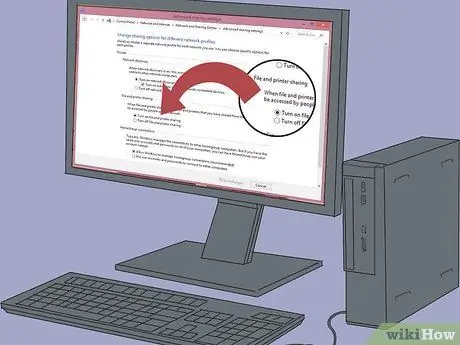
Step 5. If you can't use HomeGroup, enable file and printer sharing function
You will have to share the printer manually if one of the computers on the network is still running Windows Vista and below.
- On the server computer, open Control Panel, then select Network and Sharing Center or Network and Internet.
- Click the Change advanced sharing settings link, then open the Private option.
- Select the Turn on file and printer sharing option, and click Save changes.
- Open Control Panel, then select Devices and Printers or View devices and printers.
- Right-click the printer you want to share, then select Printer properties.
- Click the Sharing tab, then check the Share this printer option.
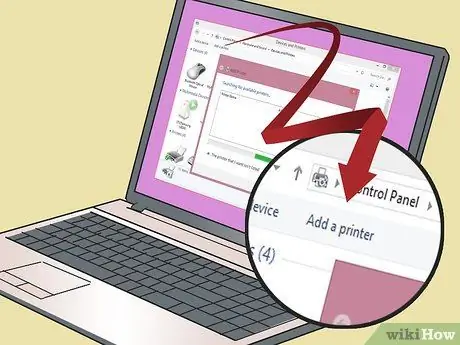
Step 6. Install the shared printer on the laptop
You will need to install drivers for the printer so you can print from your laptop.
- Open Control Panel, then select Devices and Printers or View devices and printers.
- Click Add a printer.
- Select Add a network, wireless or Bluetooth printer. Windows 8 and above users do not need to select any option.
- Select a network printer in the list, then follow the on-screen instructions to install the driver automatically. If Windows cannot find the appropriate driver, you may need to download the driver from the support section of the printer manufacturer's site.
Method 4 of 4: Sharing the Printer Between Mac Computers
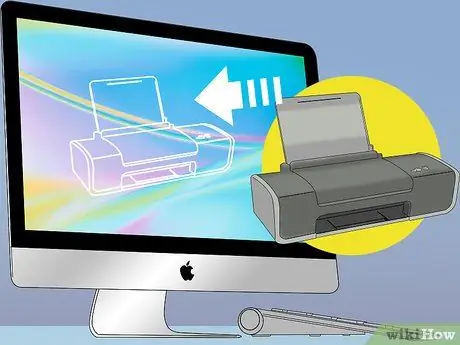
Step 1. Install the printer on the server computer
Choose a computer that is often or almost always turned on as the server because that computer must be on if you want to use the printer.
Most printers can be installed by connecting them directly via USB. Read the printer's manual if you are having trouble setting it up on the server computer
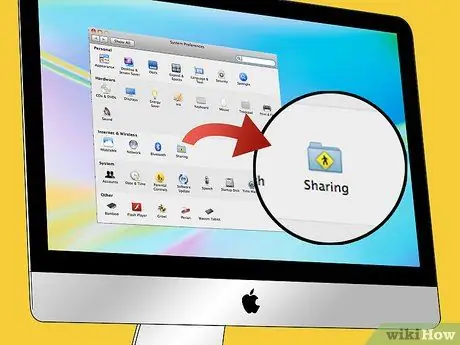
Step 2. Enable the printer sharing feature on the server so that the printer can be accessed by laptops
- Click the Apple menu, then choose System Preferences.
- Click the Sharing option.
- Select the Printer Sharing option to enable the printer sharing feature.
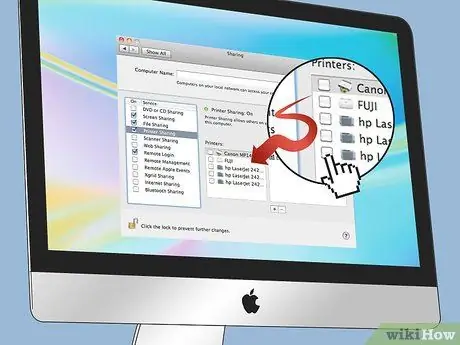
Step 3. Share the printer from the same window by checking the option next to the printer name
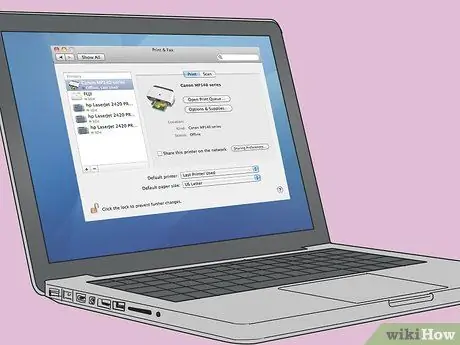
Step 4. Connect the Mac based laptop to the network printer
Once the printer is connected to the network, you can use it from your laptop.
- Click the Apple menu, then choose System Preferences.
- Select Print & Scan from the System Preferences menu.
- Click and hold the "+" button at the bottom of the printer list.
- Select a network printer in the list. If the printer does not appear in the list, you may need to download the driver from the support section of the printer manufacturer's site.
- Click the Download & Install button if there is one. Although OS X includes drivers for many types of printers, you may need to download additional software from Apple. If your printer requires additional software, you will be prompted to download it after adding the printer.
Step 5. Print the document from the printer connected to the server
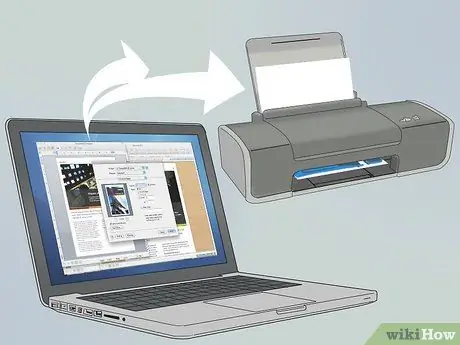
Once you set up the connection, you can print documents directly, just like using a printer connected directly to a laptop. Before printing, make sure the computer connected to the printer is turned on.


