- Author Jason Gerald gerald@how-what-advice.com.
- Public 2024-01-19 22:11.
- Last modified 2025-01-23 12:04.
Email is the primary way of communicating at this time. Emails are sent and received for business and personal purposes. Almost everyone has at least one email address, and sometimes your inbox can collect a lot of email messages in a day. You can read email at home or on the go, thanks to smartphones and laptops.
Step
Method 1 of 4: Using a Browser
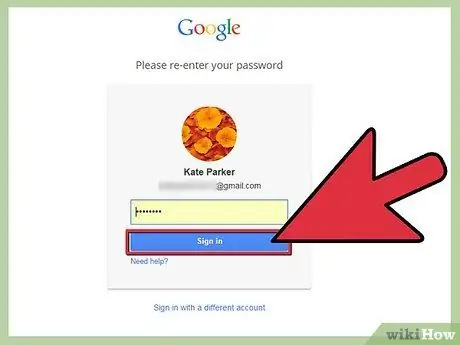
Step 1. Go to your email provider's site
If you've ever created a free email account, or you have an email account through your internet service provider, you can check your email using a web browser. Go to the site you used to sign in to your email account. For example, if you have a Gmail account, visit mail.google.com, or if you have Comcast internet visit comcast.net and click the Email button.
You must log in with the account you have with the service. If you don't have an account, you can create one from a variety of free email services
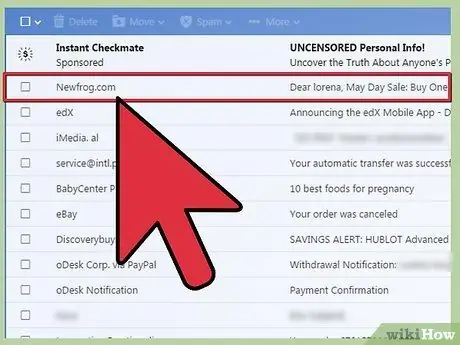
Step 2. Find an email to open
If you are logged into your email account, you will be taken to your email inbox. This is where all your new email messages will appear. Double-click a message in your inbox to open it.
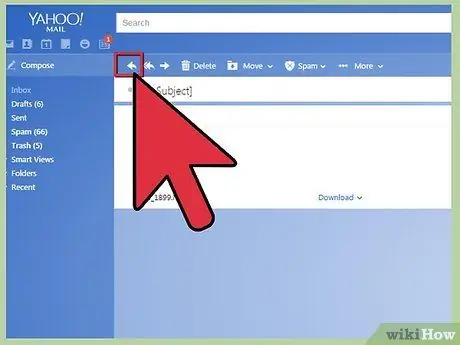
Step 3. Reply to the message
Click the "Reply" button to send an answer to the email you have received. The Reply function may vary by service. Some services like Gmail allow you to start typing your reply on the same screen as the original message, while others require you to click a "Reply" button or link to compose your message.
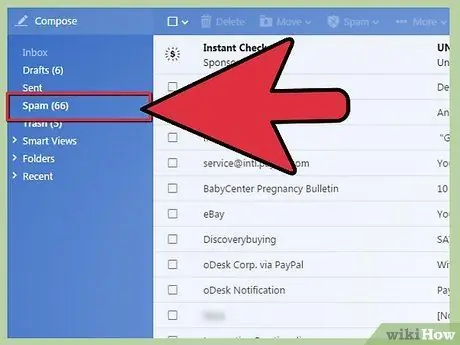
Step 4. Check the "Spam" folder every now and then
Spam emails mainly contain advertisements and fraudulent email messages. Most email services have spam filters that automatically detect and remove spam before it reaches your inbox. These messages are moved to the Spam folder, where they are usually placed there for 30 days before being deleted. Check the folder occasionally, as sometimes legitimate mail will be flagged and put in the Spam folder.
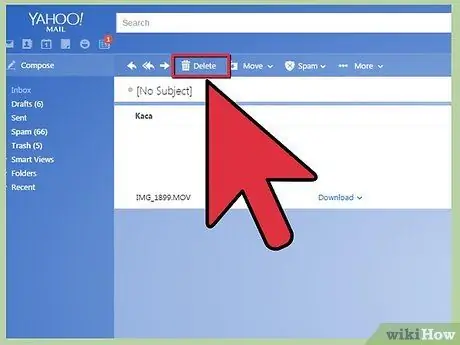
Step 5. Delete or sort messages that have been read
If you don't take the time to manage your inbox, your inbox will soon be full of emails. After you've read an email and applied a certain treatment to an email, sort it into a folder or delete it from your inbox. This will help keep you organized.
See this guide for details on how to manage your Gmail inbox
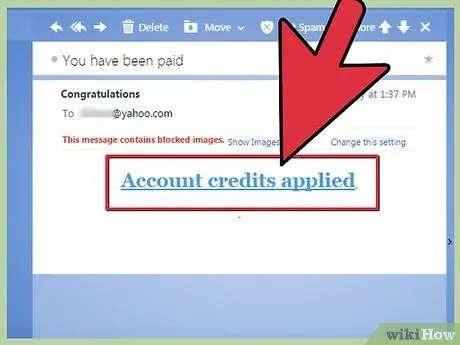
Step 6. Don't click on any unknown links
Email is one of the most popular ways to commit fraud and "phishing" (tricking people into giving out personal information). Any email that offers anything too grandiose is usually a scam email. Never click on a link unless you trust the sender, and it's always best to be vigilant, as a virus on the sender's computer could allow them to send infected emails without them knowing.
Method 2 of 4: Using an Email Client (Outlook, Thunderbird)
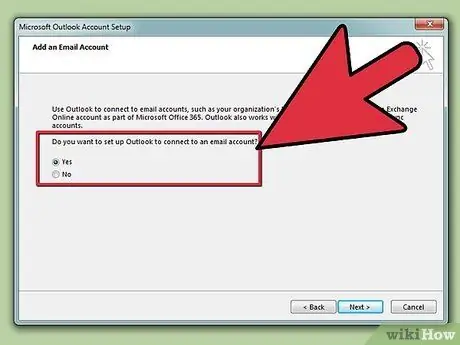
Step 1. Connect your email account
Most email accounts can be linked to an email client installed on your computer, which allows you to download and manage your email messages. Many people prefer to use Outlook or another email client instead of using a browser, because the emails can be read offline.
- See this guide for connecting your email accounts in Outlook.
- Check out this guide to connecting your email account to Mozilla Thunderbird.
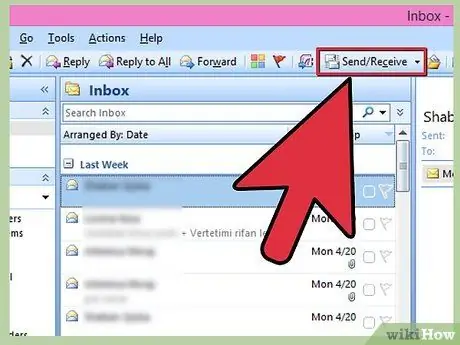
Step 2. Download your email from the server
Outlook automatically downloads email messages when you start it, and checks periodically when Outlook is open. You can also check your email manually by clicking the "Send/Receive" button.
Step 3. Read your email
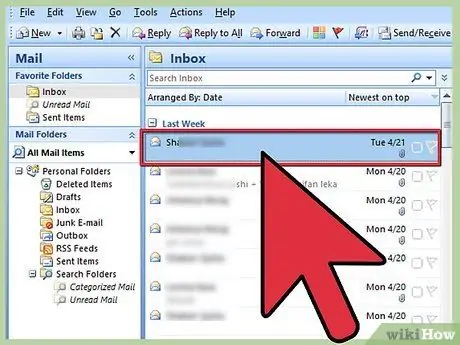
Single-click an email to open its preview. Double-click an email in your inbox to open it. This will open the email in a new window. If the email is a reply to another email, the previous email will be listed below the body of the message.
Step 4. Reply to your email
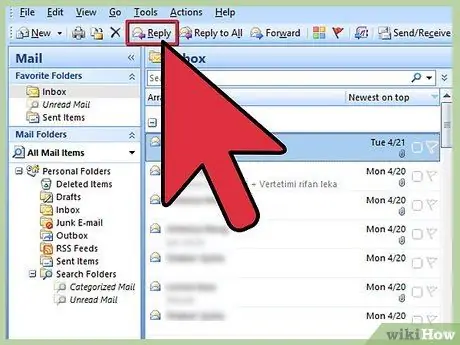
Click the "Reply" button to write a reply to the message you read. Click the "Send" button when you're done and ready to send it. When you send an email, usually it will be sent immediately.
Step 5. Sort your messages
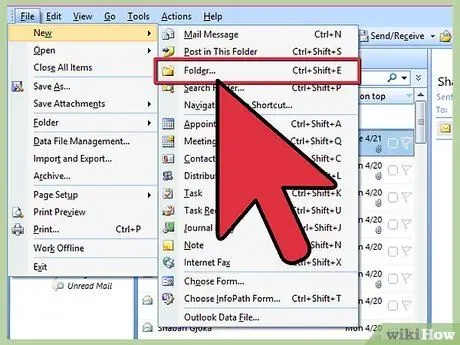
Outlook allows you to create folder directories to store your messages. Create folders and subfolders to store important messages and keep your inbox clean.
Step 6. Don't click on any unknown links
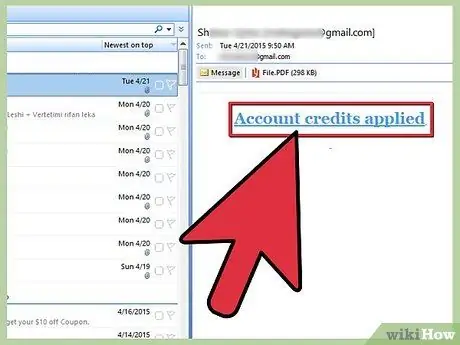
Email is one of the most popular ways to commit fraud and "phishing" (tricking people into giving out personal information). Any email that offers anything too grandiose is usually a scam email. Never click on a link unless you trust the sender, and it's always best to be vigilant, as a virus on the sender's computer could allow them to send infected emails without them knowing.
Method 3 of 4: Using a Phone or Tablet
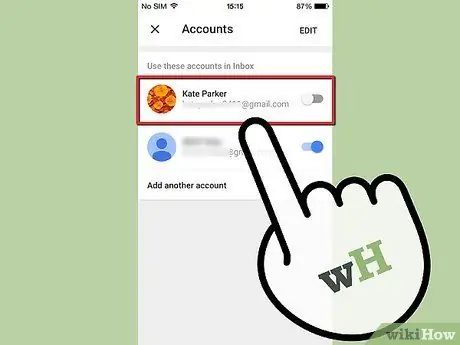
Step 1. Connect your email account to your phone
Most smartphones allow you to log into your email account and automatically receive your email messages using the phone's built-in Mail app. You will receive a notification when a message comes in.
- See this guide for instructions on how to connect an email account to an iOS device.
- See this guide for instructions on how to connect an email account to an Android device.
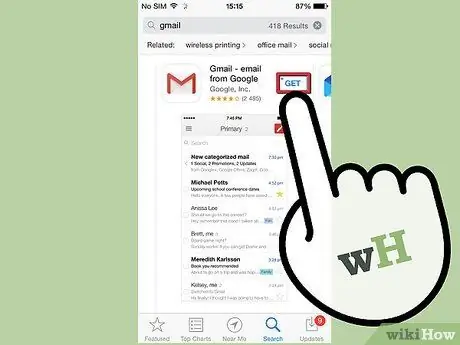
Step 2. Download your specific email service app
Some email services, such as Gmail, have a dedicated app for their email service. You can use this app instead of using your device's built-in Mail app. The Gmail app may be pre-installed on your Android device, but it can be downloaded for free from the iOS App Store or Google Play Store.
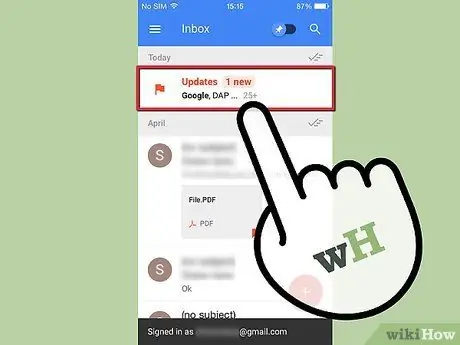
Step 3. Open your inbox
You can access your inbox by opening your Mail app, or you can open a new email directly by selecting it from the notification area on your device.
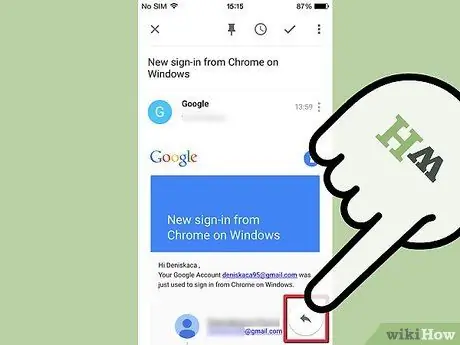
Step 4. Reply to your message
Press the Reply button to send the message back to the sender. Some devices will add a line at the end of your message indicating that the message was sent from a mobile device (this function can be turned off).
Method 4 of 4: Reading Email Headers
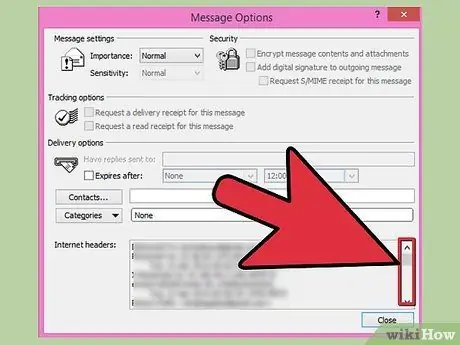
Step 1. Understand how headers are added
The header retrieves data every time a message is sent and received. This means that back-and-forth messages can contain very long headers, as information is added each time an email is sent, received, re-sent, received again, and so on.
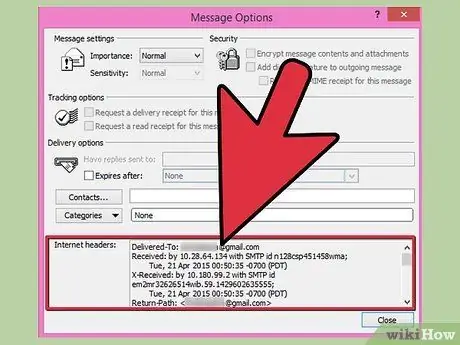
Step 2. Describe the basic information
There are several entries that may be of most interest to most users. Reading this gives you a summary of where the email was sent from and how long it took. This can be useful for dealing with connection issues or for determining where the email is coming from.
- Delivered-To: this is the address of the recipient of the email.
- Received: This shows the IP address that received the email message (recipient's email service) as well as the time.
- Return-Path: This is the address that sent the message.
- Message-ID: Indicates a unique number to identify the message.
- From, Subject, To: this is the information entered by the sender. It displays the sender's name, the email title line, and the recipient's name.


