- Author Jason Gerald [email protected].
- Public 2024-01-31 09:30.
- Last modified 2025-01-23 12:04.
Many websites and applications do not allow users to upload photos other than in-j.webp
Step
Method 1 of 5: Using Paint on Windows
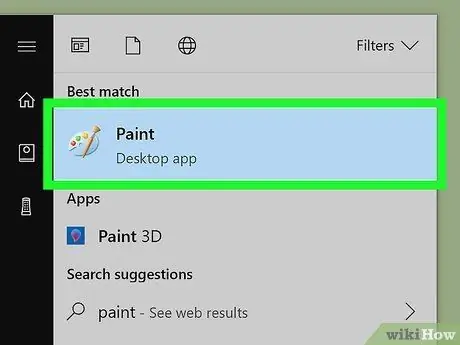
Step 1. Open Paint
The Paint program is installed by default on the PC. Press Win+S key to open the search box and type
paint
. When you see the “Paint” option in the search results, click on it.
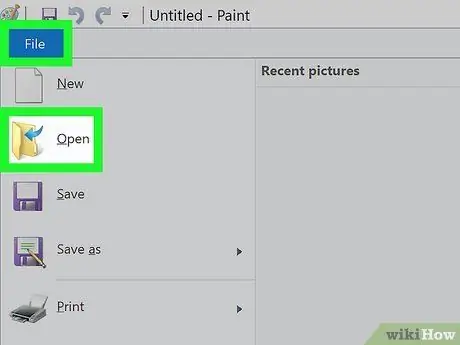
Step 2. Open the image file in Paint
Make sure the image is saved on the computer. Click the “File” menu and select “Open”. Find your image and click “OK”.
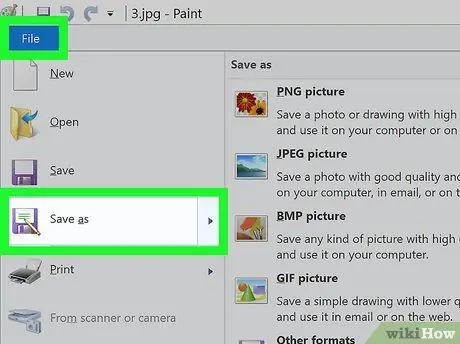
Step 3. Click “File”, then click the arrow next to “Save As” option
After that, a list of various image formats, including JPEG, will be displayed.
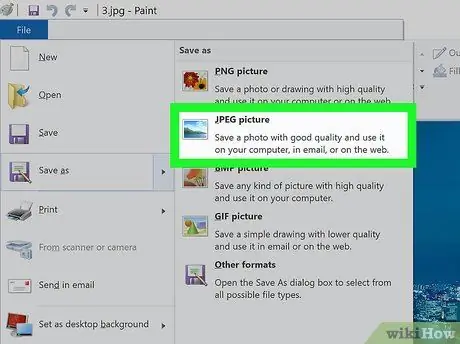
Step 4. Click “JPEG”
After that, a new box will appear and you can choose a folder, rename the file, and choose a file type in the “Save as type” option. Go to a folder that you can remember and make sure the “JPEG” option is selected in the “Save as type” setting.
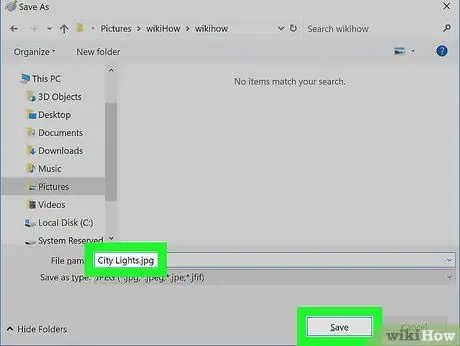
Step 5. Rename the file if you want, then click “Save”
Now, your image file has been successfully converted.
Method 2 of 5: Using the Web Converter on a Computer, Smartphone or Tablet
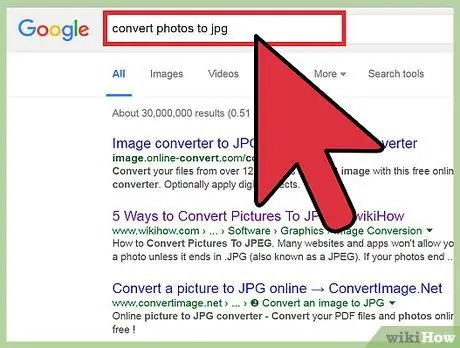
Step 1. Select the web-based converter program you want to use
This method can be used on any internet-connected device, including smartphones and tablets. Do a web search using the keyword “convert XXX to-j.webp
- Make sure the site you choose can handle the image format you have. Some image formats, such as. RAW files, tend to be more difficult to convert through web-based converter programs because of their large sizes.
- If you are using a mobile device, use a WiFi connection instead of a data connection as image files can sometimes be very large.
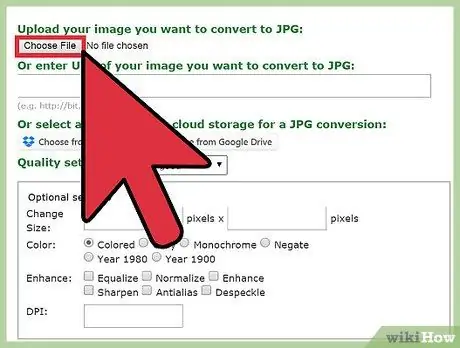
Step 2. Upload the image you want to change
In the converter program, look for the button labeled as “Choose file” and locate the image file you want to convert. Keep in mind that web-based converter programs usually set a maximum file size that can be uploaded.
- Read the terms and policies of use carefully before you upload an image.
- Some converter programs allow you to enter the direct URL of the image. This of course makes it easier for you if the image you want to change is still on the internet.
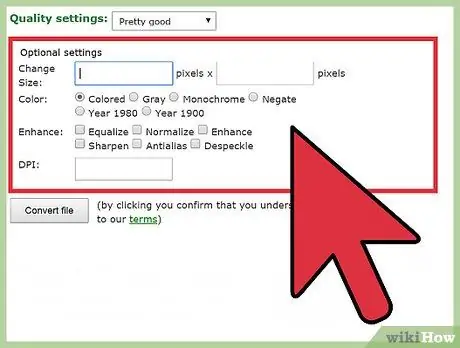
Step 3. Make sure the program is ready to convert the image file to JPEG format
Most converter programs come with a drop-down menu or a button that you can press to select “JPEG” or “.jpg” (both options have the same function). Some programs also allow you to modify the file size and quality.
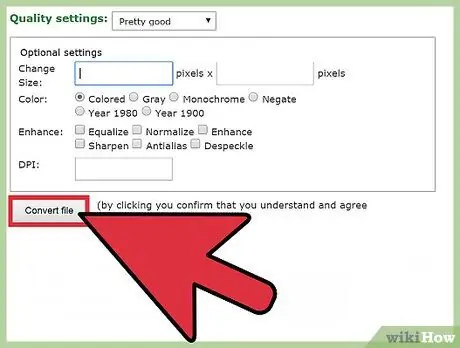
Step 4. Convert the image to JPEG
Look for the button labeled “Convert” or “Save” to start the conversion process. The process may take a few minutes. After that, the photos may be downloaded automatically to the main download location or you will be asked to specify a download location. After the process is complete, the image format will change to JPEG.
Method 3 of 5: Using Preview on a Mac
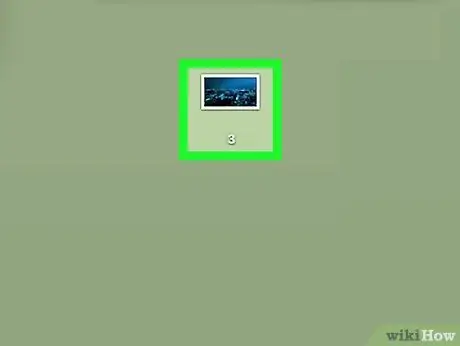
Step 1. Open the image via Preview
The Preview program comes preinstalled on Mac computers and can open almost any type of image file. Press the Ctrl key + click the image file, then select " Open With ". Select " Preview " in the options displayed.
- If you have an image file that won't open or looks wrong when it's displayed in the program, try using a web-based converter program or Gimp.
- For this method to work, make sure the image file is already stored on your computer. If you haven't downloaded the image to your computer yet, you'll need to download and save it first.
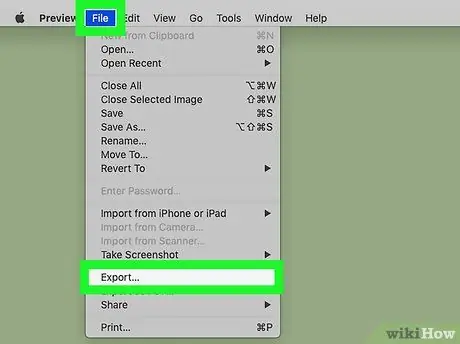
Step 2. Click the “File” menu and select “Export”
After that, a box with several menus will be displayed.
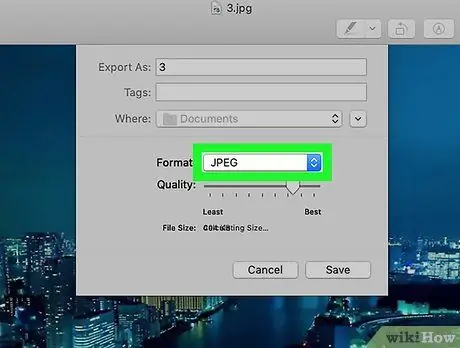
Step 3. Change the photo format to JPEG
You can also adjust the image quality and resolution if you want. The higher the quality or resolution of the photo, the more space the photo will take up on the hard disk.
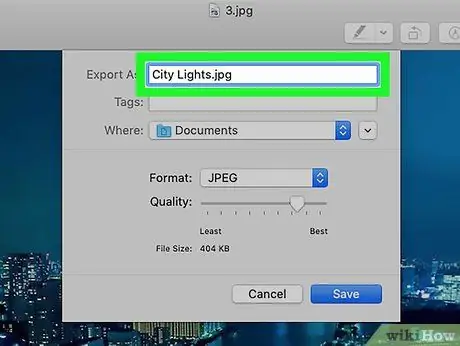
Step 4. Rename the file and save it
Make sure the file name ends in “.jpg” (case or lowercase doesn't matter), then choose a save location that's easy to remember. Click “Save” to complete the conversion process.
Method 4 of 5: Using Gimp on PC, Mac or Linux

Step 1. Get the Gimp program
If you want to change the image type that is not supported by the current editing programs, or if you want a better option, Gimp is a popular and free application you can try. If Gimp is not already installed on your computer, download and install GIMP first.
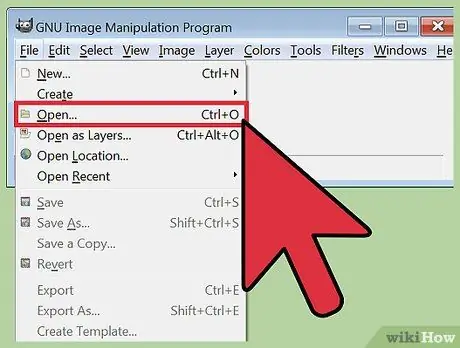
Step 2. Open the image you want to convert
Click “File”, then select “Open”. Select the desired image and click “Open” once again.
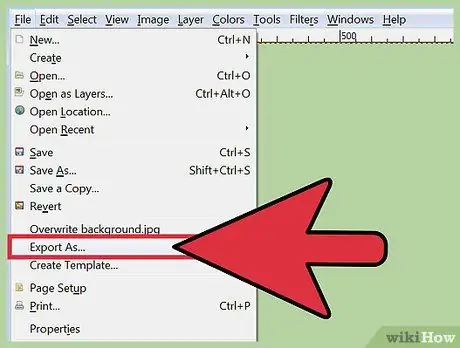
Step 3. Click “File”, then select “Export As” to select the JPEG format
After that, a dialog box will be displayed with several options. Click "JPEG".
Step 4. Make modifications to the selection
A new dialog box will appear with several options for setting the JPEG format. Check the box next to “Show preview in image window” option before adjusting the image quality. Move the slider to a certain point until your image looks better in the preview window.
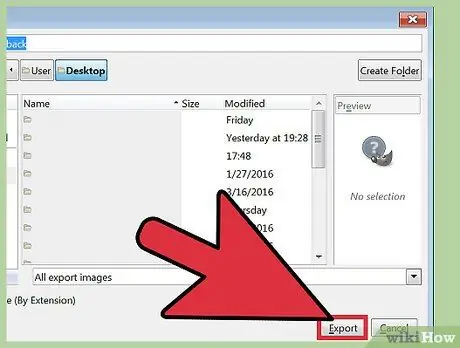
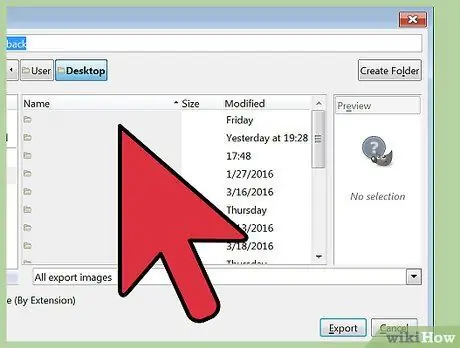
Step 5. Click “Export”
After that, a new box will appear and you will be asked to choose a file name and storage location. Find a folder that is easy to remember and name the file with the name you want. The file already ends with a-j.webp
Method 5 of 5: Changing File Extensions

Step 1. Understand the impact of changing file extensions
If you have a JPEG file with the wrong extension (eg due to a typo, the file ends with a “. JGP” extension instead of “.jpg”), this method will be useful to you. However, this method will not technically "convert" the image file to the JPEG format.
- If the image file is not in JPEG format, changing the extension can actually damage the file. Check out the other methods if you want to convert an image file with a different format to the JPEG format.
- The file extension is not affected by the case size used. Both-j.webp" />
- Before you begin, remember the original extension of the file so you can change it back if necessary.
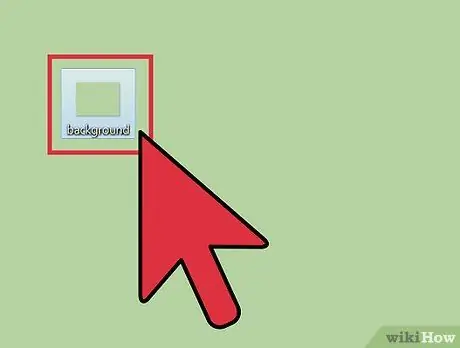
Step 2. Find the desired image file
The file may be stored on the desktop, as described in the previous example, or in a separate folder accessible through the Finder or Windows Explorer.
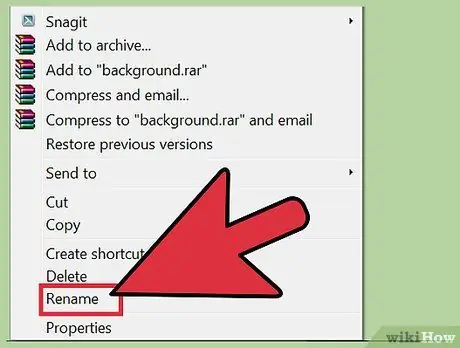
Step 3. Make the filename editable
If you are using Windows, you can skip this step. For Mac users, single click the image file, then “File” and select “Get Info”. Click the arrow next to the “Name and Extension” option and uncheck the “Hide Extension” option. After that, click “Save”.
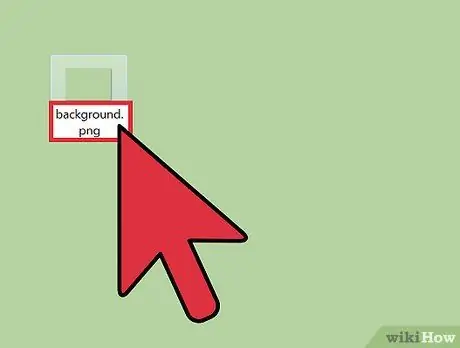
Step 4. Delete the current file extension
Remove all extensions after the “.” on the file name.
- On a Mac, click the image once and press Return. Click the end of the file extension and press the Delete key until you have successfully removed all the letters after the period.
- On Windows, right-click the image and select “Rename”. Click the end of the file extension and press Backspace to delete all letters after the period.
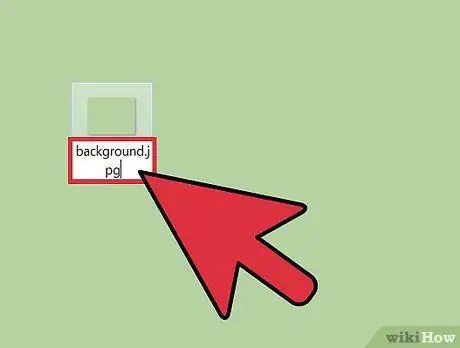
Step 5. Type
JPG
after the dot.
You can type it in both upper and lower case letters. Make sure your filename is something like this:
image.jpg
. After that, press Enter or Return.
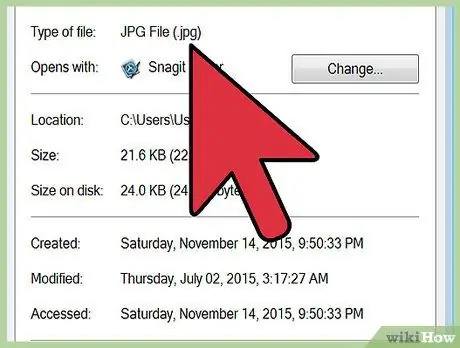
Step 6. Confirm extension changes
You'll get a warning about changing the extension that could make the file unusable, either on a Mac or on a PC. Click “Use.jpg” or “Yes” if you want to make changes. After that, the file name will end with a-j.webp
Tips
- JPEG files can end with a-j.webp" />
- Always make a backup file before you modify the file in any way.
- When uploading or downloading images, you may incur data connection charges.


