- Author Jason Gerald [email protected].
- Public 2023-12-16 10:50.
- Last modified 2025-01-23 12:04.
If you are creating iPhone and iPad applications, there are several processes that you have to go through from the development process to testing the application on Apple devices. Provisioning Profile is essential so that you can install development applications on iPhone and iPad. We'll show you how.
Step
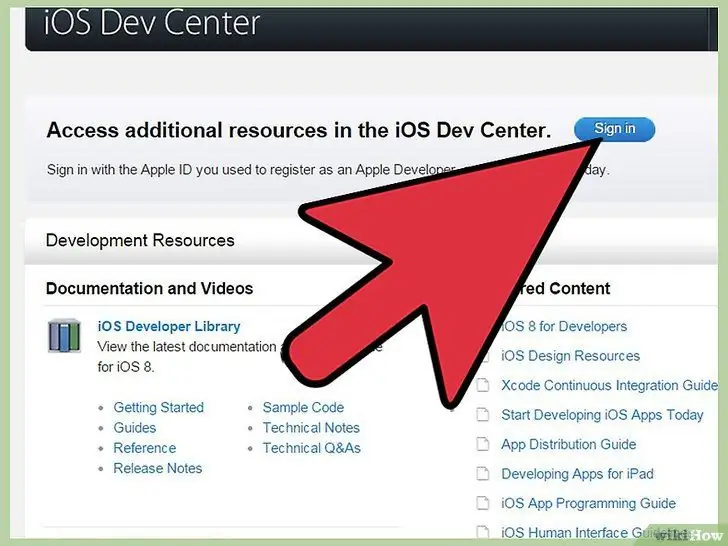
Step 1. Log in to the iOS Development Center at
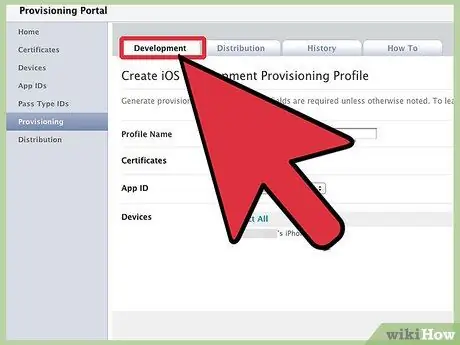
Step 2. Log in to the Developer Program Portal
Click “iOS Developer Program Portal” on the right side of the page, under the “iOS Developer Program” section.
If you are not a registered Apple iOS Developer, you must register for this program before you can run simulations on your iOS device. It currently costs you $99 per year to register for the development program
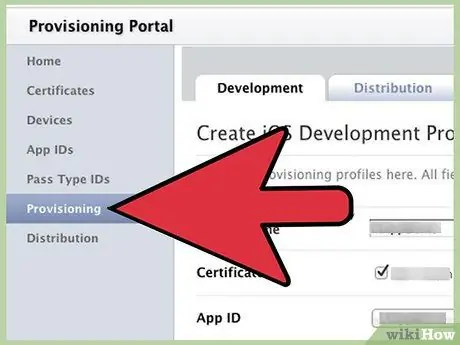
Step 3. Click the Provisioning option on the left side of the page
Once you are logged into the iOS Provisioning Portal, you can perform the following steps.
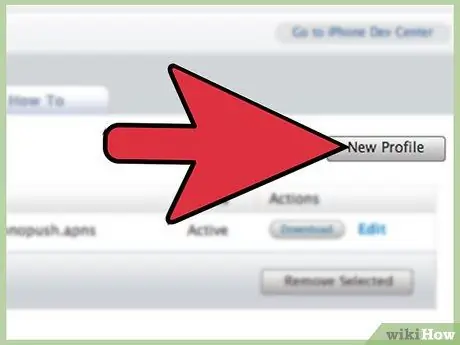
Step 4. Click the “New Profile” button
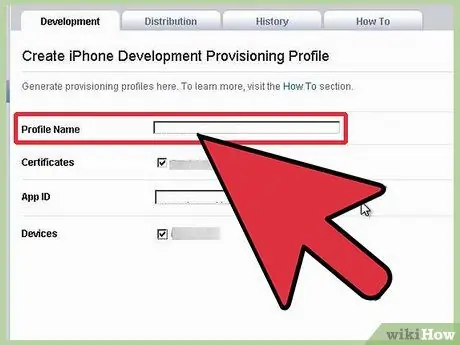
Step 5. Enter the profile name
Select the certificate and device you want to associate with this profile, then select your app ID.
Step 6. Click “submit”
This step will create your profile.
Method 1 of 1: Downloading the Development Provisioning Profile
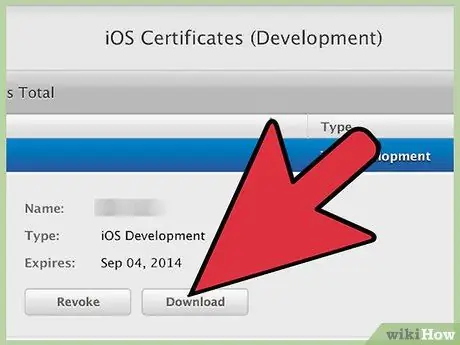
Step 1. Log in to the iOS Provisioning Portal
When you are logged in, click Provisioning on the left side.
Step 2. Select the appropriate tab
Click the Development or Distribution tab to show your profile.
Step 3. Download the profile
Find the desired Provisioning Profile, and in the Actions column, click the Download button.
Tips
- The Development Provisioning Profile, which is valid for one year, binds developers and devices to a specific development team.
- If your device does not appear in the list of available devices, add your device before creating your profile, or create your profile first and modify the profile after entering your device.
- Only agents and administration teams can create a Development Provisioning Profile. This profile contains the name, development certificate, device ID, and app ID.
- When selecting devices and certificates, select “all” the devices your team is using to perform the tests and select “all” certificates for the developer who is building the app.
- Once the administration team has created this profile, you will be able to download and install the profile on your device and test the app.
- If the administration team recently enabled app ID for the Apple Push Notification Service, make sure that the new provisioning profile contains the app ID. Provisioning profiles created before the app ID is enabled for APNS will not work when used to test APNS.


