- Author Jason Gerald gerald@how-what-advice.com.
- Public 2023-12-16 10:50.
- Last modified 2025-01-23 12:04.
A vector image is an image made of lines and directions. Unlike raster, vector images can be resized easily without pixelation because the lines will be redrawn each time they are resized. Converting a raster or pixel-based image is quite tricky due to the inherent differences in the two formats. Basically, you're going to redraw the raster into a vector format. Many applications can perform this process, but you may need to perform manual editing to get satisfactory results.
Step
Method 1 of 2: Using VectorMagic
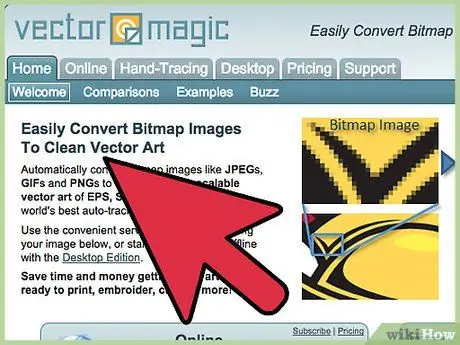
Step 1. Visit an image conversion site
If you don't want to download software and just want to convert a simple raster image to a vector, you can use a site that provides automatic vector image processing. You can make adjustments and even edits before generating a vector image.
- An example of a well-known conversion site is VectorMagic, but you can only do two conversions for free with one account. You must subscribe to do more image conversions.
- There are lots of free sites available, but they don't have as many options for creating the vector you want. If you want to convert multiple images, please go to the next section to see instructions for using the free open software.
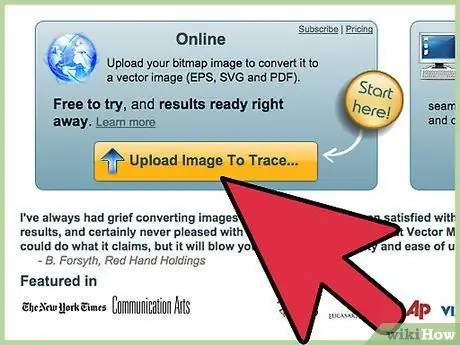
Step 2. Upload the image you want to convert
Vector images are best suited for simple designs and logos with a bit of color. You won't get good results if you convert your photos to vector images. Sites like VectorMagic support JPG, BMP, PNG, and-g.webp
For best results, images should have blends and anti-aliased. You can find out by zooming in on the image. The edges of the image will have pixels of a finer color to give the image a more realistic feel. The blended edges will make the redrawing process easier. Most digital images have a blend, but you may have problems redrawing the pixel art, as the end result will not be as smooth
Step 3. Wait for the image to finish processing
Images that you upload to VectorMagic will go through an initial redrawing process. This process will take a few minutes.
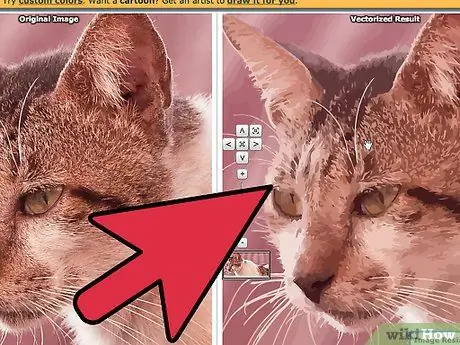
Step 4. Check the re-draw result
When finished, the original image will be displayed in the left column while the vector image will be displayed in the right column. You can click and hold the “Bitmap” button to view the original image overlaid on the vector image. If you are lucky, the results on the first try will be perfect!
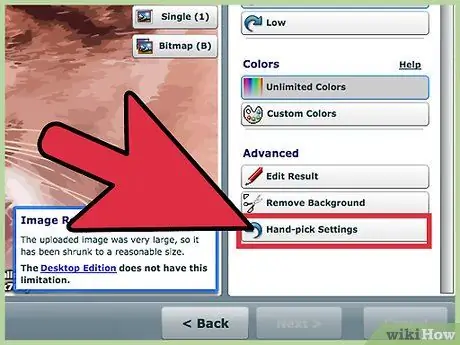
Step 5. Click the “Hand-pick Settings” option
VectorMagic will automatically recognize the image type and apply a redrawing process that it feels is most appropriate. You can override this setting by clicking the Hand-pick settings option.
- Choose an image type, because each type has a different redrawing process. You will be asked to select the original image quality level and color range. Choose a custom color palette to reduce errors caused by minor changes to the original image colors.
- When choosing a custom color palette, choose as few colors as possible for the cleanest results.
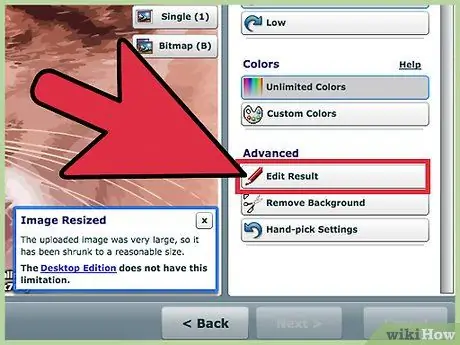
Step 6. Switch to editing mode
If you use VectorMagic, you can switch to editing mode to manually change the segmentation so that the resulting vector image will look clearer. Segmentation is the process of breaking an image into different parts which are then trimmed and converted into vectors. Click the “Edit Result” button to open.
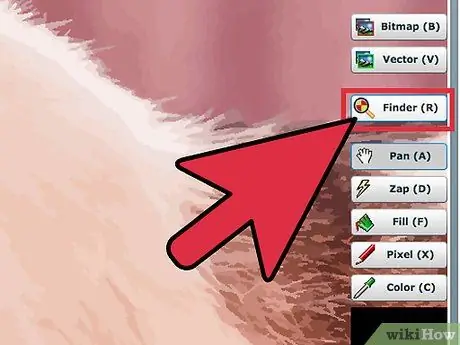
Step 7. Use Finder to find the problematic field
Click the Finder button to identify areas that are difficult to redraw. Manually edit the area so it can process better when redrawn.
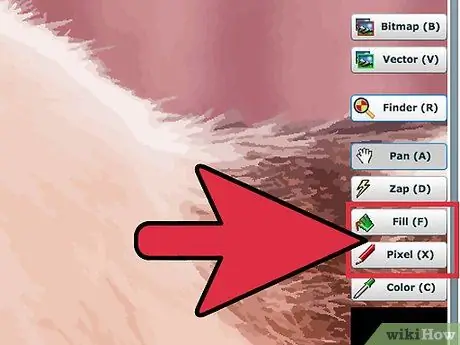
Step 8. Use the Pixel and Fill tools for editing
Look for two distinct image segments that are connected by a pixel. This connection will give the impression of a rigid image on the redrawn. Use a Pixel device to erase those pixels.
You can choose a specific color to use for Pixels and Fills with the Color perangkat tool
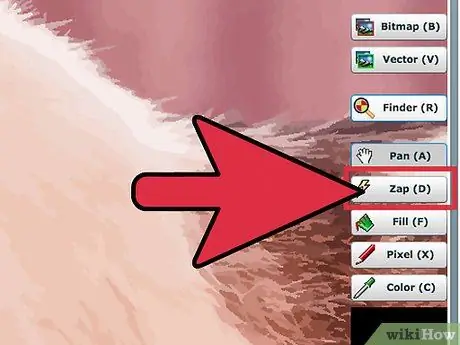
Step 9. Use the Zap tool to remove any remaining anti-aliased
Antialias is normal in bitmap images, but not in segmentation. Zap will separate the related parts into different segments, then merge them with the other segments into a whole part.
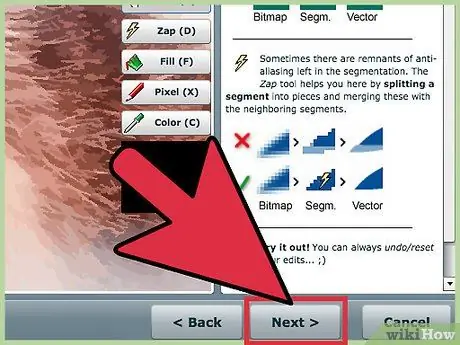
Step 10. Complete the edit and download the conversion result
Click the “Next” button to process your edits. If you are satisfied with the resulting vector image, click “Download Result” to download the image in SVG format. You can download two images for free with VectorMagic.
Method 2 of 2: Redraw with Inkscape
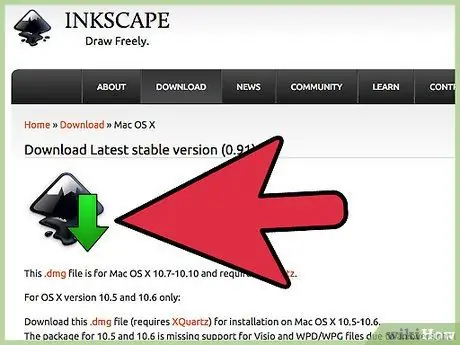
Step 1. Download and install Inkscape
InkScape is a free, open vector editing application available for Windows, Mac, and Linux operating systems. You can download it at inkscape.org. Inkscape is equipped with tools to automatically redraw bitmaps into vectors.
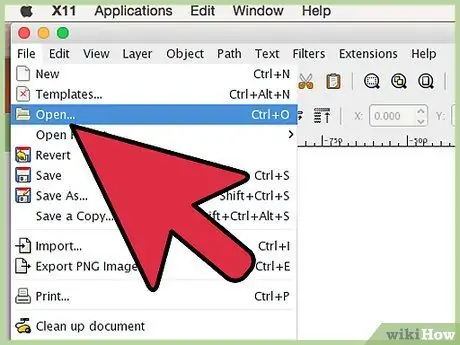
Step 2. Open the bitmap image in Inkscape
Click “File” > “Open” and select the bitmap image you want to convert to vector. Simple images and logos would be better. You'll have a hard time getting good results if you use the auto-redraw process on your photos.
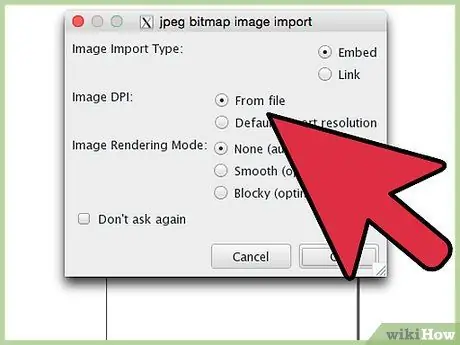
Step 3. Select an image
After loading the bitmap image, you must click on it to select it on the canvas.
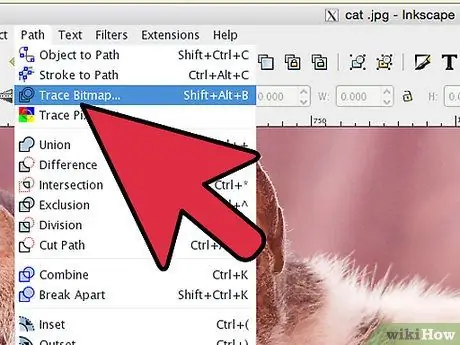
Step 4. Open the redrawer
After selecting a bitmap image, you can open the auto-rendering tool. Click “Path” > " Trace Bitmap " or press Shift+Alt+B.
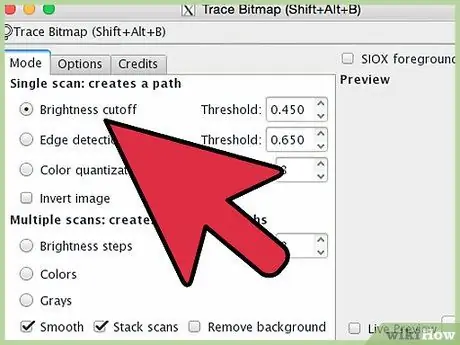
Step 5. Select path mode
There are three modes available for creating paths. “Path” is the redrawn line. Selecting each path will update the Live Preview which will allow you to preview the redrawing results.
- These three options will help you create a basic template that can be edited manually.
- Use the “Threshold” option to set the scanning process. In “Brightness cutoff”, the threshold at 0.0 is black, while 1.0 is white. The threshold in “Edge detection” sets whether pixels will be counted as part of the boundary or not.
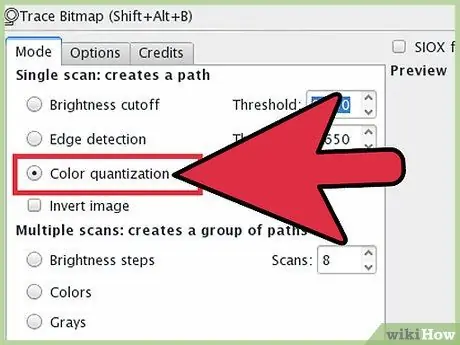
Step 6. Select the “Color” option if you want to make an exact copy of a simple image
Increase the number of scans to increase the number of colors that appear. This option may not give good results when used with complex images.
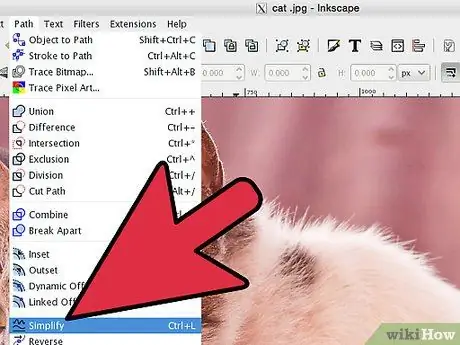
Step 7. Optimize the path once done
If you are satisfied with the result, click OK to apply it to the image. Click “Path” → " Simplify " or press Ctrl+L to reduce the number of nodes (nodes). This will result in a low-quality image, but will make editing the final result easier.
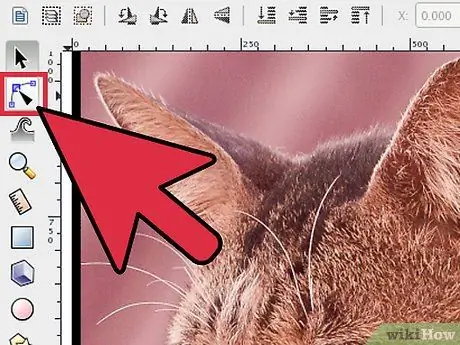
Step 8. Click “Edit paths by nodes”
This option is located in the toolbox on the left of the screen. You can also press F2 to select and move nodes to edit the image. For more detailed instructions on editing nodes in Inkscape, visit this article.
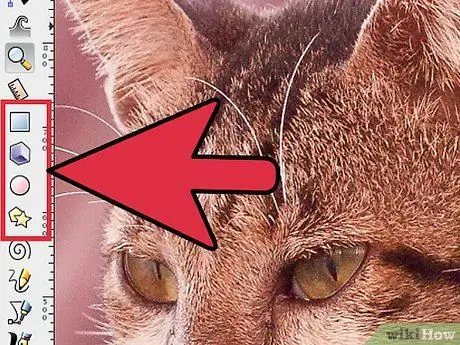
Step 9. Add lines according to taste
You can use the tools on the left toolbar to create objects and lines, as well as polish or replace inappropriate redrawings.
When you're done creating the object or line, use the nodes to adjust the curve and shape of the object. Click “Convert selected object to path” (⇧ Shift+Ctrl+C) to edit the nodes you created
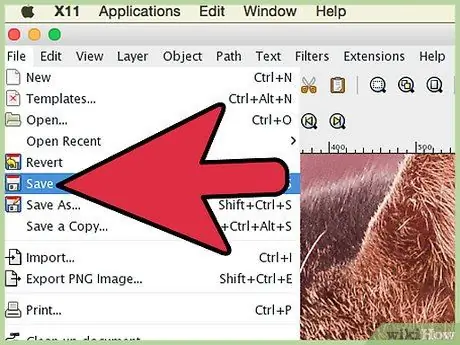
Step 10. Save the file
If your vector image is satisfactory, save the result by clicking “File” > “Save As” and selecting a file format from the drop-down menu. The most common file format is SVG.


