- Author Jason Gerald [email protected].
- Public 2024-01-19 22:11.
- Last modified 2025-01-23 12:04.
Connecting and syncing iPad with iTunes is an ideal way to manage the apps on your iPad, especially if you bought something new from the iTunes Store. Follow the steps described in this article to learn how to connect your iPad to iTunes and use the sync features within iTunes.
Step
Method 1 of 2: Connecting iPad to iTunes Using USB
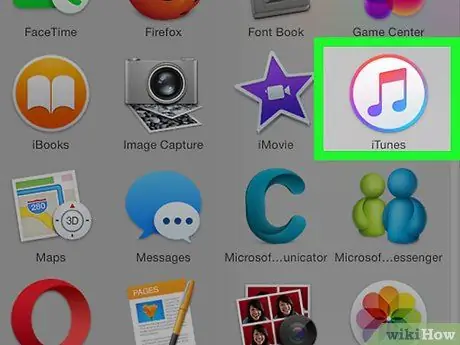
Step 1. Open the iTunes app on your Windows or Mac computer
If you don't currently have iTunes installed, visit https://www.apple.com/itunes/download/ to download and install the latest version of iTunes
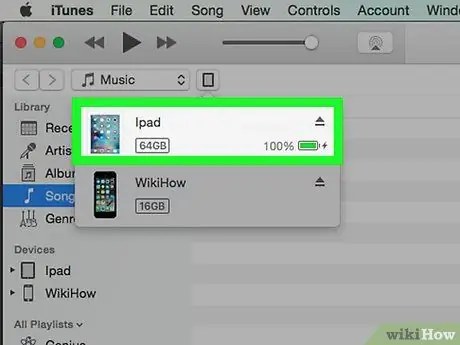
Step 2. Connect your iPad to the computer using the USB cable that came with your iPad
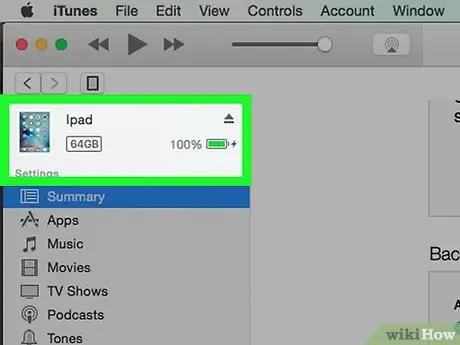
Step 3. Wait for iTunes to recognize your iPad
Your device name will appear in the upper right corner of iTunes once your device is recognized.
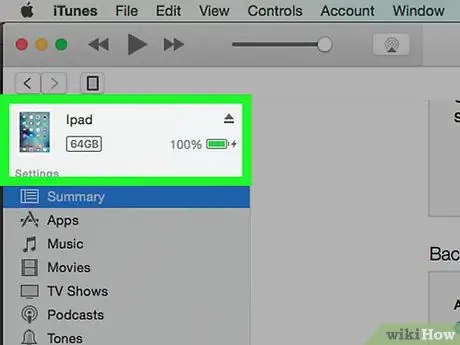
Step 4. Click on "Device" or "iPad" located at the top right corner of iTunes
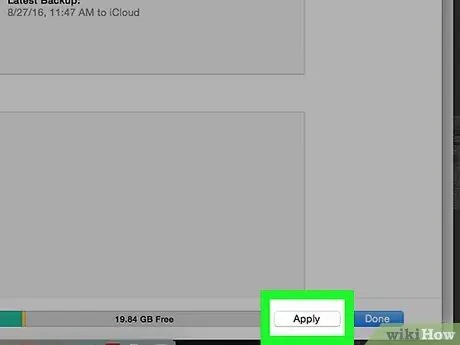
Step 5. Click the "Apply" button located in the lower right corner of iTunes
The data between your iPad and iTunes will start syncing.
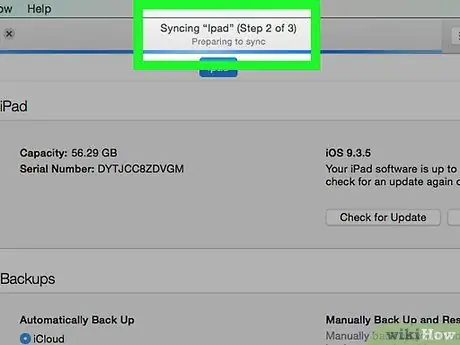
Step 6. Wait for iTunes to notify you that the iPad sync is complete
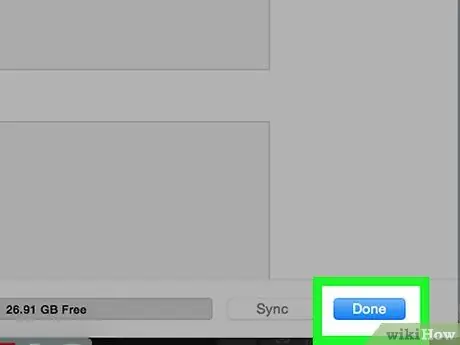
Step 7. Click "Done," then click the "Eject" button located on the iPad button within iTunes
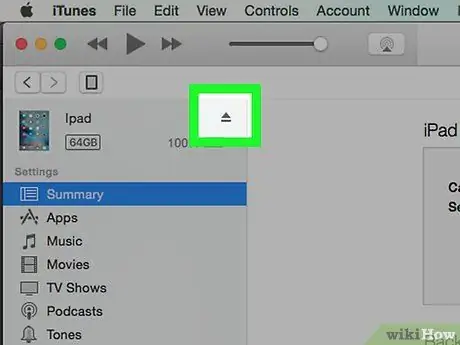
Step 8. Disconnect your iPad from the USB cable
The data between iPad and iTunes is now synced, and your iPad is ready to go.
Method 2 of 2: Connecting iPad to iTunes Wirelessly
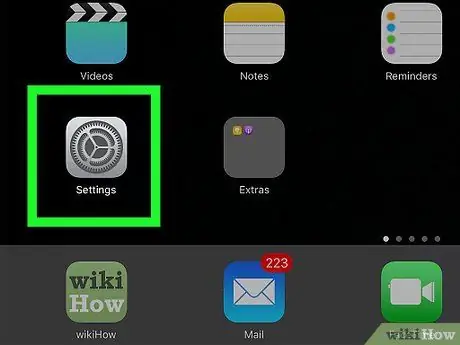
Step 1. Tap "Settings" on your iPad
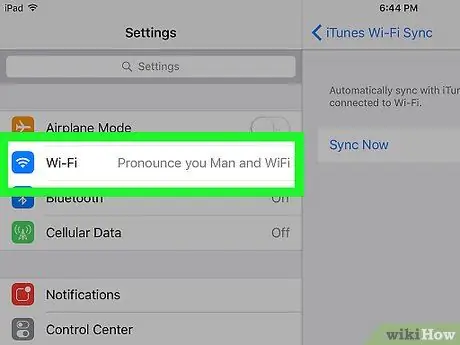
Step 2. Tap “Wi-Fi,” then wait for your iPad to search for all available Wi-Fi networks
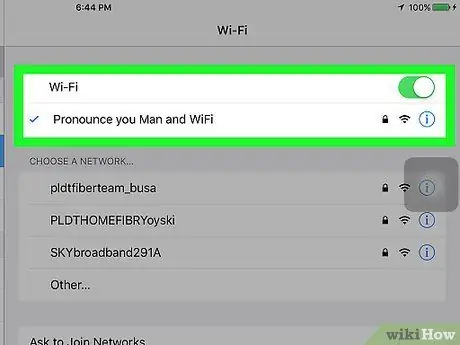
Step 3. Tap on the same Wi-Fi network name as the network used to connect your computer
Your iPad will connect to the Wi-Fi network and display the Wi-Fi logo.
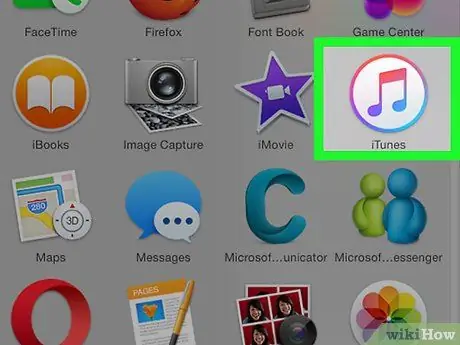
Step 4. Launch iTunes on your Windows or Mac computer
If iTunes isn't already installed on your computer, go to https://www.apple.com/itunes/download/ and install the latest version of iTunes from Apple
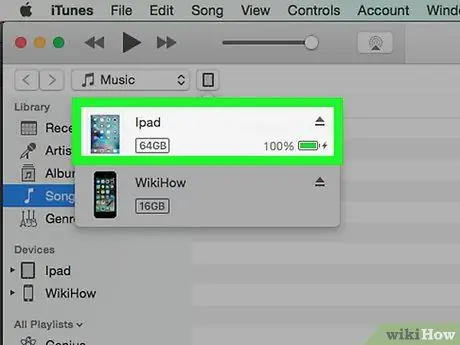
Step 5. Connect your iPad to the computer using the USB cable that came with your iPad
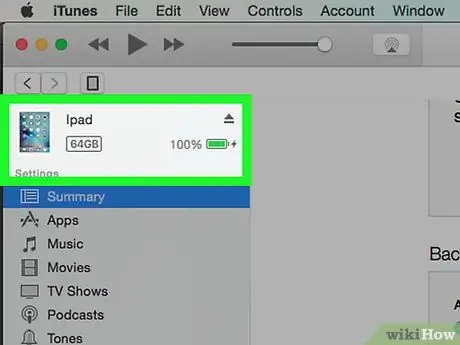
Step 6. Click the button named "iPad" or "Device" in the upper right corner of iTunes
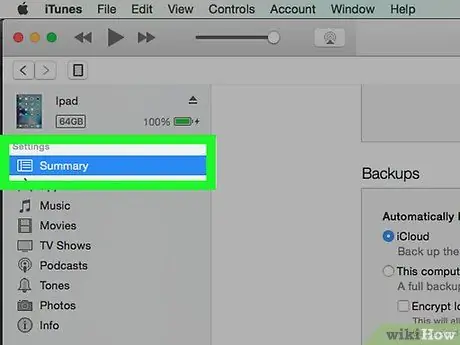
Step 7. Click the tab named “Summary
”
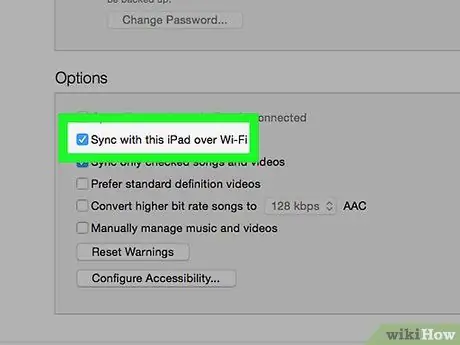
Step 8. Tick next to “Sync with this iPad over Wi-Fi
” Now your iPad will wirelessly connect to iTunes on your computer.
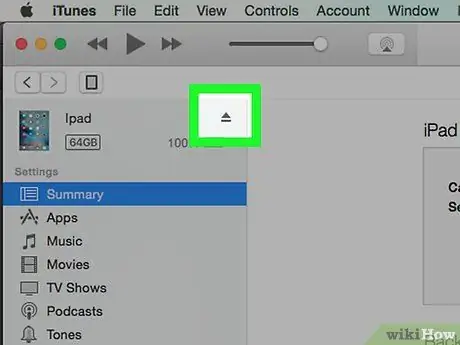
Step 9. Disconnect your iPad from the USB cable connected to your computer
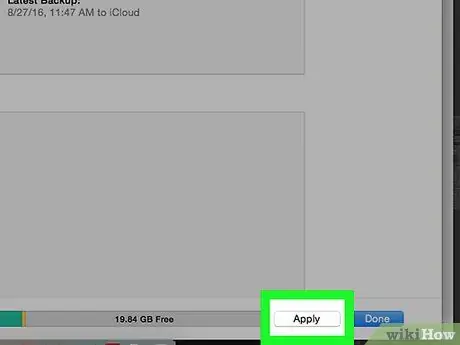
Step 10. Click "Apply" in the lower right corner of iTunes
The data between iTunes and your iPad will start syncing.
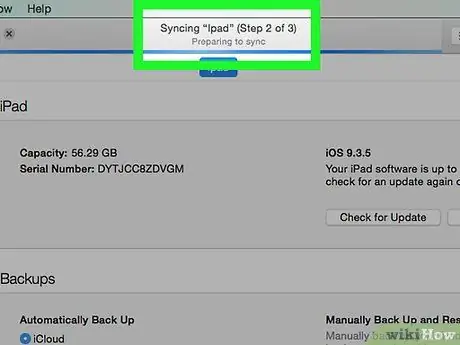
Step 11. Wait for iTunes to notify you that the synchronization between iTunes and your iPad is complete
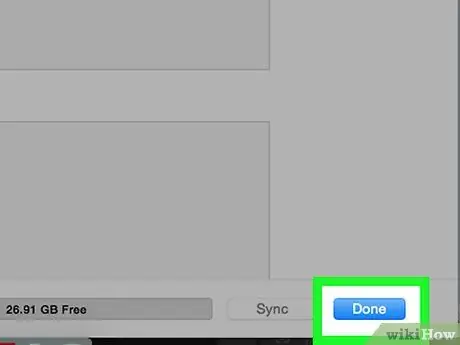
Step 12. Click "Done," then click "Eject" located on the iPad button within iTunes
Now your iPad is ready to use.


