- Author Jason Gerald gerald@how-what-advice.com.
- Public 2024-01-19 22:11.
- Last modified 2025-01-23 12:04.
You can restore iPhone data directly from iCloud without connecting your device to iTunes! Unfortunately, you'll need to completely erase your phone's data and settings (this is a time-consuming procedure) and restore them from a previous iCloud backup file.
Step
Part 1 of 2: Wipe iPhone Data and Settings
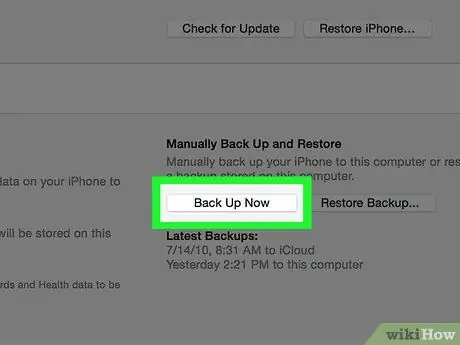
Step 1. Try backing up iPhone data and settings to iCloud before proceeding
Since you need to delete content on your iPhone and restore the latest stored iPhone data, it's a good idea to back up your data and settings so you can get the most recent content when you restore it to your phone. After completing this process, you can erase the data on your iPhone.
You will need to disable the "Find My iPhone" feature of your phone before you can restore iCloud backup to your device
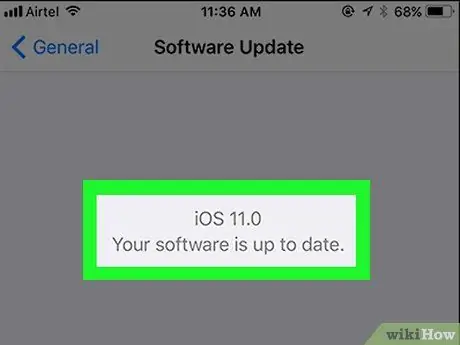
Step 2. Make sure the phone is running the latest software version
You can't restore a backup from iCloud if your device isn't running the latest version of iOS. To check for software updates:
- Touch the “Settings” icon to open the settings menu.
- Touch the "General" tab.
- Touch the "Software Update" option.
- Touch "Download and Install" if an update is available.
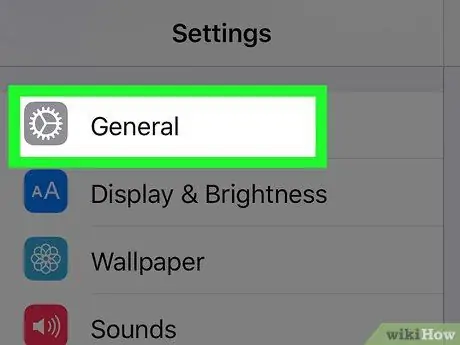
Step 3. Go back to the "General" tab
If you already have/installed the update, you need to touch the “Settings” icon to re-open the settings menu.
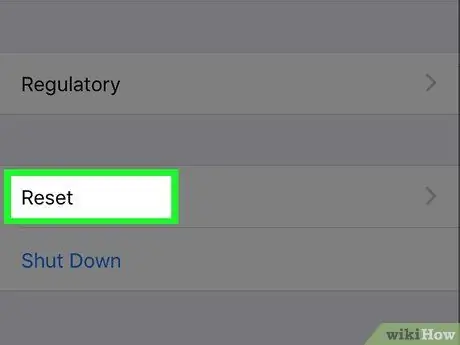
Step 4. Touch the “Reset” option
This option is at the bottom of the “General” menu.
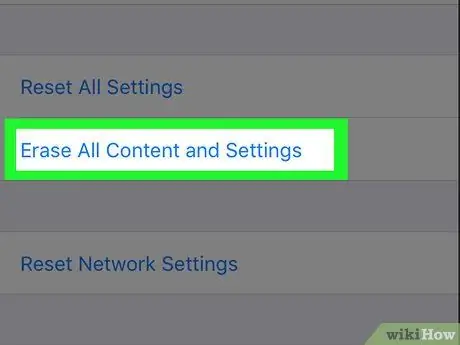
Step 5. Touch "Erase all content and settings"
If a passcode is set on the device, you will need to enter it to move to the next step.
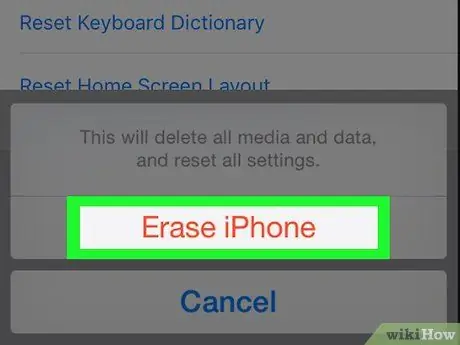
Step 6. Touch "Erase iPhone"
This option is at the bottom of the screen. Once touched, the deletion process will begin.
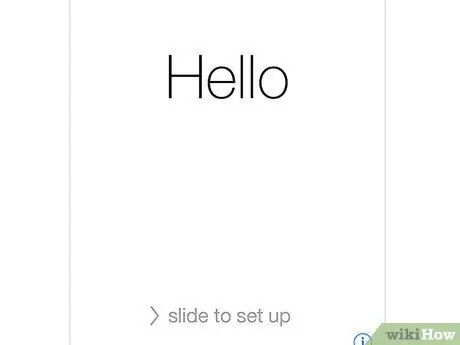
Step 7. Wait for the iPhone to finish resetting
This process takes a few minutes. Once done, you can restore the backup data from iCloud to iPhone.
Part 2 of 2: Restore Backup Data to iPhone
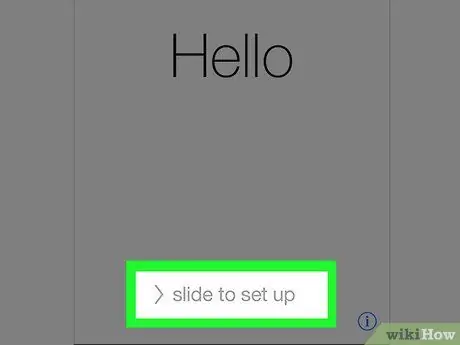
Step 1. Slide the "Slide to unlock" text on the screen to unlock the device
After that, the device setup process will begin.

Step 2. Touch the language you want to use on the next page
After that, the language will be set as the phone's primary language.

Step 3. Touch the desired region/area of residence
This option is on the " Select Your Country or Region " page. After that, the selected area/region will be set as the phone's primary location.
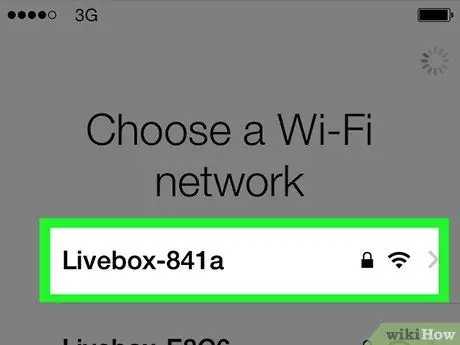
Step 4. Select a WiFi network that can be connected
You can also skip this step if you want.
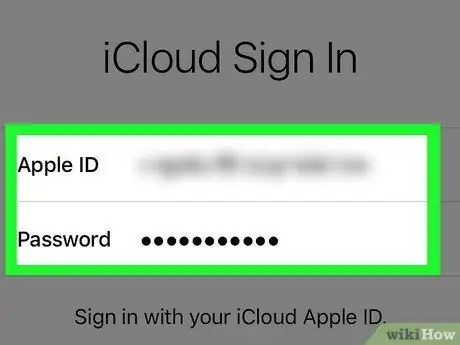
Step 5. Enter the Apple ID and password on the "Activation Lock" page
This login information must be the same as the information used when setting up the device.
- You need to touch the " Next " button to move to the next step.
- If you've changed your Apple ID password since setting up your phone, use the new password.
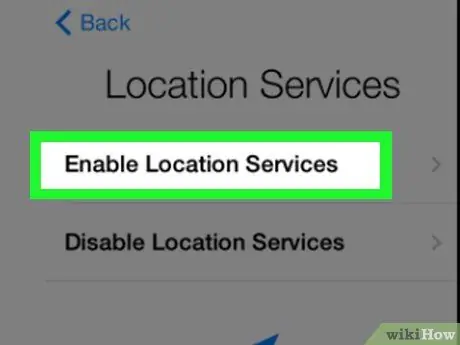
Step 6. Decide whether you want to enable or disable location services
If you're not sure which option to choose, tap "Disable location services" at the bottom of the screen.
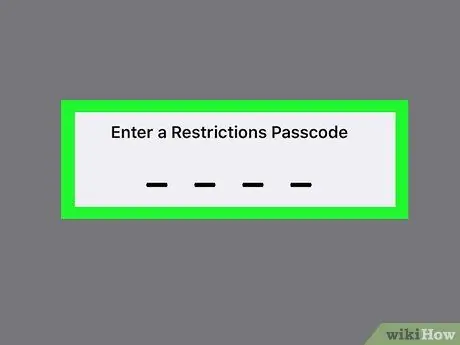
Step 7. Enter the passcode you want to use, and re-enter the code to confirm the input
You can also enter it later if you want.
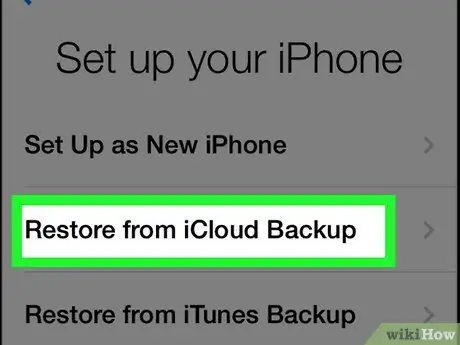
Step 8. Touch "Restore from iCloud Backup" on the "Apps and Data" page
After that, the backup data restore/restore process will start.
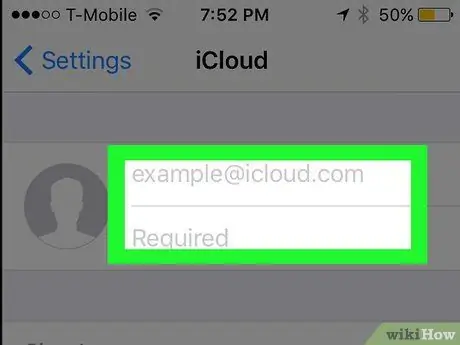
Step 9. Enter the Apple ID and password again
The iCloud backup file will be checked afterwards.
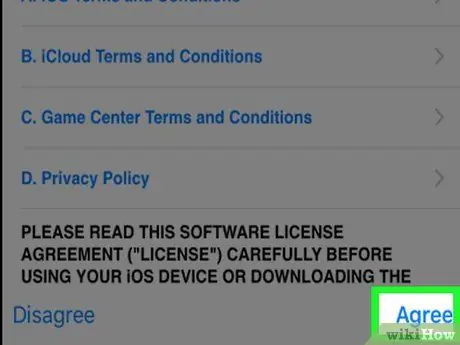
Step 10. Touch “Agree” to continue the process
It's in the lower-right corner of the screen. Once the "Agree" option is touched, you will be asked to select a date for backing up data/settings to iCloud.
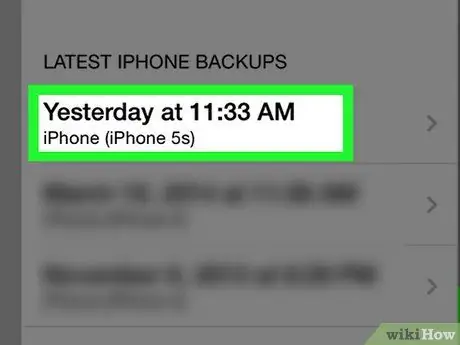
Step 11. Touch the desired iCloud backup date to start the restore process
Keep in mind that the process of restoring/recovering data from iCloud can take a few minutes.
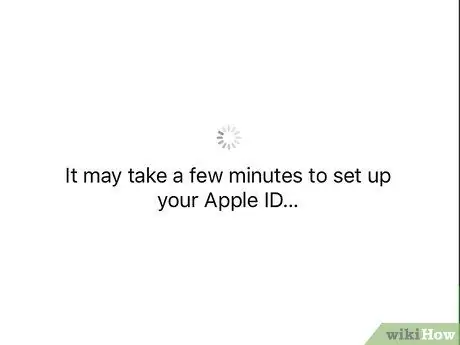
Step 12. Wait for the phone data/settings to finish restoring
This process may take several minutes.
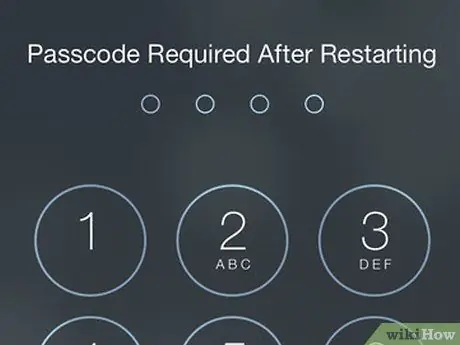
Step 13. Enter your Apple ID password when prompted
After that, the settings and phone data will be restored. Please note that you will need to wait longer for the app to update and the pre-wipe phone state to resume.
Tips
- If you don't have enough space to back up your data to iCloud, you can back up (or restore) your data to and from iTunes.
- You can also wipe data on your iPhone via the iCloud website if you want to do it remotely.


