- Author Jason Gerald gerald@how-what-advice.com.
- Public 2024-01-15 08:07.
- Last modified 2025-01-23 12:04.
This article teaches you how to create a border (also known as a "stroke") around content using Adobe Illustrator. You can apply this method to both Windows and Mac versions of Illustrator.
Step
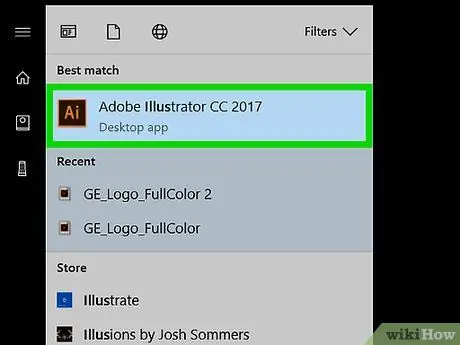
Step 1. Open Illustrator
The program icon is an orange "Ai" on a black background.

Step 2. Open your Illustrator project
Click open…, then select an existing project. If you don't have one, pick a photo to get started.
For some versions of Illustrator, you must click File first before choosing open… in the dropdown menu.
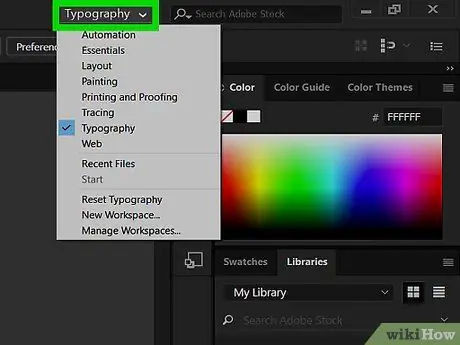
Step 3. Click the dropdown box labeled "Typography"
It's on the top right of the page. After that, a drop down menu will open.
- This box also has the words "Start".
- If this box says "Essentials" skip to the next step.
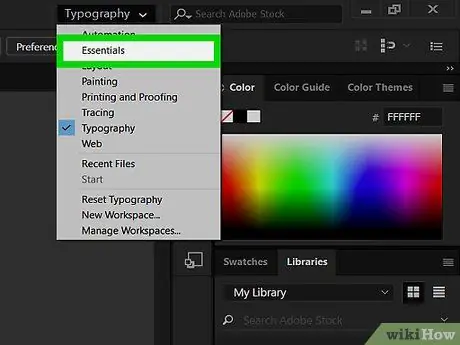
Step 4. Click Essentials
It's at the top of the drop-down menu.
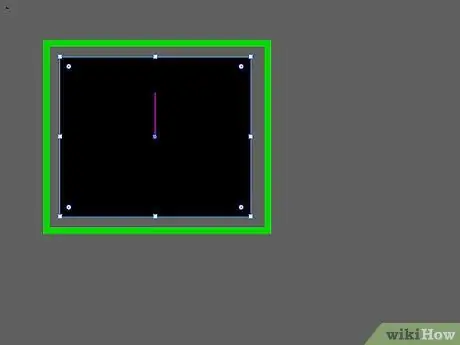
Step 5. Select your content
Click the photo, text, or other element on the page that you want to border.
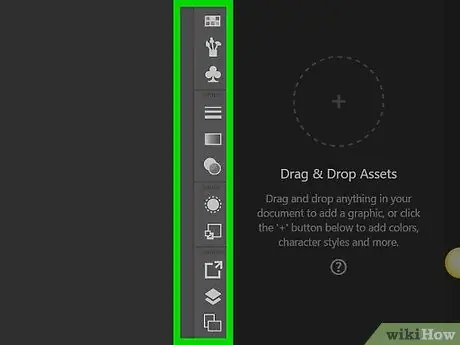
Step 6. Click the Window label
It's at the top of the window (Windows) or screen (Mac). After that, a drop down menu will appear.
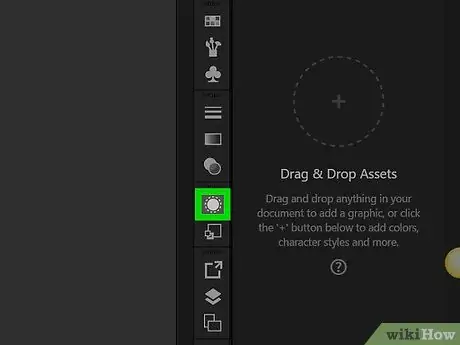
Step 7. Click Appearance
It's at the top of the drop-down menu. A mini Appearance window will open near your project.
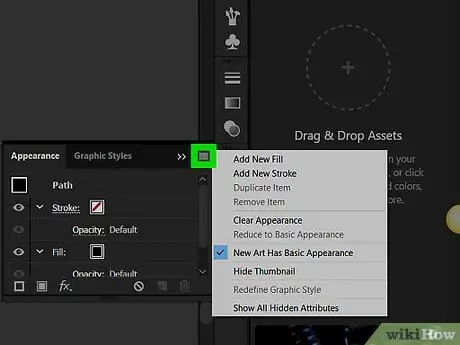
Step 8. Click the button
It's in the top right corner of the Appearance window. After that, a drop down menu will appear.
This button icon actually has four horizontal lines instead of three
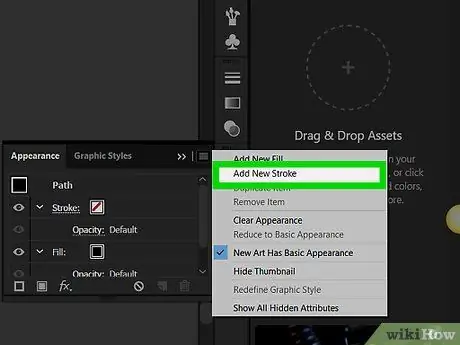
Step 9. Click Add New Stroke
It's in the drop-down menu. After that, the Stroke menu will open.
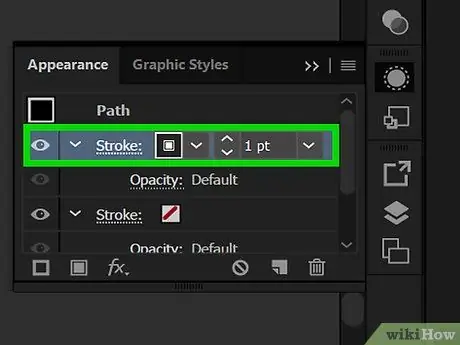
Step 10. Click the "Stroke" icon twice
The icon is a box wrapped in another box in the lower-left corner of the window. After that, the Stroke Color window will open.
You will see a white box with a red line in front or behind the " Stroke " icon
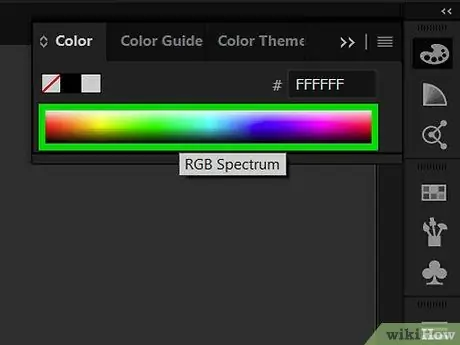
Step 11. Choose a color
Click and drag up or down on the color bar on the right side of the window to change the color, then click a part of the gradient to choose a specific shade for that color.
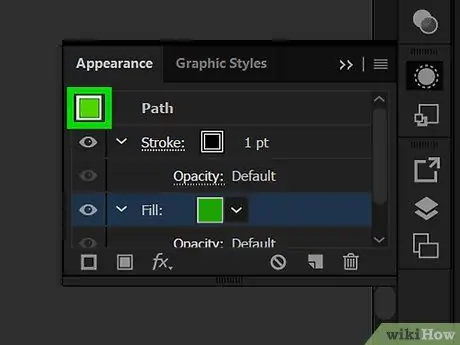
Step 12. Click OK
It's in the top-right corner of the Stroke Color window.
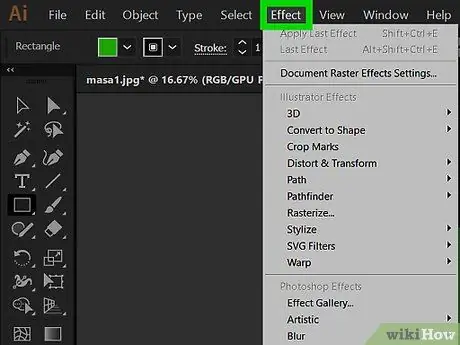
Step 13. Click the Effect label
It's at the top of the window or screen. After that, a drop down menu will appear.
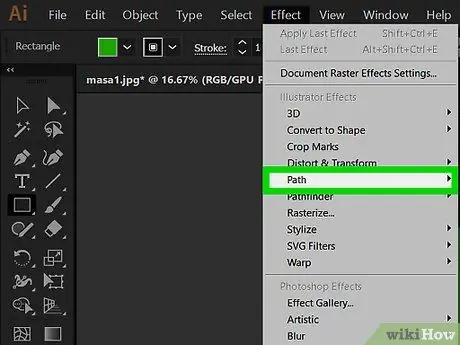
Step 14. Select the Path option
It's near the top of the drop-down menu Effect. A pop-up window will appear next to the options Path.
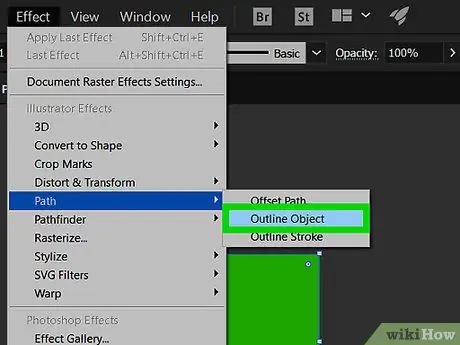
Step 15. Click the Outline Object button
You will find it in the pop-up window. Then, a border will appear around the content.
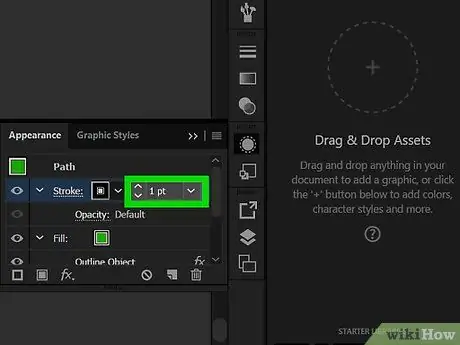
Step 16. Edit the thickness of the border
You'll see numbered boxes to the right of the " Stroke " heading in the Appearance window. The thickness of the border will increase if you click the arrow pointing up, and decrease if you click on the arrow pointing down.
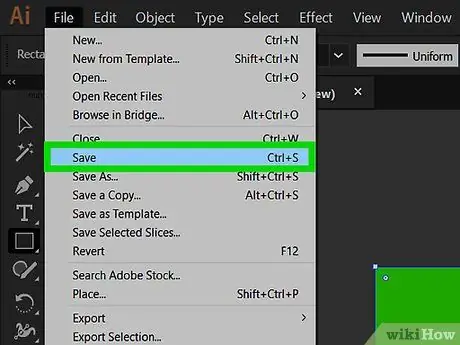
Step 17. Save the work
Click File, then click Save in the drop down menu to save the project.


