- Author Jason Gerald [email protected].
- Public 2024-02-01 14:11.
- Last modified 2025-01-23 12:04.
If you've recently switched from Android to iPhone, you'll want to transfer your contacts. This article will show you how to do that.
Step

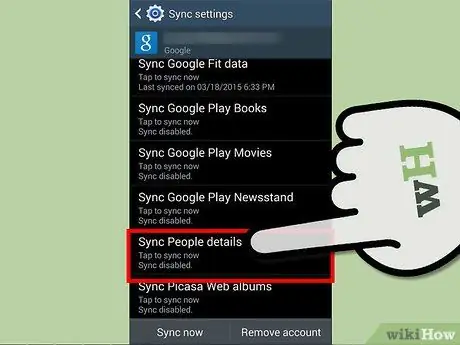
Step 1. Make sure your Android contacts are synced to your Google account
To do so, go to Settings >> Account >> Google on your Android. Select the Google account you want to sync with your phone. Check the box next to "Contacts."

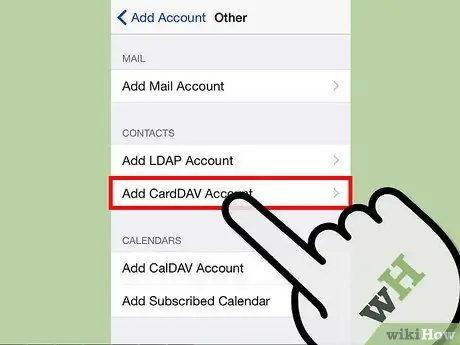
Step 2. On your iPhone, launch the Settings app
Tap "Mail, Contacts, Calendars." Then tap "Add Account…" >> "Other" >> "Add CardDAV Account."

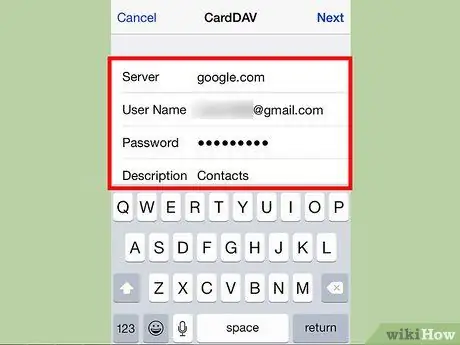
Step 3. Fill in the next screen like the screenshot below
Use "google.com" for the server and your Google account username and password for the next two fields. Write "Contacts" in the description. Tap "Next" to save your changes.

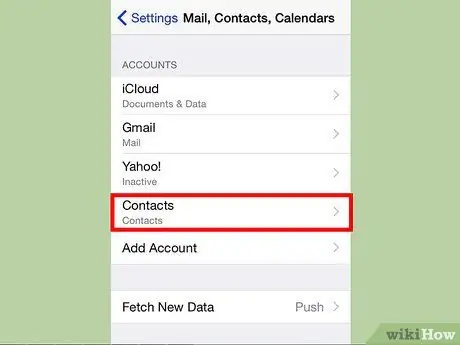
Step 4. Make Google account as default account for iPhone which you want to sync
Return to the "Mail, Contacts, Calendars" page under Settings. Tap "Default Account" and select your Google account. Any changes made to your contacts on iPhone, will now automatically sync with your Google account.
Tips
-
Make sure IMAP is enabled on your Google account.
- From your computer, log into your Gmail account and click the wrench to the right of the inbox. Click "Settings."
-
Click "Forwarding and POP/IMAP" at the top. In the "IMAP Access" section, click the radio button next to "Enable IMAP." Scroll down and hit "Save Changes."


