- Author Jason Gerald gerald@how-what-advice.com.
- Public 2023-12-16 10:50.
- Last modified 2025-01-23 12:04.
The superscript and subscript settings are so that your type appears above or below the normal line. This section will be smaller than normal text and is typically used for footnotes, endnotes, and mathematical notation. You can switch between superscript, subscript, and normal text easily in Microsoft Word.
Step
Part 1 of 2: Superscript
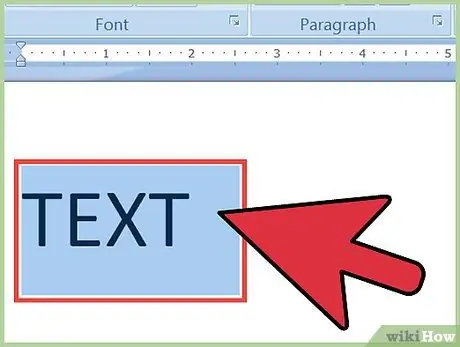
Step 1. Highlight the text you want to convert into superscript
Another way is to place the cursor at the beginning of where you want to type in superscript.
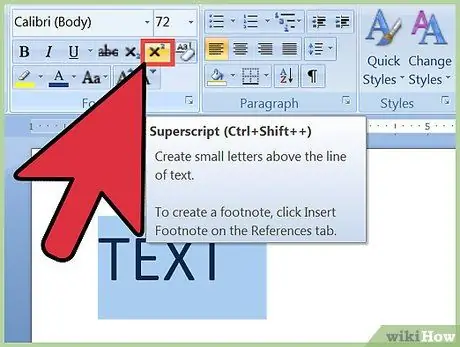
Step 2. Turn on superscript settings
The highlighted text will change to superscript or you can start typing in superscript from the cursor position. There are several ways to turn on superscript settings:
- Click the x² button in the Font section of the Home tab.
- Click the Format menu, select Font, then check the Superscript box.
- Press the Ctrl + Shift + equals keys together.
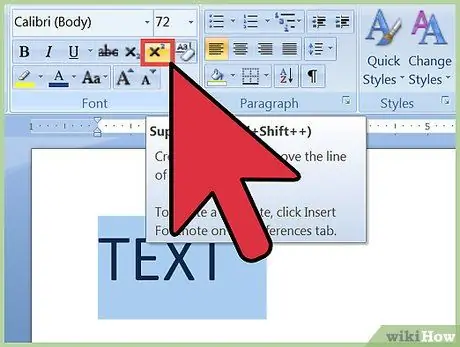
Step 3. Turn off superscript
When you have finished using superscript, the way to turn it off is the same as turning it on. After that the settings will return to normal.
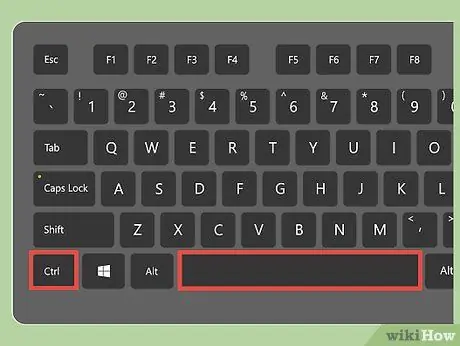
Step 4. Normalize all superscript and subscript settings
You can normalize all text by highlighting it and then simultaneously pressing Ctrl + space.
Part 2 of 2: Subscript
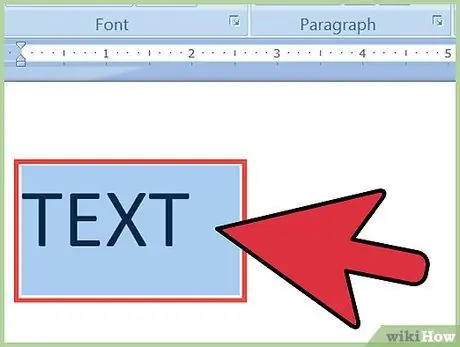
Step 1. Highlight the text you want to subscript
Another way is to place the cursor at the beginning of where you want to type in subscript.
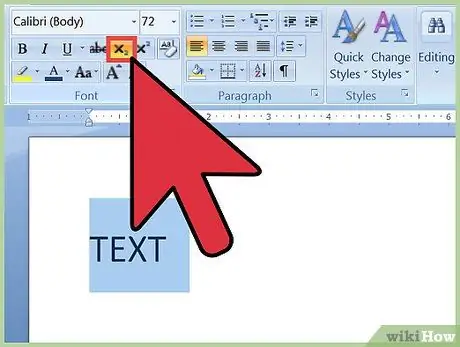
Step 2. Turn on subscript settings
The highlighted text will be changed to subscript or you can start typing in subscript from the cursor position. There are several ways to turn on subscript settings:
- Click the x₂ button in the Font section of the Home tab.
- Click the Format menu, select Font, then check the Subscript box.
- Press together Ctrl + equal sign.
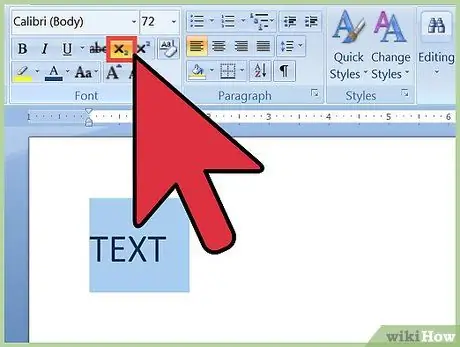
Step 3. Turn off subscripts
When you have finished using superscript, the way to turn it off is the same as turning it on.
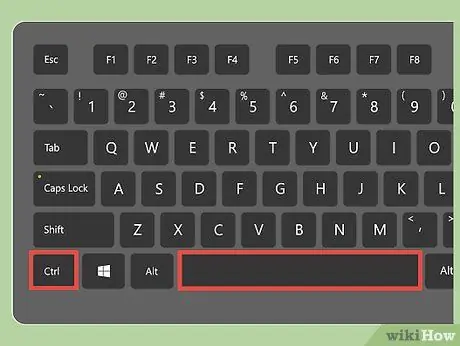
Step 4. Normalize all superscript and subscript settings
If you don't want the text to be in subscript or superscript form anymore, highlight the text, then press Ctrl + Space together.


