- Author Jason Gerald gerald@how-what-advice.com.
- Public 2024-01-19 22:11.
- Last modified 2025-01-23 12:04.
Are you moving your site to a new hosting service and need to move the domain, or get a cheaper domain registration price? Whatever the reason, the domain transfer process is a simple one, but usually takes a few days. You have to wait for the parties involved to agree to the transfer. Most transfers work behind the scenes -- you only need to fill out a few forms.
Step
Method 1 of 2: Leaving the Old Domain Registrar

Step 1. Make sure your contact information is updated
During the transfer process, you will be contacted by the old and new registrar. The registrar will use the contact information registered with your domain name. You can update contact information via the control panel at your current registrar.
If you forget what registrar you use, you can find it by doing a "WHOIS" search for your domain
Step 2. Create a new email
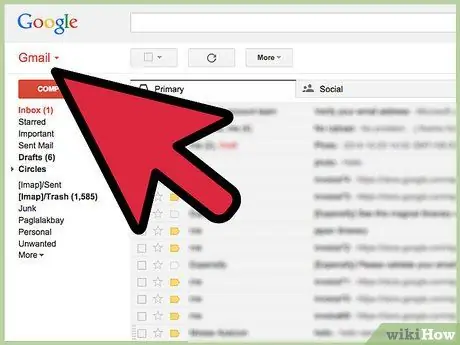
Many people use email services associated with their domain names. During the transfer process, you may not be able to access the email address of your domain. Make sure you have another email address, such as Gmail or Yahoo, that you can use as a second means of communication.
Make sure you set this email address as the contact email address in your domain registration information
Step 3. Perform an "unlock" request for your domain
This "unlock" process is different for each registrar, but generally you can do it through the Domains menu in your domain control panel. Make this request to your current domain registrar.
Step 4. Ask for authorization code
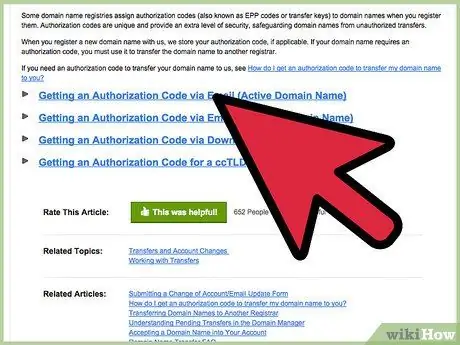
Each registrar must provide this code within five days of your request. Some registrars allow you to request a code from the control panel, while others will email the code. You can generally request a code from the menu to perform an "unlock" request in your domain control panel.
You need this code to make a domain transfer
Step 5. Make sure you haven't made a recent domain transfer
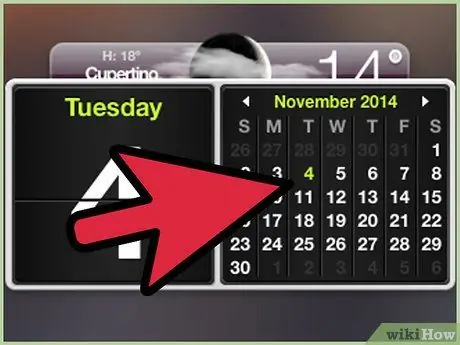
You cannot make a domain transfer if the domain was created or transferred within the last 60 days, according to regulations from ICANN (Internet Corporation for Assigned Names and Numbers). ICANN is the organization that regulates addresses on the internet.
Method 2 of 2: Doing Domain Transfer
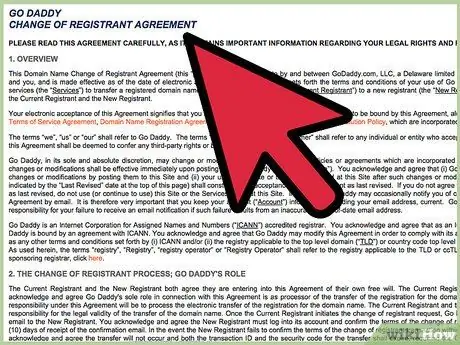
Step 1. Read the support page on your new registrar's site
The domain transfer process will vary depending on your destination registrar's service. Make sure you read the transfer guide on your new registrar's site support page for clearer guidance.
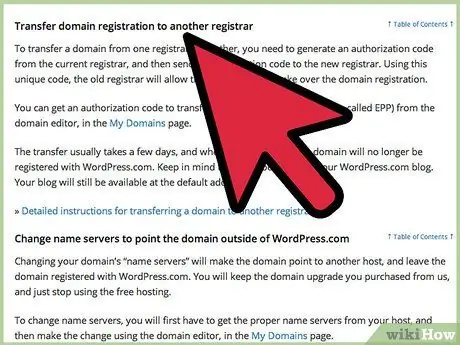
Step 2. Visit the transfer page for your new registrar
You may need to create a new account on the registrar's site before you can enter the transfer page. You can usually find the Transfer Domains section of your new registrar's control panel, or you may be given the option to start the transfer process when you create your account.
If the option to make a domain transfer is not available on the registrar's website page, you will need to contact the registrar's support staff to initiate the transfer
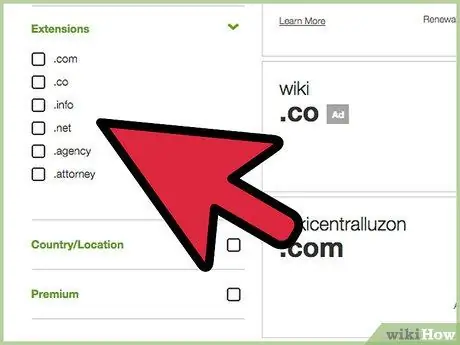
Step 3. Enter the domain name you want to transfer with its TLD, for example.com,.net,.org, etc
You may be able to transfer multiple domains at once. You don't need to enter the www section. of the domain name.
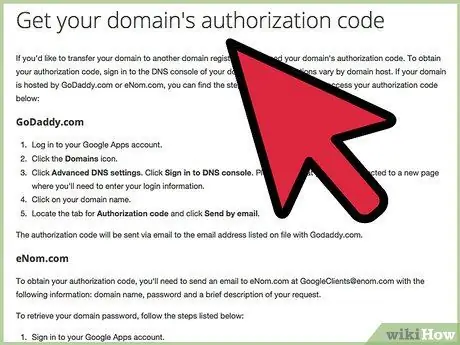
Step 4. Enter the authorization code
When prompted, enter the code you received from your old registrar. Enter the code correctly; if the code you entered is incorrect, the domain transfer process will not run.
Step 5. Verify to approve the transfer process
You will be contacted by your former registrar, either by email or telephone (with the information you previously entered) to ensure that you agree to the transfer process.
This is where the importance of correct contact information. If you are not registered as the owner of the domain, you cannot be contacted about transferring the domain even if you own the domain

Step 6. Make the transfer payment
Usually, you need to make a payment in order for the domain to be transferred. Some services require you to renew your domain name for one year when you make the transfer. You may be able to get a free transfer service when you register with a new registrar.

Step 7. Wait while your settings are transferred
Your new registrar will set up your DNS and "name servers" once the transfer is approved. Once the transfer is accepted by your new registrar, it may take a few days for your DNS changes to be recognized by the rest of the world. Your website should still be accessible.
The transfer process will vary depending on the registrar of your choice. You may need an additional authentication process from your new registrar. Check the support page on your new registrar's site for more information

Step 8. Decide if you want a private domain
Some registrars allow you to hide your domain registration information so that your contact details won't appear in Whois searches. When a search is performed, your registrar information will appear, and your name, phone number, address and email address will be hidden. Usually, this service requires an additional fee.

Step 9. Cancel the subscription at your old registrar
After the transfer is complete, you can cancel the service at the old registrar. Make sure the transfer was successful before canceling the service, or your site will be inaccessible until the changes are processed worldwide.


