- Author Jason Gerald gerald@how-what-advice.com.
- Public 2023-12-16 10:50.
- Last modified 2025-01-23 12:04.
Do you want to record a screen to give a presentation or show a product? Camtasia is a great choice for screen capture and provides a lot of editing features to the final video. You can later upload the video to various streaming services or distribute it yourself. See Step 1 below to get started.
Step
Part 1 of 6: Installing Camtasia
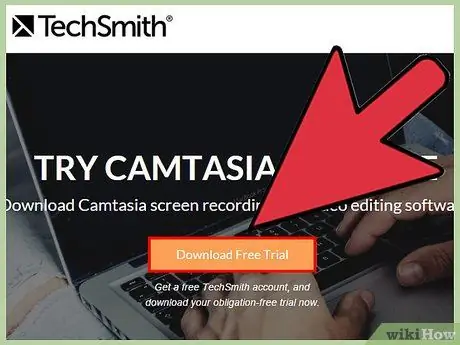
Step 1. Download the Camtasia program
Camtasia is available free for 30 days. After the evaluation period ends, you must purchase to continue using Camtasia. Camtasia can be downloaded from the TechSmith website.
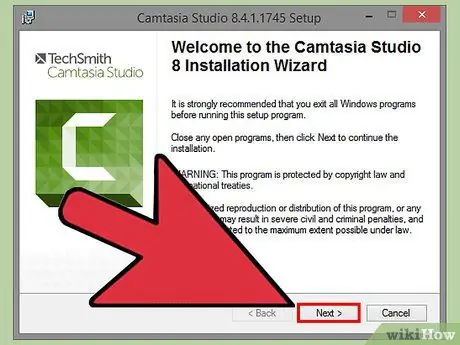
Step 2. Run the installation program
During installation, you must read and accept the License Agreement. You will also be asked to enter a license key or install the program as a trial version. If you have a key, type or copy the key into the existing field and then enter your name.
- When you purchase Camtasia, a license key will be sent to you. Be sure to check your Spam folder if you can't find the associated email.
- Camtasia will validate the license during the installation process, so make sure your computer is connected to the internet.
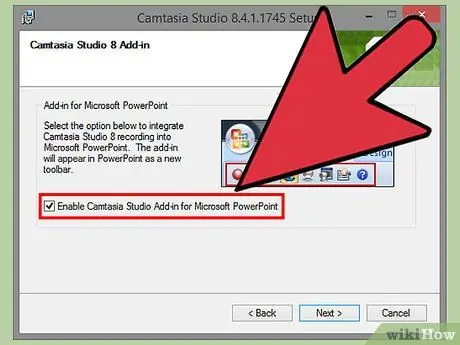
Step 3. Select the installation add-ons you want
After entering the key, you will be asked to choose which Camtasia features to install. Most users can leave it at default. You'll also be asked if you want to install the PowerPoint Add-in, which is useful for inserting Camtasia recordings into PowerPoint presentations.
Part 2 of 6: Get Ready to Record
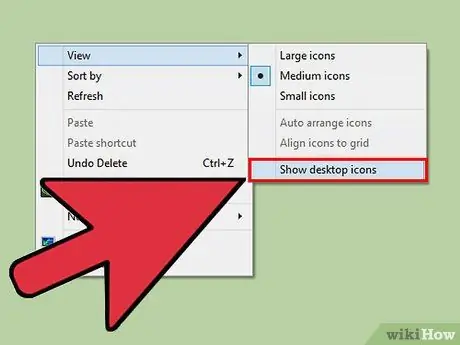
Step 1. Clean your desktop
If you're recording a program at full screen size, you probably don't have to worry about this. But if you're giving a tutorial that involves multiple windows, you'll want to make sure that your desktop doesn't interfere.
- Remove all icons from your desktop. Put it in a separate folder or move it to a second monitor. You can move it back when you are done recording.
- Close all unrelated windows. Make sure chat programs, e-mail, browsers, and other unrelated things are closed and not attracting attention.
- Change your wallpaper to an unobtrusive image. If you have a colorful, lively, or family image, set it to something neutral.
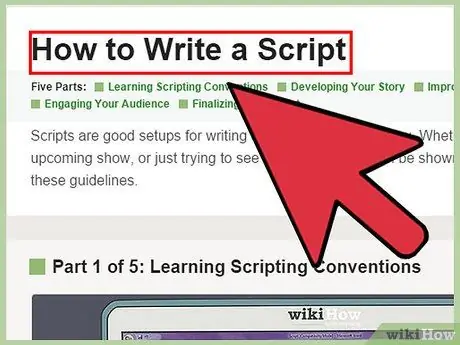
Step 2. Write a script or outline
Write a basic outline of the presentation, with notes on switching windows and important tips to remember. This will help ensure that you have all the information, and help you avoid the words "ammmm" and "aaaah".
- During the script writing process, practice presentations to ensure they are well presented.
- Some people may not need the script. Get to know the process and do what works best for your serving style.

Step 3. Plug in a working microphone
Viewers will get the most out of Camtasia presentations if they are narrated. To record audio of the highest quality, you'll need a decent microphone that's connected to a computer via USB.
- Pay attention to the acoustic environment in which you are recording. A large room with a large empty wall will make an echoing sound. Background noise will distract viewers.
- You can also use the webcam to highlight your face during a presentation.
Part 3 of 6: Recording the First Presentation
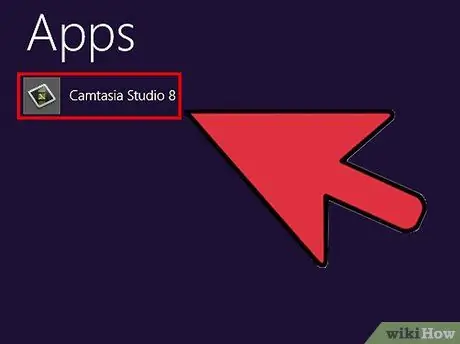
Step 1. Open Camtasia
When you first start Camtasia, you will be taken to the Editor window. This is where all the features of the Camtasia program can be found. You'll use the Editor to start recording and then clean it up when you're done.
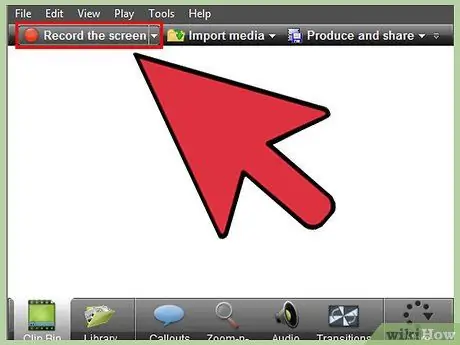
Step 2. Click the "Record the screen" button
It's located in the upper-left corner of the Camtasia window. Clicking the button will automatically minimize the Camtasia Editor window and open the control panel for screen recording.
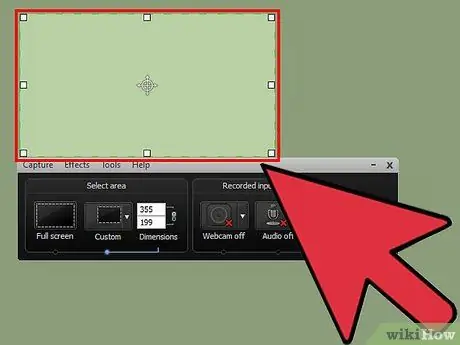
Step 3. Select the recording area
If you're going to be switching between multiple windows, you'll find it easier to record the entire screen. Full Screen Recording is enabled by default.
- You can create a recording area of any size, by clicking the Custom button.
- A dotted line will appear around the area to be saved.
Step 4. Select audio and video input
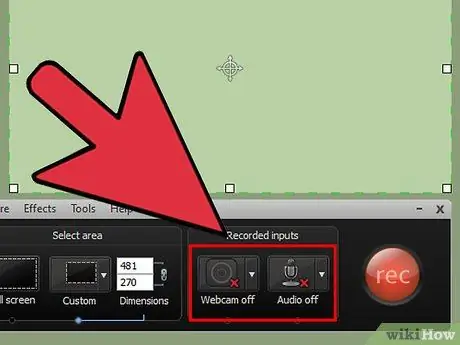
If you want to use a webcam, activate it by clicking the Webcam button. If you have multiple microphones connected to your computer, click the down arrow next to the "Audio" button to select the microphone to use.
Use the Audio menu to toggle the sound system on or off. If you select the On status, system signals and beeps will be recorded in your presentation
Step 5. Test the audio input
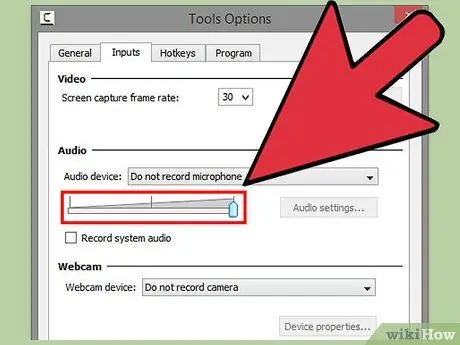
If you're using a microphone, test it before recording to see what levels appear below the volume slider. Adjust the volume slider until the input is about the middle of the slider.
Step 6. Open the required window
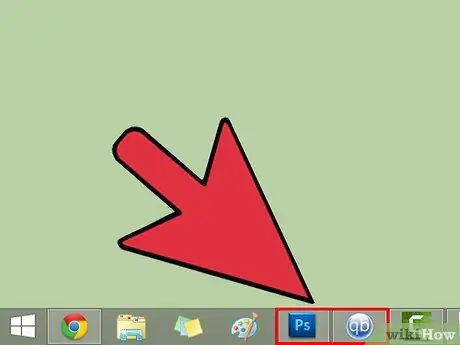
Before you start recording, open all the windows that you need to have open during your presentation. This will prevent you from fumbling for the windows you need.
Step 7. Start recording
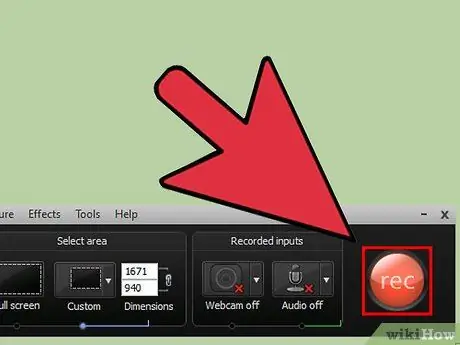
Take a deep breath, and press the REC key or the F9 hotkey. A countdown will appear on the screen. Once it disappears, everything you do on the screen and everything you say will be recorded.
Speak slowly and clearly, and don't rush the steps
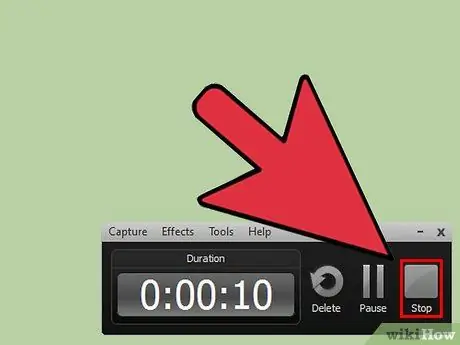
Step 8. End recording
When you are done with the presentation, press F10 to stop recording. You can also stop it from the taskbar, but this action will be recorded and must be edited.
- When you finish recording, a preview of the recorded presentation will appear. Watch the preview to make sure everything looks good, then hit the "Save and Edit" button.
- Give a memorable name for your project. You can create a new folder if you want to split this project into multiple files.
Part 4 of 6: Editing Presentations
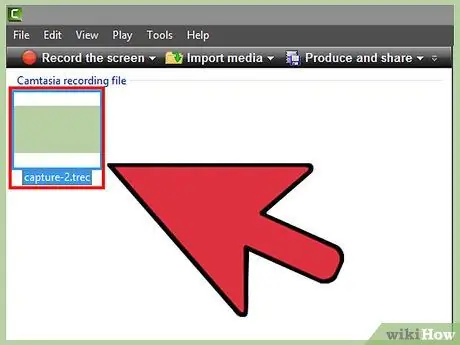
Step 1. Open the project in Camtasia Editor
If you've just finished recording and watching the preview, the project will automatically open in the Editor. This is where you will make changes, cut out unnecessary parts and add transitions.
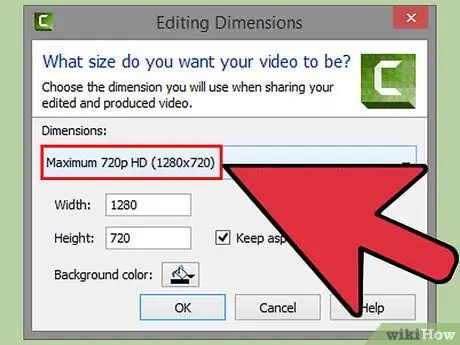
Step 2. Choose the dimensions of the video
Before you can edit, you'll be asked for the dimensions for the final video. You can select various presets from the drop-down menu. These presets have their respective intended use inscribed.
- Use one of the auto dimensions. These dimensions are based on the original recording dimensions, and are resized to maintain proportions. Selecting one of these will help prevent the image from looking bad.
- You can change the editing dimensions at any time by clicking the Dimensions button at the top of the preview window.
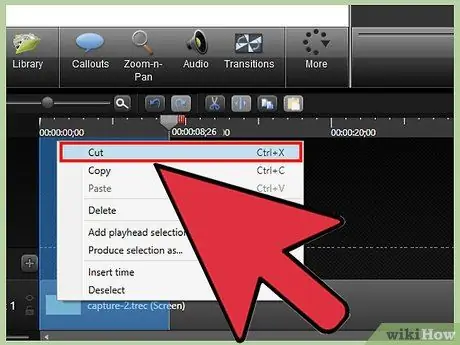
Step 3. Remove unwanted audio and video
There are always some mistakes in the presentation. Luckily, you can clear these errors quickly, with just a few clicks. Note: If the audio and video are on separate tracks in the timeline, deleting one section will not delete the other.
- Use the timeline navigation tool to find the exact point of intersection. Click the magnifying glass to enlarge the timeline, for more precise control.
- Click and drag the red tab at the top of the Timeline navigation tool. Drag the red tab to the end of the section you want to cut.
- Press Space to rotate only the selected part.
- Click the Cut button (scissors icon) above the Timeline to clear the selection.
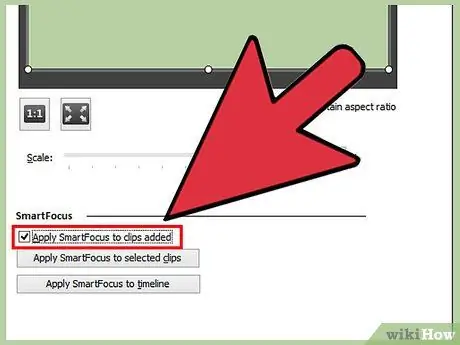
Step 4. Check if SmartFocus is implemented properly
If you reduce the dimensions of the video, Camtasia will apply the SmartFocus effect to zoom in and pan the presentation to focus on the active element, and place focus on the cursor and active window.
- You can see where SmartFocus was automatically added by looking for the icon in the Timeline.
- Click and drag the SmartFocus icon to move around as the transition occurs.
- Click the SmartFocus icon and then click the Visual Properties button to edit exactly how the transition occurs. You can make the slider slower or faster, zoom in or out, or remove SmartFocus transitions entirely.
- You can delete all SmartFocus animations by right-clicking on one of the icons and selecting "Delete all visual animations on media".
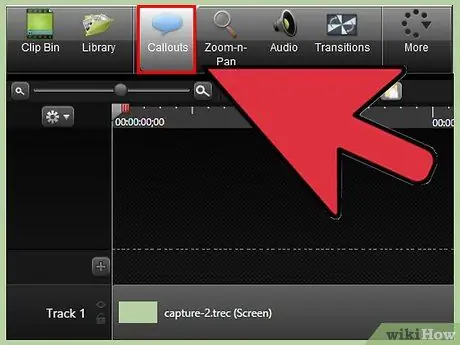
Step 5. Add a calligraphy to the presentation
Leaflets are visual aids that help draw the visitor's attention to important aspects of a presentation. The callout can be text or a symbol or a highlight. You can also use the leafhopper to blur parts of the screen.
- Use the Timeline to navigate to the section of the presentation that you want to add along.
- Click the Callout button above the Timeline.
- Make a cover. You can use a variety of pre-designed shapes, type your own text, or choose an accompanying animation.
- Click the "+Add callout" button to add it to the presentation.
- Move the scroll around the presentation by dragging it around the preview window. You can adjust the callout length from the Timeline.
Part 5 of 6: Publishing and Sharing Presentations
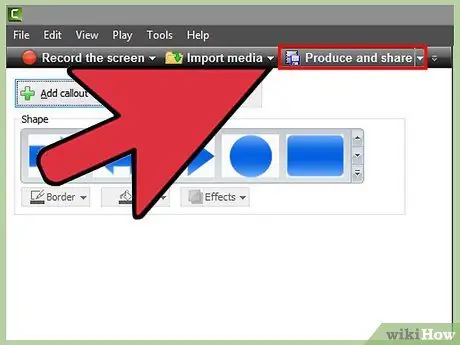
Step 1. Click the "Produce and share" button
Once the video is edited and ready for viewing, it's time to export and share it. Click the "Produce and share" button to get started.
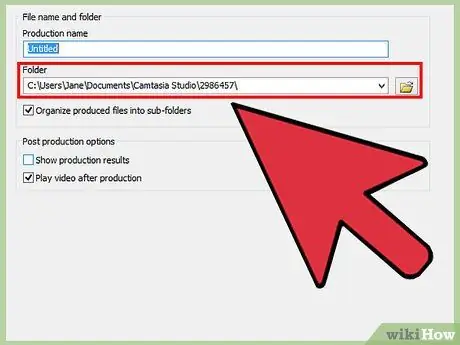
Step 2. Select a sharing destination
You can share directly to predefined services, such as Screencast.com and YouTube. You can also create video files to share them yourself or upload to other services.
When creating a video file, select the "MP4 Only" option. This will make the video playable on almost any device
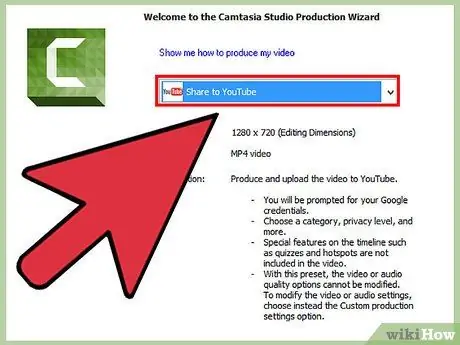
Step 3. Log in to your sharing service
If you upload to YouTube or Screencast, you will be asked for login information so that Camtasia can connect to the service and upload videos with your account.
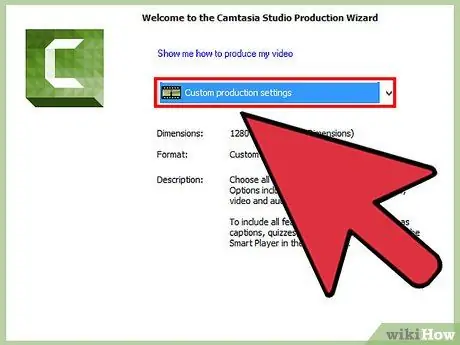
Step 4. Use custom production settings
If you need to make the video in a format other than the one provided, click the "Custom production settings" option when finishing the video. You can choose from a variety of formats, including WMV, MOV, AVI, and even GIF.
- MP4 is the most universal format for device and web streaming.
- Be careful when choosing your final product resolution. Increasing the resolution will result in a decrease in quality. For example, if you are recording in 800x450 resolution, avoid publishing in 1920x1080 resolution.
- Balance between size and quality. When setting your video options, you'll see a "Smaller file" slider on the left and "Higher quality" on the right. Moving the slider will affect the final quality of the video. Keep the file size in mind if you are going to distribute the video to a large number of people.
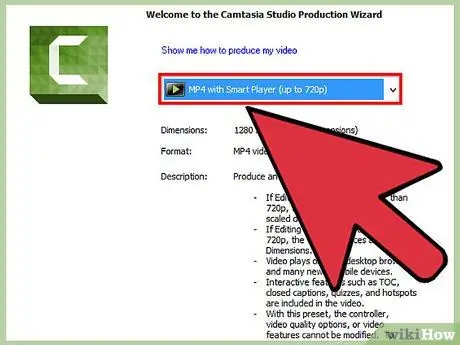
Step 5. Decide between videos only or package them with a player program
Camtasia can produce videos that are opened with the Camtasia controller bar. While you can't upload them to streaming video services, you can use them on your own site or distribute them through other means.
Part 6 of 6: Making Good Presentations
Step 1. Practice as much as possible
Run the presentation a few times before you start recording. Practice saying difficult words or performing complex window transitions. Make sure that everything you need will be loaded. Edit the script to cut or compress unnecessary information. All of this will later save you a lot of time in the Editor.
Step 2. Move the mouse slowly and deliberately
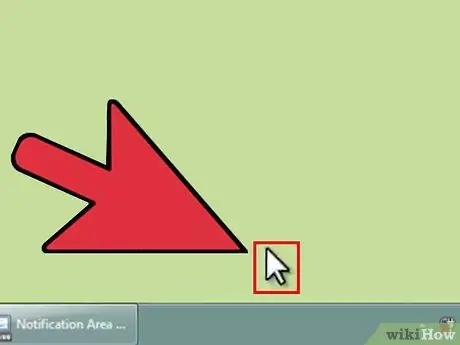
While recording your screen, move the mouse steadily and slowly for each task. Move in a straight line without jerking the cursor around. Move slowly enough so viewers can see where you're moving to and where you're clicking.
- Don't use the mouse to emphasize things on the screen! This will be very disturbing for those who see it. Instead, use the Callouts feature in Camtasia to add an eye-catching effect to what you want to highlight.
- Don't block what you want to record with the cursor. Use the mouse to navigate and open what you need, then move it out of the process so it doesn't hinder the viewer from seeing what you're doing.
Step 3. Don't rush
Slow down your presentation everyone can follow. Usually you rush to make a presentation because you are already familiar with the material you are presenting. However, your audience isn't used to it yet, so your presentation should make sure they have time to pick up on everything that's important without having to pause and rewind all the time.
Step 4. Record in small pieces
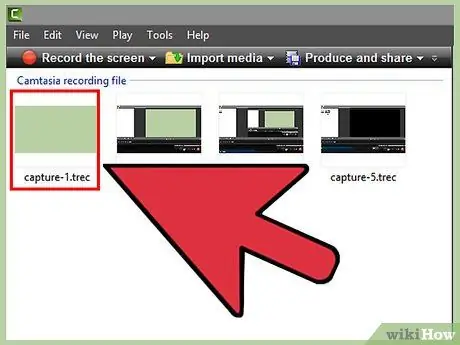
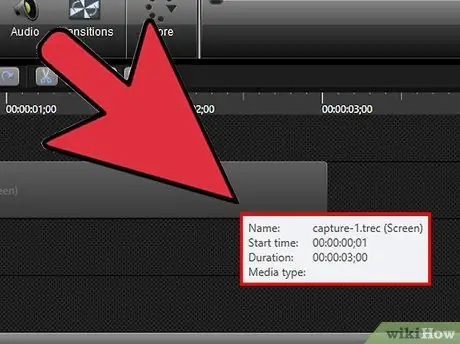
When creating a presentation, you should break it down into smaller chunks. For example, if you are creating a 30-minute presentation, you can split it into six 5-minute videos. Not only will this make it easier for viewers (if you're going to share a video), but it will also make it easier for you to edit and find the right frame. Later you can easily connect the clips.


